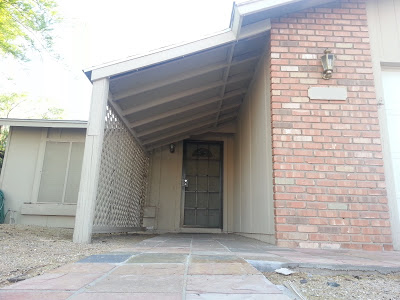
Since we hate our front door overhang / porch / hobbit tunnel, and the HOA conveniently demanded that we remove it, I decided to jump right into the demolition this weekend. As a certified dimwit, I thought the hottest weekend of the year (to date) would be a great time to climb up on the roof. With other commitments, I was only able to find bits of time here and there, to tackle the project.
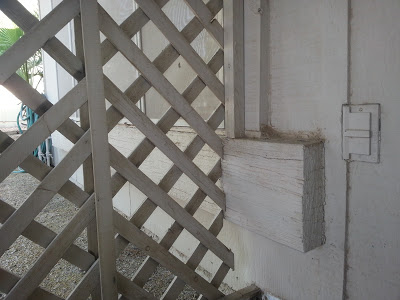
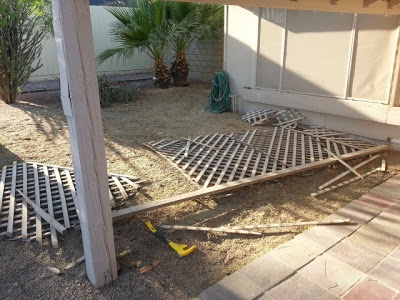
Two minutes wielding the mighty Stanley FUBAR (Functional Utility Bar) resulted in lattice and splinters blasted across the front yard like a cruise-missile strike. This beast of a tool is like having the very essence of destruction itself, leashed in your hand.

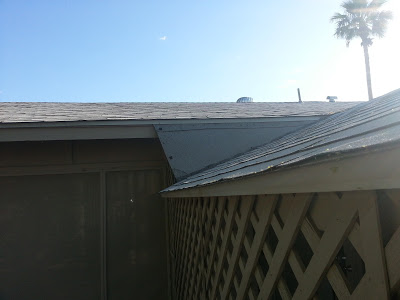
It took about a 45 minutes to finish the cut line. It turned out pretty good, but it's thick as heck with 4 ply of shingles at that point.


Two minutes wielding the mighty Stanley FUBAR (Functional Utility Bar)
 |
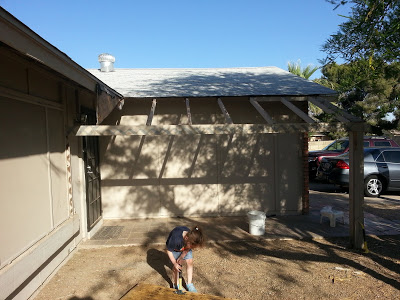
| Don't you just want to skip barefoot across our lush front yard? |
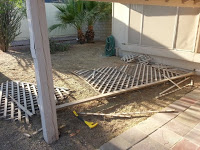
Since bulk waste pickup isn't for another month and a half, I spent the next couple hours breaking the lattice down, bundling it into three rolls of slats for storage, and cleaning the front yard of stray wood bits, nails, and staples. That was all the time we had on Saturday.
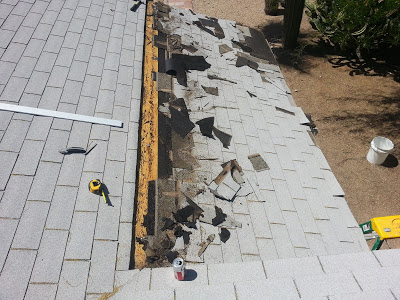
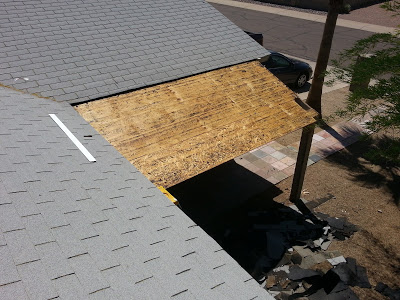
Late Sunday morning, I found a very efficient way to quickly dull razor blades. Carving through the face of four layers of granulated shingles makes quick work of blunting your knife. A blade lasted only about one linear foot before it had to be replaced. I made good use of a Stanley Quick-Change Utility Knife , making it easy to constantly flip and swap blades. I used a Edge Cutting Guide
 , normally for a router or circular saw, to keep my line.
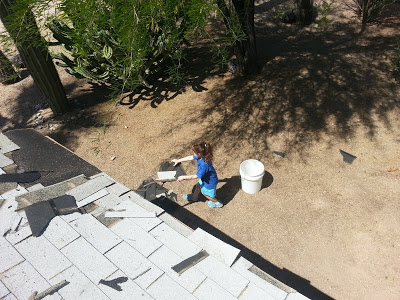
This was some tedious, hot work. I took my time, really wanting that shingle edge to look straight and clean. At least the yard didn't get too messy. Each time I gave the all clear, Gracie would scurry up and pile the bits of shingles and tar paper that rained down below. It took a bit longer because I had to be extra careful about nails and keeping the drop zone clear of my happy little helper.
I sat down for a cold drink and called my young squire for my weapon. I recall that I'd seen on one of the multitude of DIY shows on cable, that a flat blade shovel is the tool of choice for stripping shingles. Time to put it to the test. My blade, young Padawan...
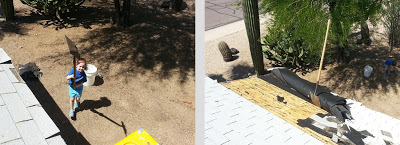
The shovel stripped the roof like a champ. Two minutes and the deck was clear. I ran into some old termite damage out at the far edge, not a good sign.
 |
| "...I smote it's ruin upon the mountainside" |
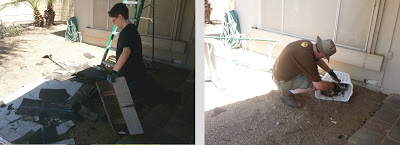
Once again, a diabolical lack-of-fun reared its ugly head, cleanup. Jack donned a pair of gloves and came out to lend a hand. We drug the pile over to the "alley" beside the garage and piled it on a tarp for disposal later. It's nice to have a larger kid who can really pitch in and help. It made much shorter work of the mess.
 |
| Yeah, that's a laundry hamper from the garage. Shhhhhhhh..... |
We finished tidying up and left it alone for a few hours while we ran some errands. After all, it was only 87 degrees, and not quite miserable yet.
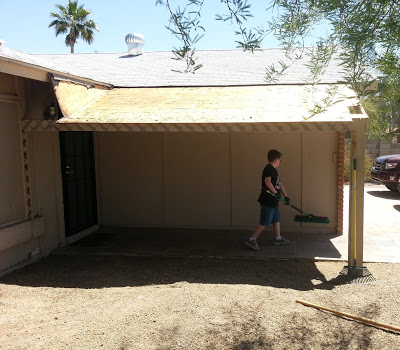
I returned to the task late afternoon, as the day's heat reached it's peak. The FUBAR and mighty sawed-off, sledge hammer rained their fury upon the decking, as if wielded by the Norse God of Thunder himself. Timbers splintered like toothpicks; a cloud of dust rose from the site.
Since we have to find a way to get rid of all the waste later and have to store it. We spent the extra time pulling all the nails. I brought in a pro. Gracie was a marvel of nail-yanking prowess. She threw herself into it with such a gusto that she soon bounced the hammer handle off her forehead. Don't worry, the hammer's fine, it's a Klein Heavy-Duty  .
.
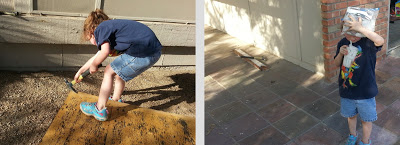 |
| It was nothing that couldn't be fixed with a hug, a bag of ice and a stiff drink. |
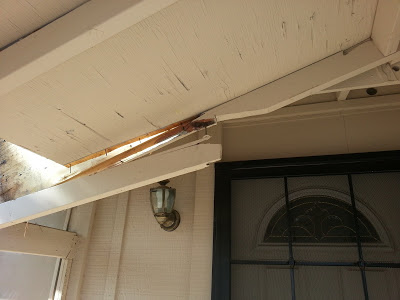
After the weekend's third cleanup. We called it quits. The carcass is picked clean, down to the sun-bleached bones in the desert.
 |
| Break time is over young lady. |
Did I mention the temperature? It's April 28th, and we've officially hit triple digits.
Summer in Phoenix. It has begun.
Enjoy your spring folks.
________________
<UPDATE> I tear the rest of this beast up the next weekend in the exiting conclusion to demo phase in: Tearing it all down! Bones and all