

Once upon a time, we had a nice, shady mesquite tree on the west, sunset side of the house. It helped keep the kitchen window shaded from the fury of worst of the Arizona afternoon sun.
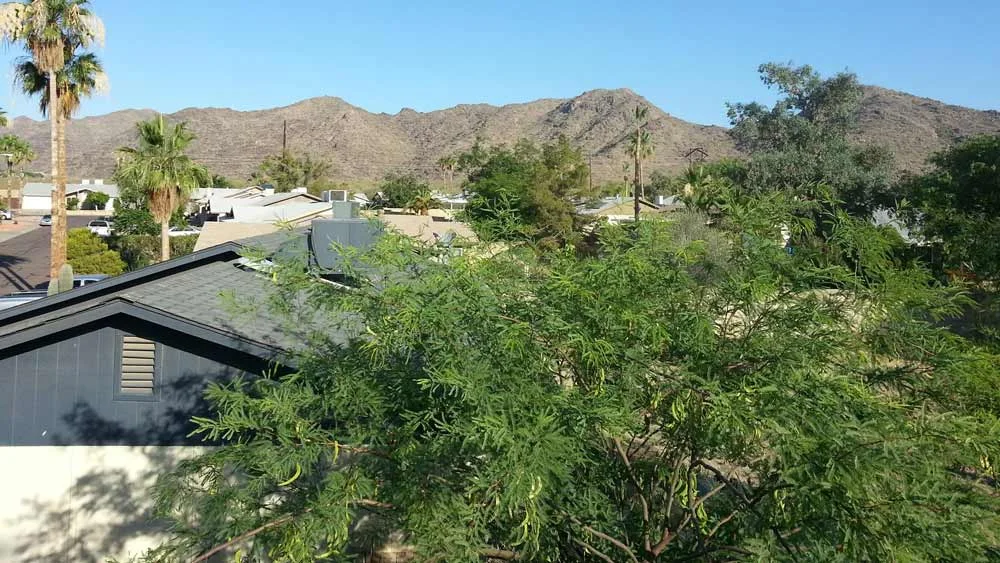
Looking over the Mesquite at South Mountain Park in the good old days.
I’d head up to the rooftop, to trim the branches away from the house. We had a grand old time together.

Unfortunately, about 4 years ago it died. I didn't even notice it was in trouble until it was far too late.
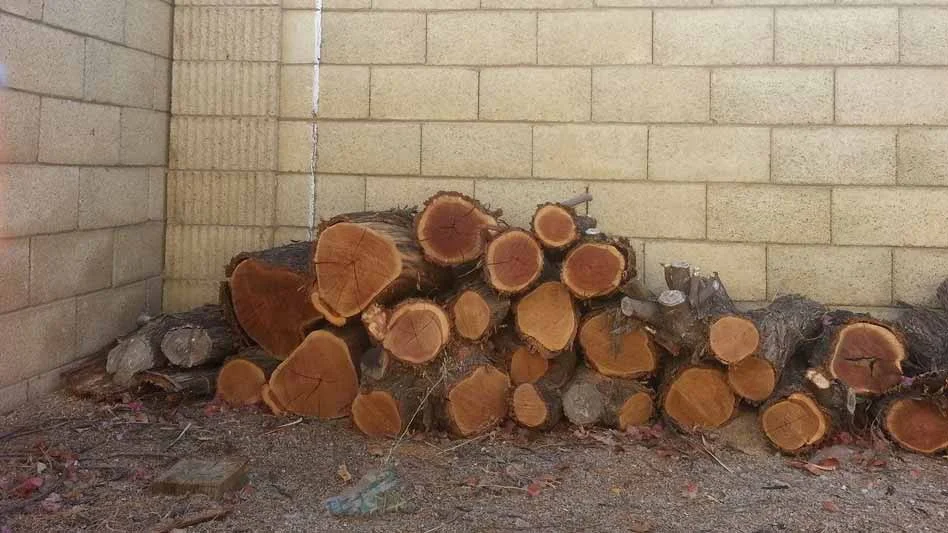
Shortly after, I noticed a dude scaling a palm tree with a chainsaw at neighbor's place. He lopped it down, log by log dropping to the ground as he climbed down. Naturally, I went down to inquire for his rates.
Fifty bucks turned our dead tree into a woodpile. He even stacked it for me. Easy decision. I gave the logs to a friend for his fire pit.
Spider houses.
Since the tree was removed, we decided to add an exterior door into our kitchen remodel plan. We eventually want to plant a little flower garden and make coffee patio out there.
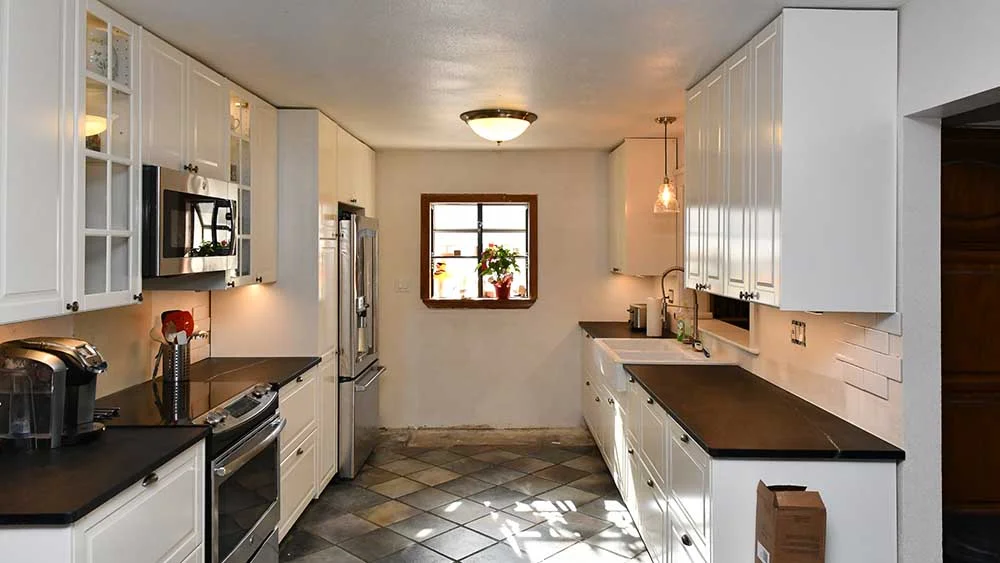
There’s gonna be a door at some point. Honest.
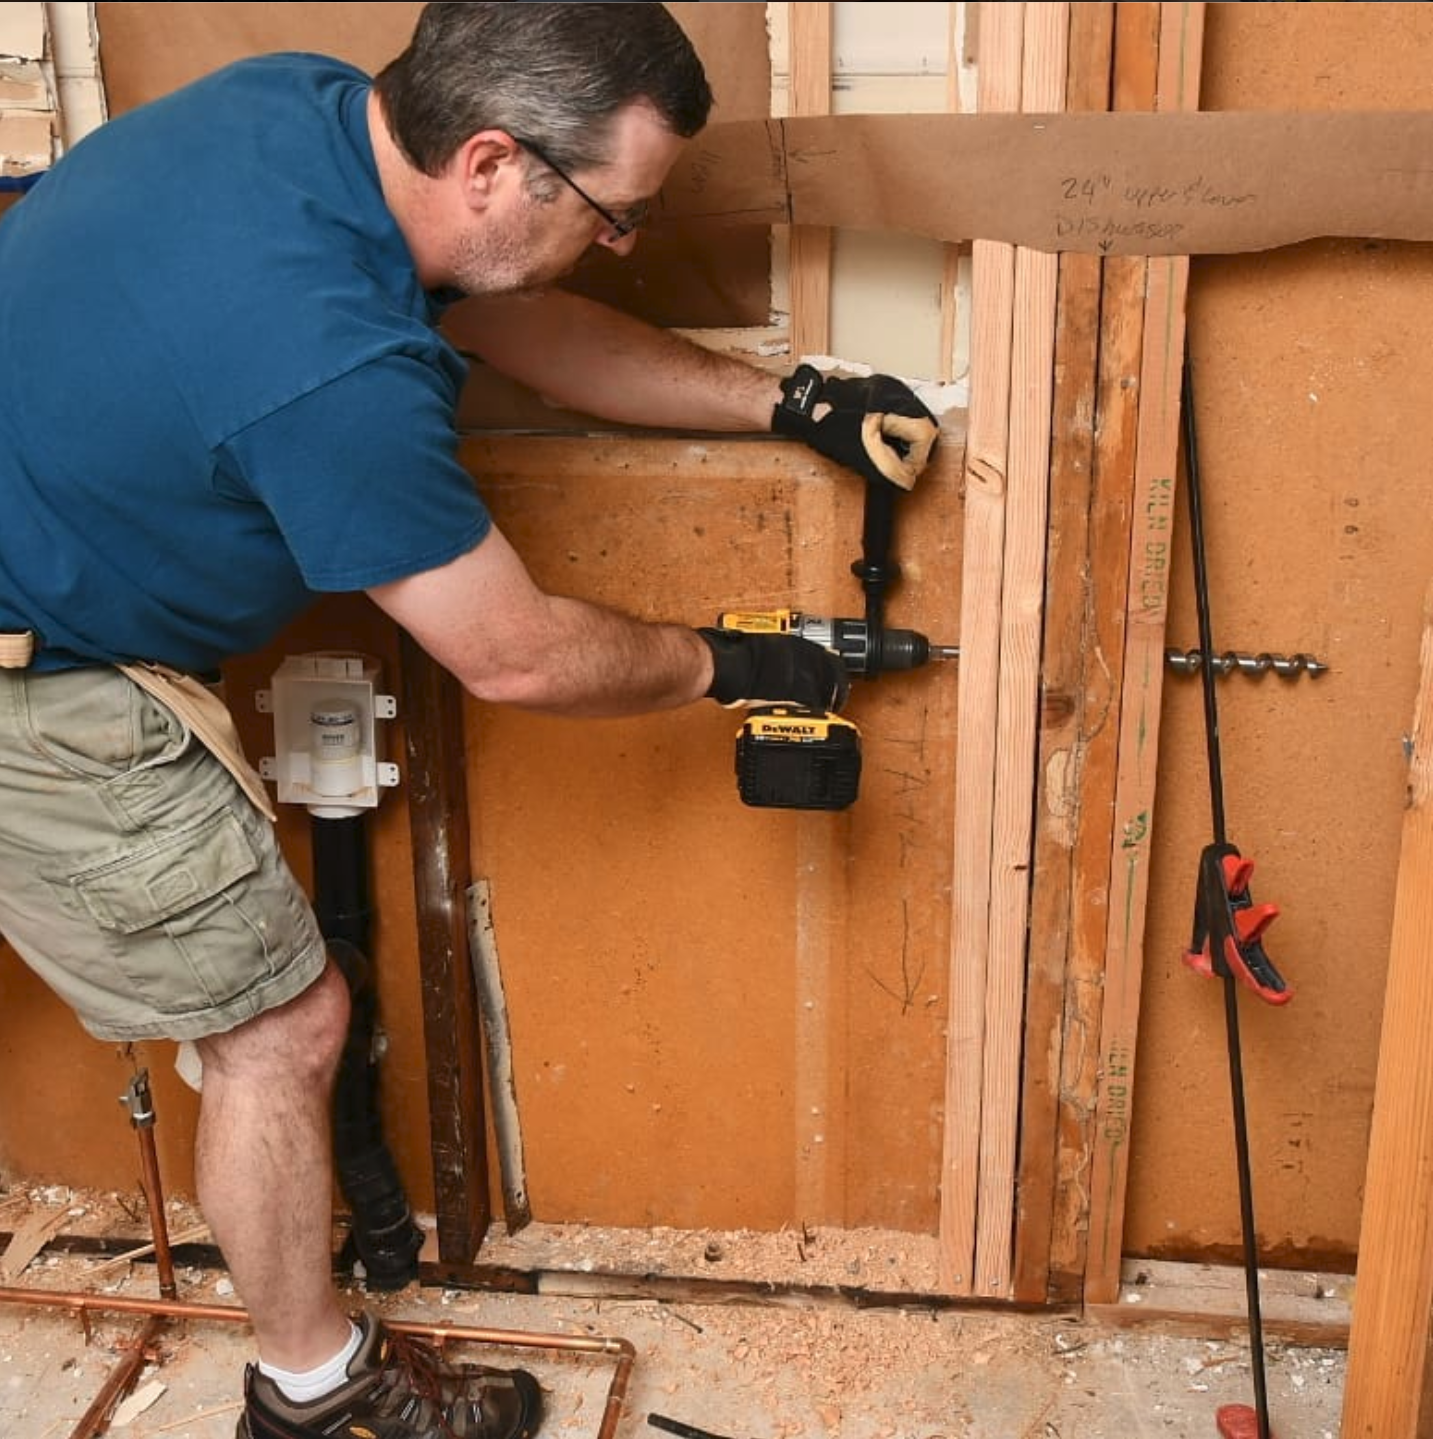
I’ve already removed an exterior, electrical conduit that blocked the door location. I did it when the walls were open and I could reroute the wiring, up through the attic. (Check that story out here)
The old mesquite stump hadn’t broken down or rotted at all over four years; it just darkened. It would require some hands-on intervention to get it out.
Due to the location I couldn't hook it to my truck and yank it out, like I just did with the dead cactus, so I bought some stuff.

Let’s see how this stuff works: Stump Out
Stump Out requires the stump to season /dry-out for 12-18 months before you use it. I think my four years of raw, undiluted laziness ought to do it.
Removing a tree stump
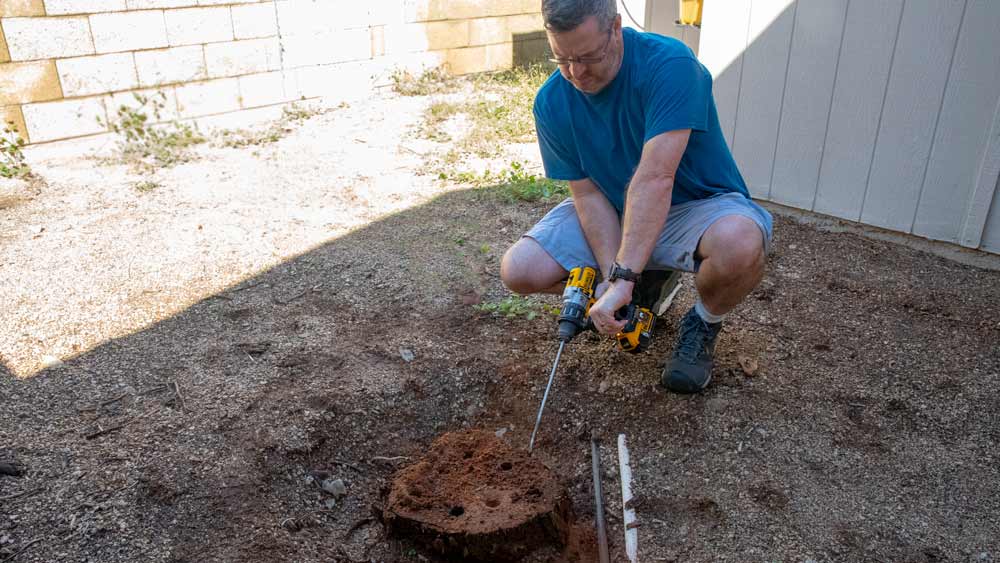
Step 1: Bore one-inch holes down from the top of the stump, 10 inches deep.
I brought out my monster-size, auger-style drill bit to bore vertical holes. It was the same bit I’d used to blow thorough a bunch of studs in the kitchen without a problem. This time out, it tore through the stump like a champ, but for only about 6 inches before it bogged down. I couldn’t get my drill to drive it any deeper. The mesquite was damn tough stuff.

In an bizzare fit of actually using the right tool for the job, I picked up an extra-long 1” spade bit.
This dude did the trick. It chewed up the hard stuff, easily boring down to the 10” depth I needed.

Every so often, I’d pull the spinning bit up to clear the hole of chips before plunging it back down to eat more wood.
Step 2: Drill holes four to five inches down from the top at an angle to meet the the vertical holes.
With snow and ice rapidly approaching the a lot of the country and people climbing into flannel, maybe it’s not the best time of the year for this project everywhere. Here in Arizona, we’re looking forward to the next 6 months of paradise before the fire-breathing dragon of summer returns.
It was a wonderful day to be outside, merrily drilling.

Watch for those irrigation lines, knucklehead.
It began to get more difficult, the more holes I drilled. I had to start pushing harder and harder to get them done. I even snapped off the back of the bit at one point and bent the shaft.
I re-loaded the broken shaft into the 1/2" inch chuck of my drill, hand bent it back into shape, and pressed on. At that point I just wanted to finish without going back to the store for a new bit.
In the end, I got all the holes drilled. Smoke rolled up through the last of the vertical shafts when my angled hole punched through.
The spade bit was done. Toast. There was nothing sharp about it anymore.

Allow me to be blunt.
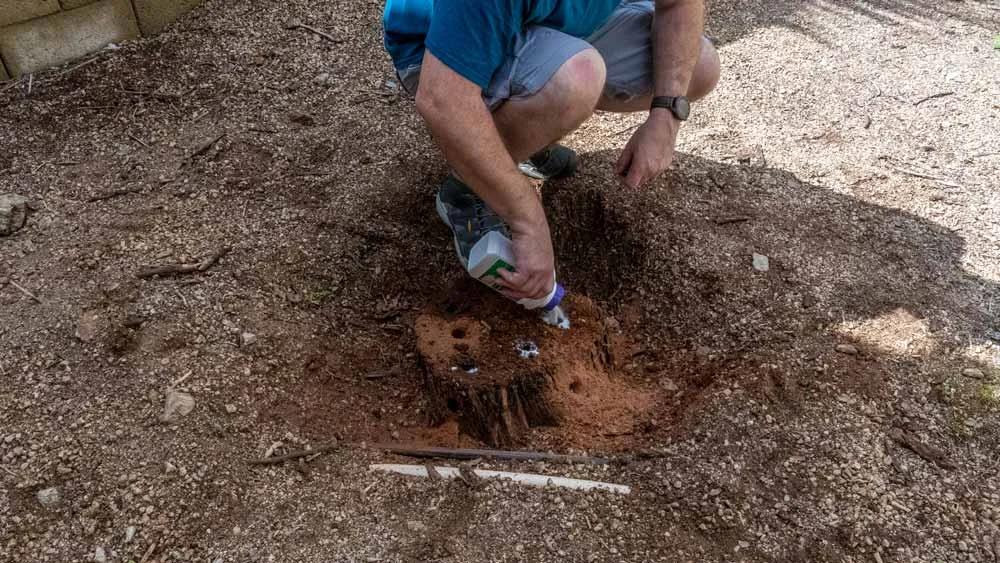
Step 3: Pour four to six ounces of the powder into each hole
According to the manufacturer…
Stump-Out dissolves the lignin which is found between the cellulose layers, accelerating the natural decomposition of the stump.
I admit, I was a bit loosey-goosey with that whole “4-6" ounces” bit. I poured some down the hole and called it close.
The ol’ lignin dissolving gambit eh?
Step 4: Fill the Holes up with water
You really have to make a tough choice at this point. Water conveyance is a serious business and a deeply personal decision. I didn't use a 7-11 “Big Gulp” or even a Circle-K “Polar Pop” 32 oz plastic drink cup; I took a QT "Thirst Buster" into battle and got it the heck done right in one trip.
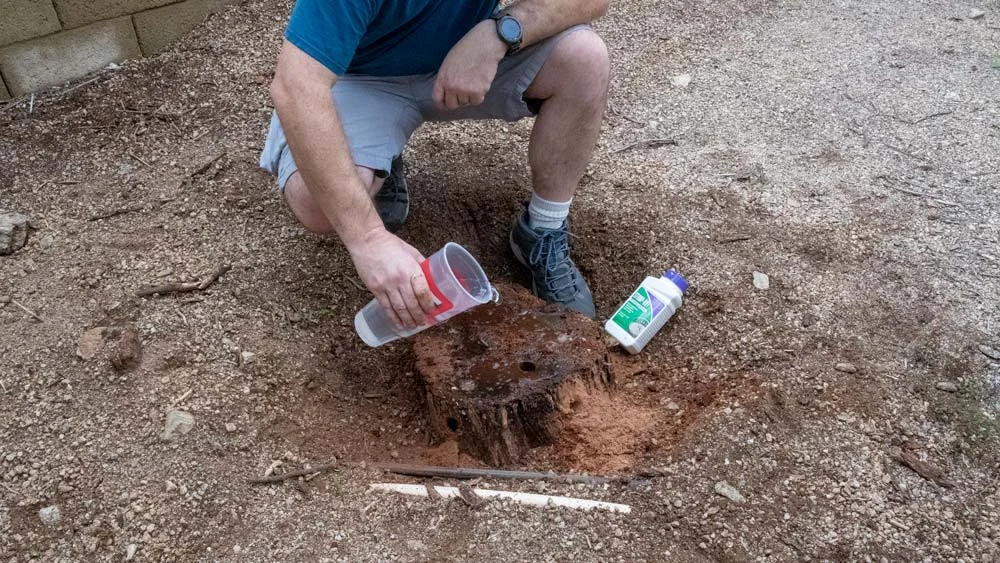
Thirty-two ounces of thirst-busting madness.
Step 5: See you in 4-6 weeks
Waiting. It’s pretty anti-climatic, and no way to wrap up an edge-of-your-seat blog post like this one. Sorry.
I'll come back in a month or two and see how it's going. The instructions give an option to slow burn it the rest of the way out soaked in kerosene or smoldering under a pile of charcoal.
As much as I’d desperately love to experience the unmitigated joys of lighting a stump fire. I don't think I'm going to be able to burn this one. It's just too close to our bone-dry, wood siding. I'm pretty sure my family would be upset if I burn the house down. They’re funny like that. Wimps.
I'll have to chop at it, like a chump, I suppose.