

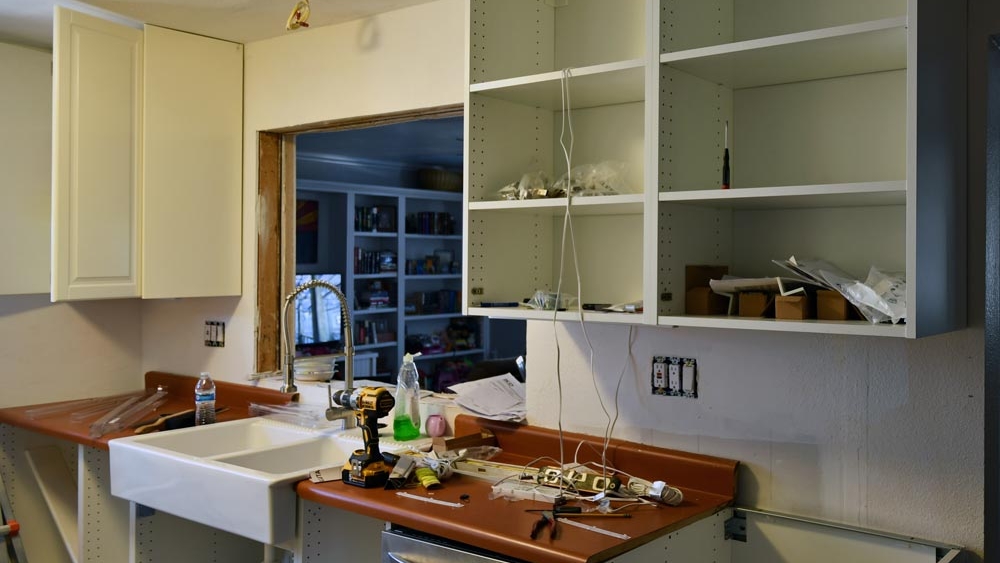
When I last left you intrepid DIY action heros, I'd plugged the sink into the new base cabinets (with temporary, old countertop chunks), installed the new plumbing, and hung the cabinets. The newly enlarged window / pass-through between the kitchen and the family room was left in its raw, rough-opening state.
I wanted to trim it out, before countertops and backsplash got installed. Game on.
That will never do.
The big window sill
It's inevitable that we'll be sliding snacks and frosty beverages out to the family room though this larger opening. We may even pull up a couple stools on the family room side.
We wanted a wide, shelf-like base on the opening, deeper than the thickness of the wall it was passing through. For that, I used a piece of 1x12 premium pine. I cut a notch on both ends with a jigsaw so it would extend slightly beyond the opening.

The DEWALT DCS331M1 20V Max Lithium Ion Jigsaw
I also used the jigsaw to round the corners. I used a precision circle layout tool to draw the curves. The top of a Keurig K-Cup, coffee pod was the perfect size, Kirkland Pacific Bold, to be precise. I'll take mine black, if you're fixing a cup.
I popped a piloted ¼" bit in my router and slightly slightly eased all the edges, top and bottom.

The shelf popped perfectly into place. I'd cut it with some wiggle room, end-to-end. Any gap would be covered by the vertical trim.
I leveled it out with shims and popped it down with some finishing nails.

Nice and level.
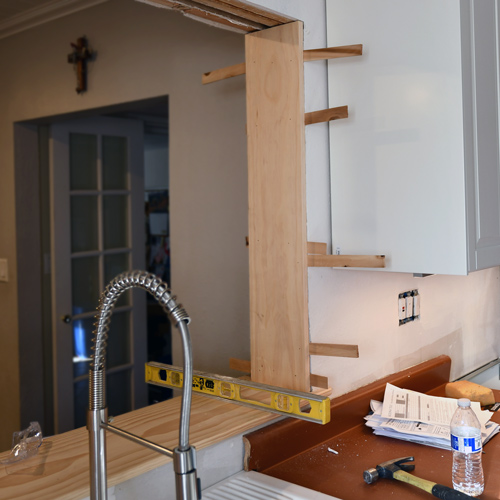
Inner Trim Pieces
I was lucky that the super-deep wall thickness fit a 1x8 perfectly. I wouldn't have to mount an archaeological expedition to uncover my table saw.
I'd left the rough-opening in the wall a bit large, because I wasn't sure precisely where the cabinet edges would end up. Now that they were in place, I shimmed the vertical boards out evenly from the cabinets, made sure they were plumb, and shot them in place.

Gun Slinger
You'll note this is the first time I'm really running my new DeWalt cordless finishing nailer through its paces on a decent-sized project. Since I'm pretty stocked up on the 20V MAX batteries, I'd picked this beauty up as a bare tool, in a trade-in / trade-up sale a while back. With nothing but perfect performance and no jams, it's rapidly becoming my favorite new tool of the year.
My History With Craftsman Style Trim
I've decided to continue the Craftsman style trim around the house that I started with when I remodeled our daughter's closet. That project included adding an exterior window, in a formerly blank wall. It turned out great.

The parts and pieces of a Craftsman style window trim
Not only does it look cool, it's a super easy technique. There are no miter cuts, just straight, 90˚ butt joints.
Read the post about trimming the closet: Super Easy DIY Craftsman Style Window Trim
After the inner wrap was in place, I started the outer trim. It's such an incredibly easy style of trimming windows. and openings. I'd do a quick measurement, run out to the miter saw for a quick slice, and nail it up. I did the whole outer trim in 20 minutes, both sides.

First the Kitchen side...

...then the Family Room side
The simple detail pieces stack up to create intricate designs lines, with some real depth.

Bottom's done
It turned out really nice. I left off the bottom part of the trim, the "stool" and "apron" on the kitchen side, because it would be so close to the sink and potentially splashing water. I'd rather do that part with a tile backsplash.
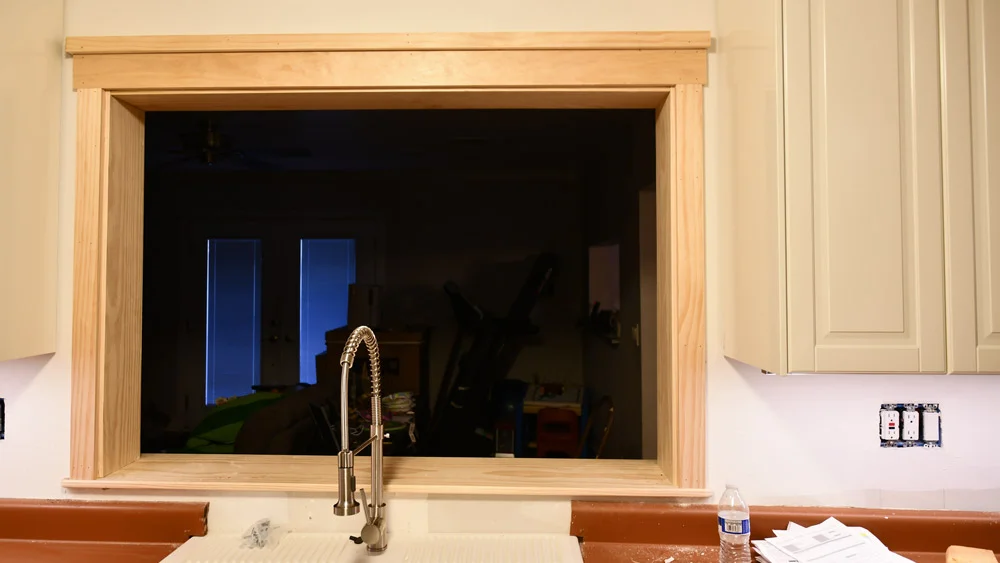
UPDATE: I slapped on a quick dose of primer. We're going to keep it white, so it was a good preview of how it's going to look against the gray of the family room. We're thinking about painting the kitchen walls the same color, it's a nice contrast.

Next time, the countertops are going in!