

I’m back at the kitchen remodel after getting sidetracked through the dining room. Why finish one job, when you can start two more, right?
One of the biggest parts of our total-gut kitchen remodel was the floor-plan change from a “U” shape to a galley style. It left that back wall looking completely different.

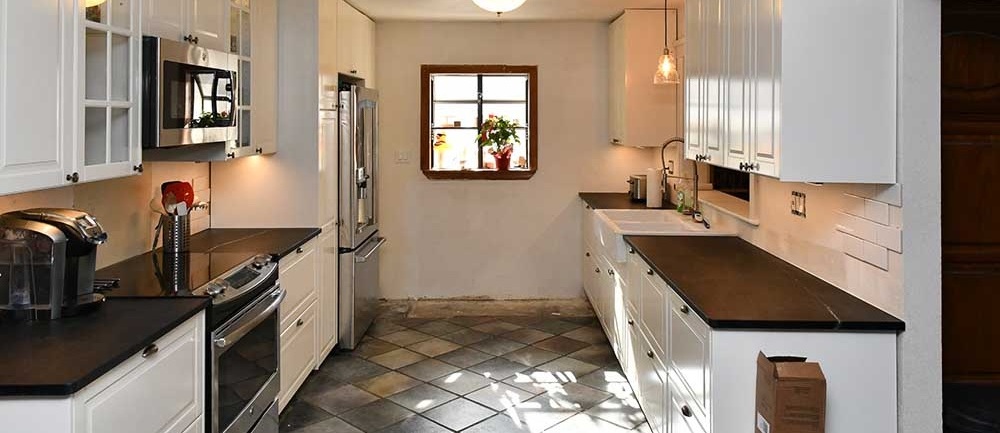
It was not completely different. A garden window, still trimmed to match our old cabinets sat smack-dab in the middle of the wall. It was a single-pane, glass monstrosity, with aluminum framing. It positively radiated the blazing heat of a Phoenix afternoon right into the kitchen. We hated cooking in the summer evenings. It also didn’t help our air conditioning bill one bit.
It would probably look pretty great on the side of a garden shed, but not our house.
It had to go. Instead of adding a new window, we wanted an exterior door, hopefully leading to a future coffee patio, perhaps with some raised flower beds for my wife to tend roses. I bought a steel one to, with good insulation, and those cool, built in blinds.

It has a place, just not here.
Demolition Indoors
I started by popping off all the trim with my handy, new molding pulling bar. I hoped to keep the walls intact and slip any new framing behind the drywall. (…as if that was realistic).

Pry baby pry.
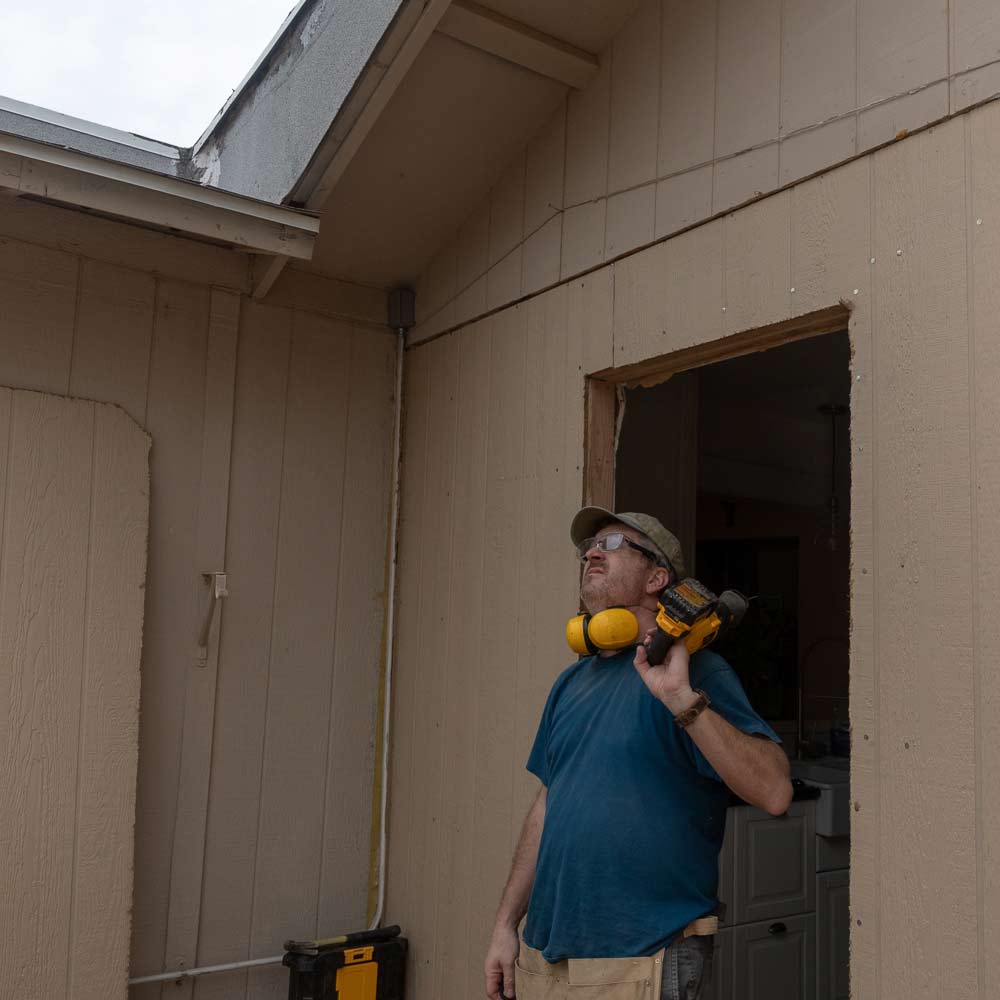
After the trim was free, I was able to pull out four finishing nails and slide the casing out in one piece. I went out side to check things out, for some reason,…but I got the photo.


Since I wasn’t sure exactly what kind of framing was present inside the wall, I traced out the rough opening required by the door I’d purchased. I’d trim back more later if needed.

Good kids get to draw on the walls.
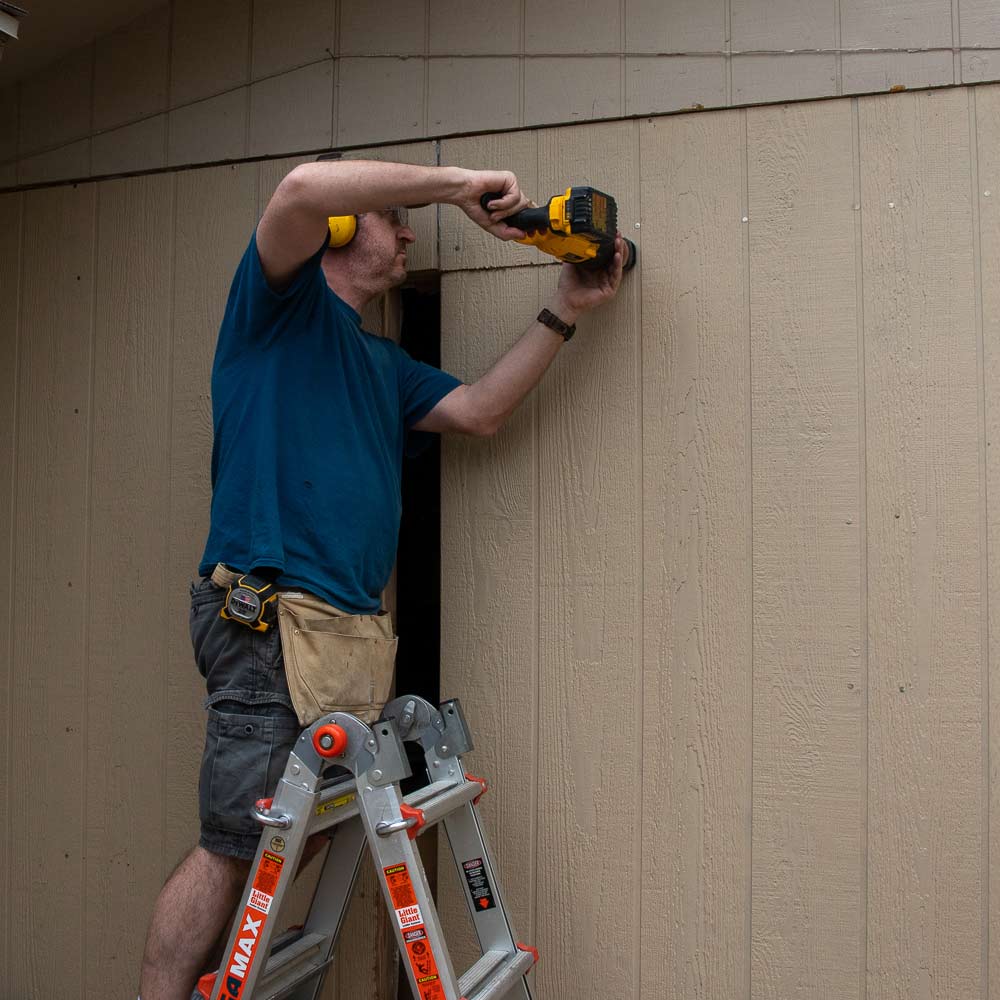
An oscillating multi tool seems to make a lot less mess than an old school drywall jab-saw but either way would work. I cut my lines and removed the section.

Hearing and respiratory protection is for cool kids.
The studs below the window were way too easy to pop out. I know the wall was not load-bearing, but it seems like they should have been in there tighter, at least for some fractional semblance of structural integrity.

Detroit Breakdown
Above the window was a header made from two, stacked 2x4’s. I really don’t agree with laying them horizontally on their sides like that, even in a non-load bearing situation. They’d be much stronger standing on edge with a spacer between them. I’d reinstall them as more of a proper beam.

Demo is a messy, messy business.
Taking it outside
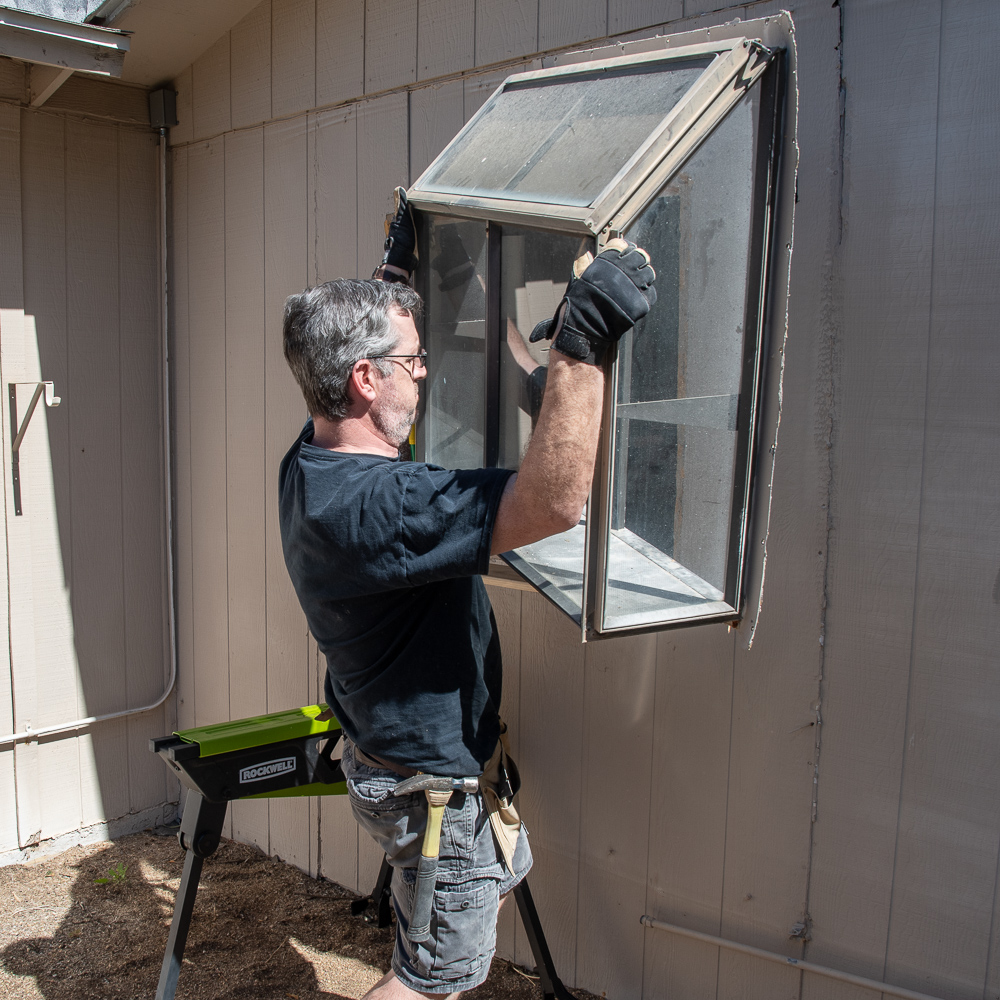
The whole window was just nailed onto the siding from the outside. That’s it, just nails and caulk. There was no trim or proper weather sealing of any kind. I didn’t think that’s the way it was supposed to be installed, but I was thankful from a demo perspective. I just had to pry the nails out.

I got to thinking about the single-pane, non-tempered glass and not knowing what would happen when I popped the last nails out. It seemed like there was a pretty good chance for me to go for an ambulance ride with a horrendous glass cut if it broke as I pried it free. I didn’t need yet another Purple Hammer, “Wounded on the Weekends” badge.
I rigged up a wooden “T” to and clamped it in my JawHorse to hold the whole thing up while I popped the nails.

Still,… not the safest maneuver eh?
It slipped out nice and easy. I wonder if I could sell it?


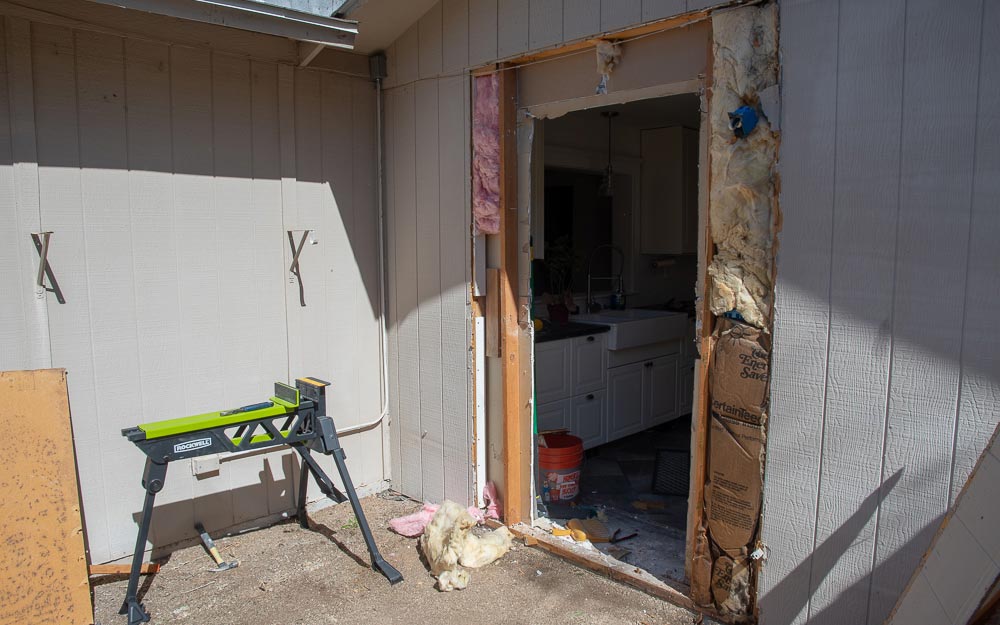
I cut the siding below the window opening with a reciprocating saw and kicked it in. Which was a little thing I like to call…
Doing something stupid
In my major error of the day, I pulled the pea-witted move of the aforementioned kicking of the cut section of siding inwards.
It was nailed across the bottom so I put a strong boot to it. I could have pulled it our towards me. Heck, if I desperately felt a good, solid kick coming on, I could have walked around and into the house and taken a crack at it from within.
Nope, I even took a second swing and kicked the sheet in, tearing out a giant chunk of interior drywall.
Idiot.

Yeah. Don’t do this.
Choosing to deal with that later, I peeled back the siding to the closest edges, opening up the framing within. Like a lot of the other nonsense in this old house, the old window was framed in very poorly. It was obviously a remodel from an earlier generation. I pulled it apart bare-handed. There had been basically zero weight on the studs around the window. Jeeze.
Consider it demo’ed
This was not a load bearing wall (obviously) but I still like things done sturdily. I added blocking to get my spacing for the new rough opening.

God. How I love nail guns.
I installed new vertical framing and that double 2x4 header across the top.

I popped a few short chunks of stud above the header and nailed them in place.

Long pants in March?!!! Ridiculous!
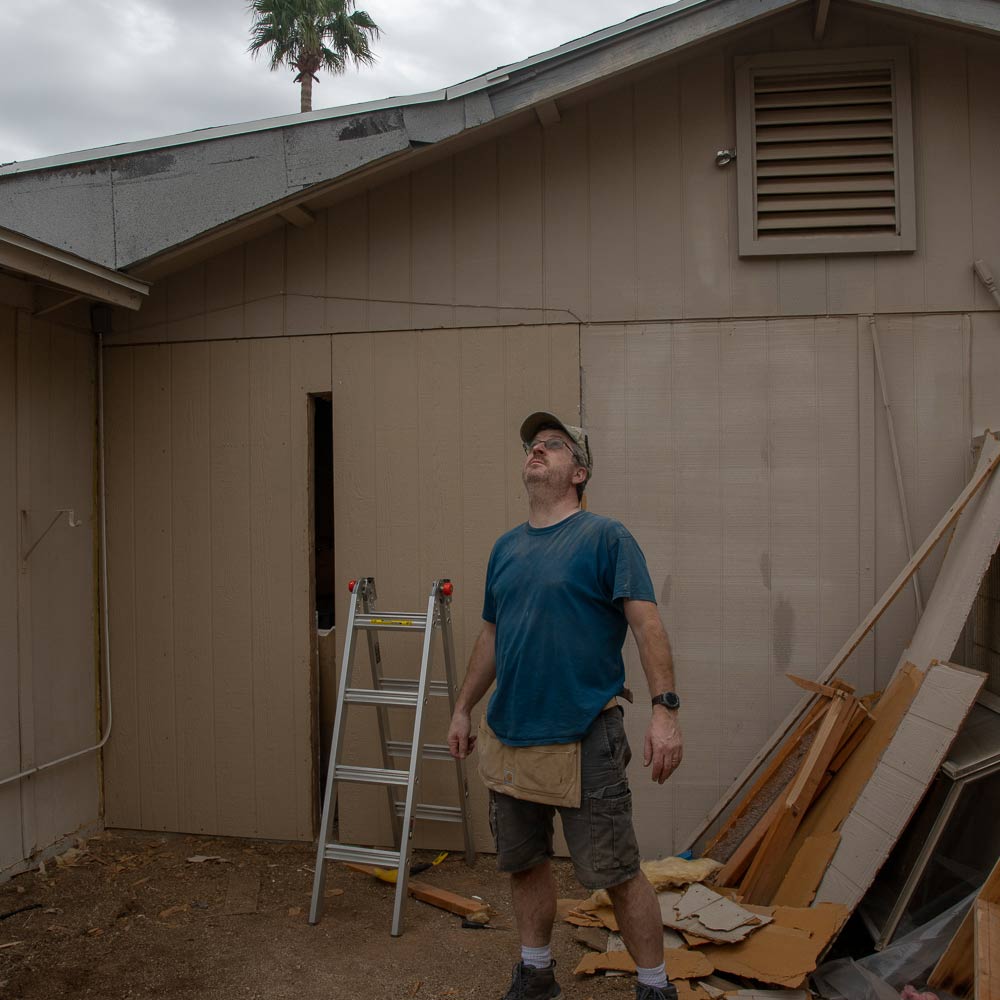
The gap in the siding was 5 feet wide. Rather than slip a full, 4 foot sheet with a one foot filler, I decided to remove another board and install two new sheets. I sliced the nails I could reach with a reciprocating saw and started busting out the panel, all the way to the corner.

I’m one of those dudes that does his nails on the weekend.
So that’s the guts of the wall.

Welcome to the circus!
A full sheet of 4x8 siding was too tall, so I had to trim it. For the first time ever, I used my Little Giant Ladder in scaffolding-mode, as a sawhorses. I’m checking off all of its possible configurations, one by one.
As rain clouds started to gather, I lopped a few inches off the end with the Kreg Rip Cut attached to my circular saw.

The easiest way to fit a perfect cut-out into a full sheet is to just nail the thing up there whole, then cut the doorway out with a reciprocating saw.

Snacks are only a couple feet away…
The second sheet needed a little edge trim as well. I raced as the sky kept getting darker.

I nailed the thing up there with galvanized nails and looked skyward to see if I had enough time to make the cutout. I went for it, tracing along the framing with the side of the reciprocating blade.
Raindrops started hitting me as I made the top cut. It wasn’t serious, but it was threatening.
The quickest way to plug the big hole was to jam a big ol’ door in it. I ran three heavy beads of silicone caulk along the exposed concrete slab.

At the last of last moments, I realized I never dry fit the door to see if it would fit. I said a quick prayer to the gods of weekend DIY and tipped the framed door unit into place.
It fit!

Yeah, there’s the drywall damage caused by my own special brand of patented idiocy.
It was a pretty frustrating time, making the door frame was level, plumb, square, shimmed, kosher, seasoned, marinated, pickled and fermented. I didn’t take any photos.
I finally got the thing wedged with shims and screwed in place following the instructions that came with the door. Long screws slipped into open holes in the hinges as well as behind the interior weatherstripping. I shot some door and window insulating foam in the gaps. It expands minimally so it doesn’t bow the door framing.

While the foam dried, I installed the batten strips I’d picked up with the siding. I put a generous bead of silicone down the back, made sure they were plumb (vertically level) and nailed them in place.

I had to remove the clamps and bow the electrical conduit out of the way to fasten the corner batten. As ugly as that conduit was, it was better than the original location, at shin height right across the new doorway placement. That was done back in Kitchen Remodel Episode 23: Moving the Electrical Pipe Blocking our New Door if you want to read that tale.

Corner nailing
It was only at this point that I realized there were still handle holes in the door to plug. After my umpteenth weekend trip to the store I came home with a new deadbolt and a well-worn debt card.
On that note,… one of my DIY blogging buddies, Andrew of The Hesitant Handyman has coined the term Hiti’s First Law of Home Improvement: “Any project requiring a trip to the hardware store will require at minimum three extra trips to the hardware store.”
Been there, done that,.. got the t-shirt. Check out his site!
The pre-drilled door worked perfectly, I only had to up-size the mortise for the deadbolt’s strike-plate. It was short work with a hammer and chisel.

You hear him howling around your kitchen door, You better not let him in
Little old lady got mutilated late last night, Werewolves of London again
-Warren Zevon
One planned day turned into two, due to the residing, but the door was in and secure. Next up, I’ll have to repair the walls and install the trim, inside and out.
This is going to be awesome to have a nice little outdoor space, right off the kitchen.

A brand-new kitchen door!