

Having successfully wrapped up the first of our interior door replacements last weekend with the
, I'm moving forward with the project. The rest of the doors are standard hinged style. The next one to tackle is the guest (
kids
) bathroom. It's one of the most visible in the house, we'll enjoy it being complete.
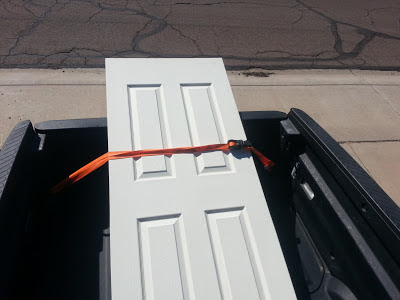
Pre-Primed, and too big
Rather than the more efficient, prefab / assembly line approach of buying all the doors, trimming all the doors, painting all the doors, etc. all at once, we're going with the slower, easier on the cash-flow approach of doing one door at a time. I suppose a benefit is that I don't have to stage doors all over the place as paint dries. Plus, we get to see some finished work a little sooner. The drawbacks are the repeated shop cleaning between each door's planing and painting as well as the wait time between paint coats.
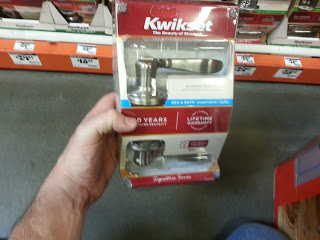
I bought another six-panel door at Home Depot this morning. I also picked up a new brushed nickel, lever-style "door knob" (
What do you call it if it's not a "knob" anyway? The packaging doesn't even say
.) and a bulk pack of matching brushed nickel hinges. By buying the bulk pack of 12 hinges, I saved over ten bucks vs. buying them individually.
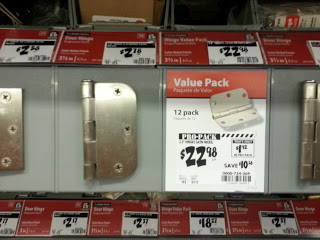
Buying in bulk!
Back at home, prepping this door was exactly the same as prepping the pocket door. Only this time I managed to screw up the edge planing of the first side. I sort-of tapered the door somehow; it was 1/16" off at one end. I must have twisted the depth knob when I was interrupted by a little girl offering to keep me company in the garage,... if I'd fix her a bowl of cookies 'n cream, ice cream. It took a bit of tweaking to get it squared up again.
I really like the Bosch planer . It took a bit of practice, but I have the hang of it now. The only struggle I have is the necessity to walk while cutting the long edge. Sometimes I get a little bobble in the cut. I ended up doing a shuffle / shimmy / slide / step-behind maneuver. It would probably be better to set the door on edge. I'll try that next time.
Grab your popcorn folks! Here's the world premier movie of AZ DIY Guy in action. I'm really much better looking in person, this particular role required a dusting of grey hair at the temple and an out of shape appearance. I think I pulled it off. It's certainly Oscar worthy.
There's a dust storm rolling in! Hold your breath and cover your eyes!
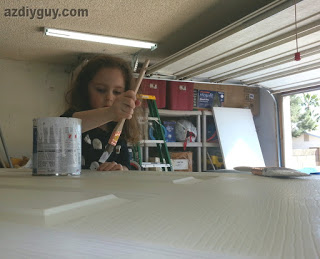
Gracie's been bugging me for a week to help with the painting, so I let her have a go of it. She did pretty good,... mostly. I had to keep reminding her not to scrub (destroy) the brush and tried to keep the splatter to a minimum. I lightly, quickly brushed over her work to keep the strokes with the wood grain. Despite the exuberant assistance, It turned out pretty well.
The paint dried fast in today's 78º, dry weather. I need to put one more coat on in the morning. Hopefully, I can get it done tomorrow.
<UPDATE>
Up before 6am Sunday morning, while the family slept, I put a coat of fresh paint on the reverse side of the door. I ran out of paint right at the finish line, dang-it. I scraped that can as clean as Gracie's bowl on a spaghetti night. I need to go grab some paint first thing and finish if there's any hope of installing it today.

