


Last time on AZ DIY Guy...
When I last left you on this project, I'd just pulled a big, 4 wire cable up the wall from the new stove location and strung it across the hot attic. I'd left it coiled up, roughly above the exterior electrical panel.
(Catch up with the first part of this post if you missed it: Wiring a New Stove- Part 1: Up and Over).
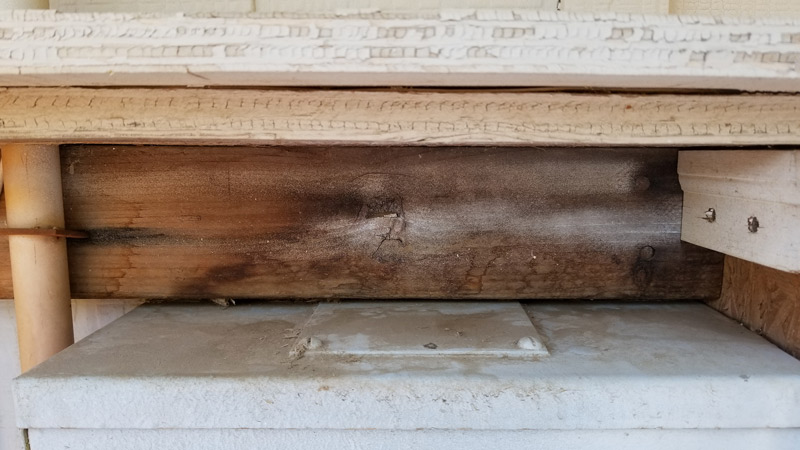
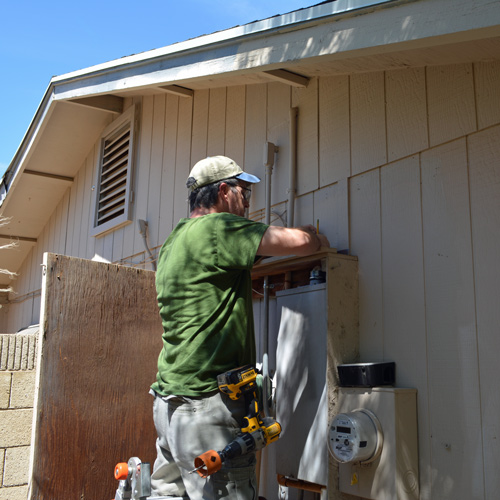
Our electrical service is encased in an ugly plywood box, a questionable contraption of a previous owner. Cleaning it up is a future project,... perhaps. For now, I have to figure out how to get this big stove circuit and a few others down into the panel from the attic.

"...a questionable contraption of a previous owner"
There are some small conduits poking up, one even made of sprinkler pipe for God's sake. They wouldn't do the trick at all. I decided to run something bigger, something that can handle several circuits as well as whatever the future might need.
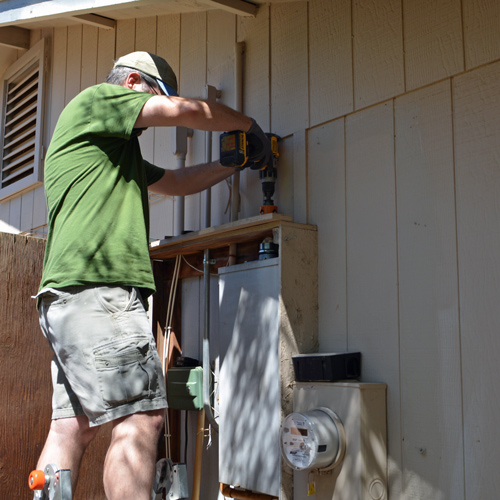
The top of our electrical panel had a blank cover screwed over a round hole.
This hole is for an electrical service mast. Where I grew up in Michigan, all houses were fed their electricity overhead through power poles. Of course, that was through to the meter. Our panels were inside the house, usually in the basement.
Here in Arizona, our meter and panel are both outside, fed from underground. I can use this access to attach a bigger conduit up to the attic.
Bust the board out of the way
The challenge in this case was the ugly enclosure our predecessors had built around the panel. There was a 2x4 smack dab across the back screws securing the cover. Surgery would be required.
It was a tight fit, but I could get the blade of my awesome Dewalt Oscillating Multi-Tool in there deep enough to make the edge cuts all the way through the board. A sharp hand chisel cleaned up the rest.


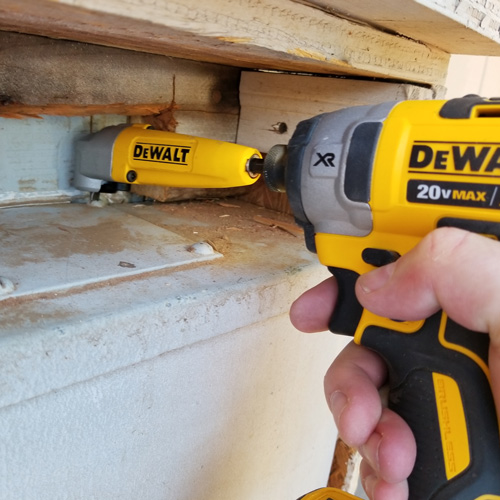
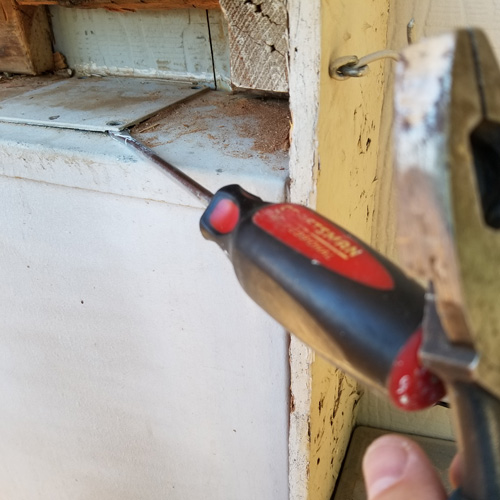
Pop the top cover off
Busting out another of my favorite widgets, the DeWalt Right Angle Attachment in my impact driver, I was able to stick it back into the tight back corner and get at the screws. I popped the cover off, breaking the crusty old paint seal by smacking an old screwdriver under the edge and levering it upwards.
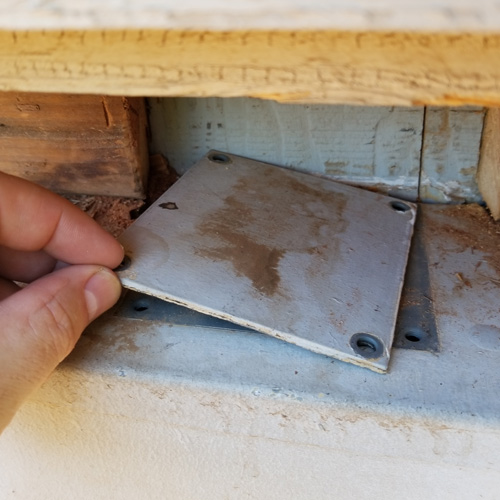
Connecting to the panel
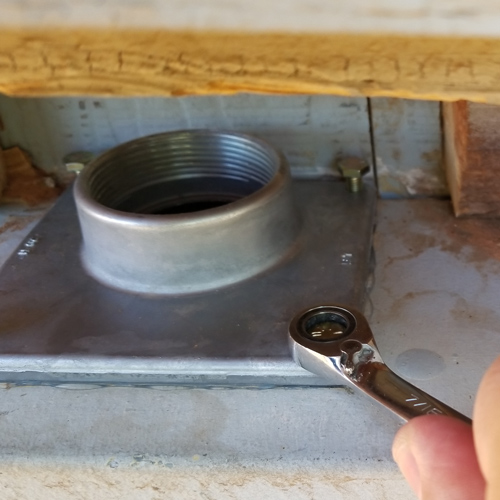
I took the top plate with me to Home Depot to ensure exact sizing of the mounting holes and picked up a 2 inch, bolt-on hub. It was a little thicker, than the sheet metal cover, so I had to pick up some longer mounting bolts too.
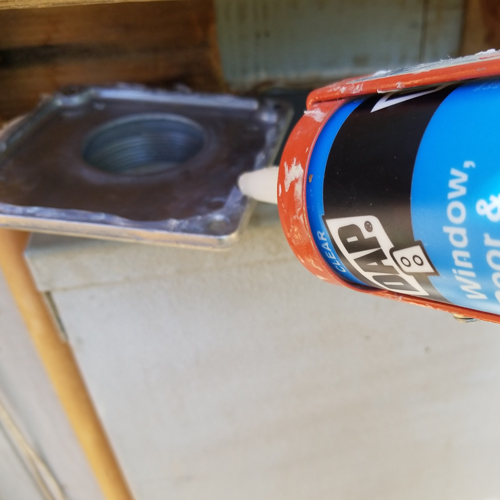
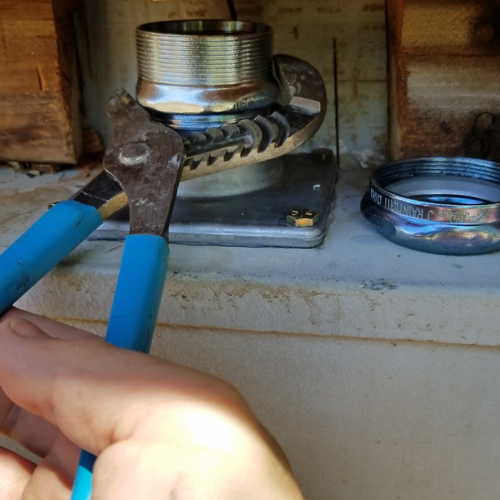
A quick "just in case" bead of silicone around the edge would keep the panel watertight. In the tight space, I used a ratcheting wrench to snug the bolts. A 2" rain tight EMT connector threaded into the hub. It takes a bit of muscle and a good pair of Channel Locks to get it in there deeply.
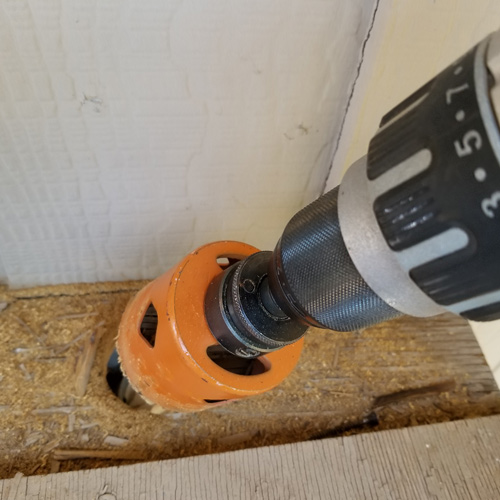
I measured the panel and the ugly wooden enclosure to line up for the hole saw to bore through. Then I stuffed a paper towel inside the hub opening, it wouldn't be good to let anything drop into a live electical panel.
I had to buy a 10 foot stick of 2" EMT (Electrical Metallic Tubing) conduit just to get the couple feet I needed. I'll probably never use the other 8 feet.
Is this the first time you've seen the old leg vice trick? I wedged the conduit behind one knee, on top of the other and leaned downward, pinching the long tip of the conduit against the ground. Locked down tight, it was a snap to slice the piece I needed off with my reciprocating saw.
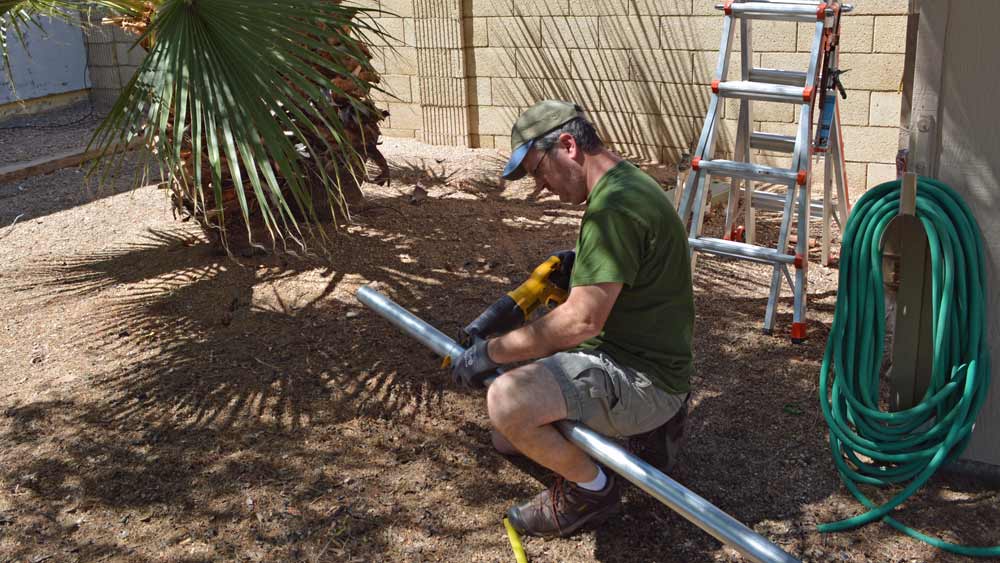
The crazy "leg vice" for cutting conduit
Anytime you work with metal conduit for electrical, you've got to make sure you clean off any sharp, metal burs left behind. Don't take any chances of damaging the wire inside and causing a short circuit. I used a file to clean mine up.

De-bur condit
I'd also picked up a monster 2" conduit body, an "LB" on my shopping trip. I threaded another raintight connector into the end and popped the beast onto the conduit. This would give me a tight 90 degree bend, right into the attic space.
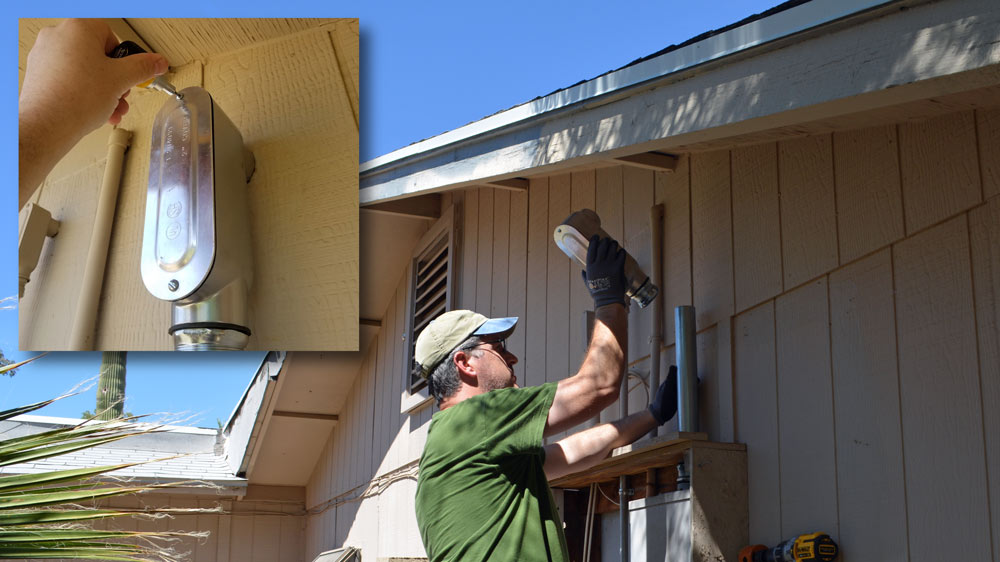
LB Conduit Body

I'll take a little shade, whenever I can get it.
I didn't get any good photography up in the filthy hot attic when I belly crawled over to make the internal connection with a threaded nipple. I poked the wire down the pipe from above, but left it short of the panel for now. I'm not going to unbox the new stove and plug it in until I'm ready to place it, so I'm leaving the old 3 wire connection in place while we continue to use ol' crusty to do our cooking.
I did capture a quick, selfie video after I'd crawled back to the gable hatch for some fresh air. Mind you, I was super hot, but this was shot before we hit 118 degrees.
I wrapped this part of the project up back inside. Remember where I'd left the other end of the cable?

Copper 6/3 w/ground cable
After stripping back the insulation, I poked it through the 2-gang, cut in box (Old Work Box) and popped the box into the wall. When the screws get tightened, little wings flip out and grab ahold of the drywall.
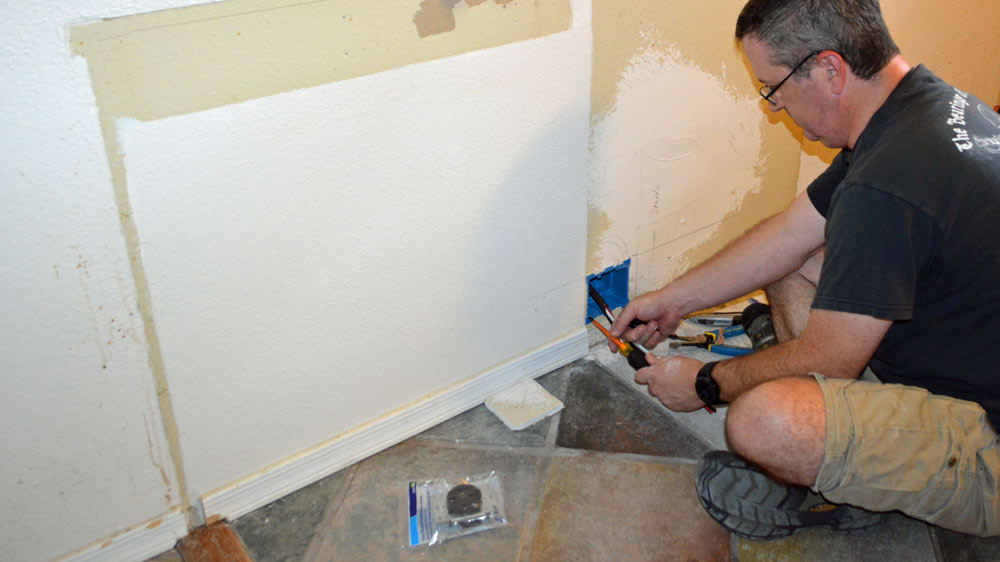
Installing an Old Work Box
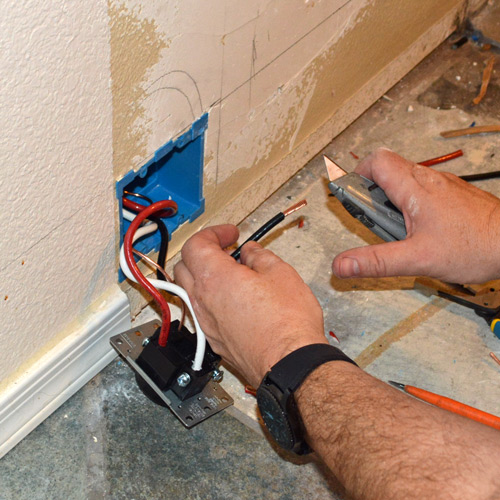
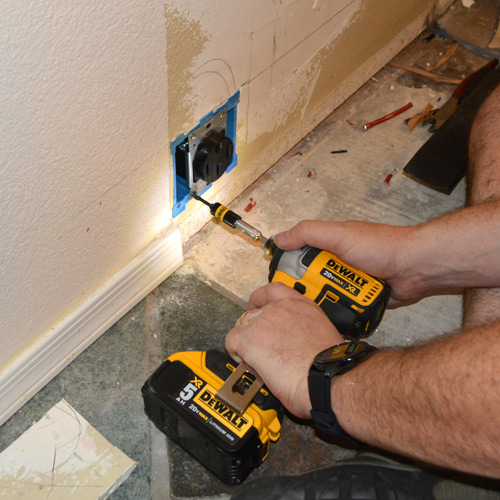
The receptacle is pretty standard stuff, but with more and bigger connections than a standard 15 amp convenience outlet. It's labled really well on the back though. X and Y get the two "hot" wires; the neutral and ground are clearly marked. I cinched everything up tight, tucked the wires gently in the box and screwed in the outlet.

That's it, quite a bit of work, but it will be worth it in the end. I still have to attach the wires in the panel to the breaker and ground bar, install the trim plate after painting, and get back into the attic to properly secure the cable. That can wait. It's gotten silly hot up there. It's actually dangerous hot.
I don't recommend bigger electrical work for everyone, but it can be done properly. I like always share my scary warning / disclaimer.
What do you think? Would you do this yourself, or hire it out?
