

Energy saving LED fixtures are getting cheaper and better looking. Now that the color of the light isn't just that icy blue anymore, I'm all in. I've been slowly changing lamps and fixtures around the house and enjoying the savings. I also enjoy trashing some ugly 1980's light fixtures.
Ugly. Just ugly.
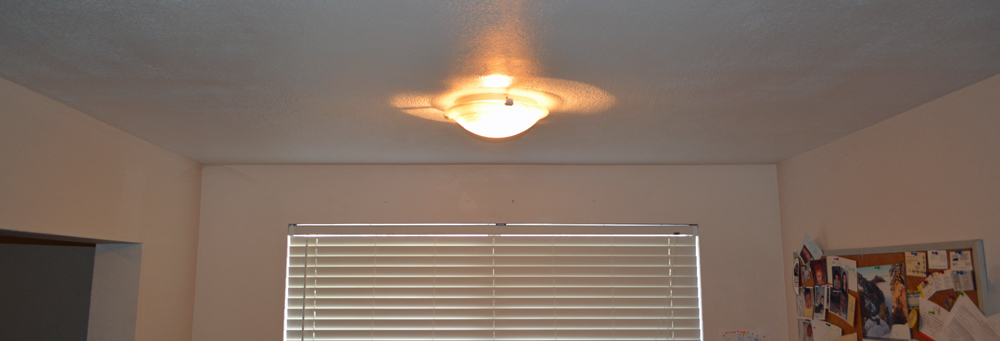
THE OFFICE
We have an odd little room we suspect was the original back patio. Perhaps it was actually the second patio to be added in a long string of outdoor additions to be later enclosed in the crazy renovation frenzy of our drunken predecessors. Either way, it's an interior part of the house now. We use it as a home office. This charming little space includes some great examples of the hack-job lunacy we've found left for us by our DIY forerunners. I'll share that sometime, but lighting is now included. Changing one simple fixture is an easy project. You'd think so anyway. In this house, you'd be wrong.
THE LIGHT FIXTURE
A room renovation is going to happen eventually down the line, but we decided to jump ahead and simply replace the grandmotherly ceiling fixture pasted on the low ceiling. We found something thinner and more streamlined to replace it with, something measurably less horrid. I'd surely peel this old lady / inverted pith helmet of a fixture off the ceiling and slip the new one in its place in five minutes. ( Nope)

Hello,...Mildred.
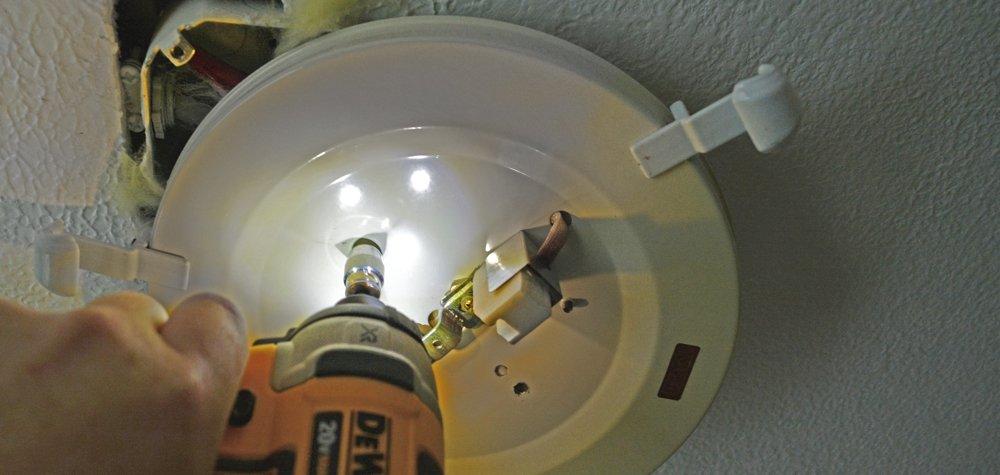
It's easy enough to pull these old things down. Two of the three fingers that grip the glass lense are spring-loaded. Pull 'em out and the glass is free.

Sproing!
The lamp is a 100 watt halogen tube. It burns hot and bright. Of course, said brightness can be handily tempered by covering it with a thick, marbled piece of granny glass. It also helps tone down the light by baking the white, reflective metal of the fixture over the years to a sickly beige / yellow color.
I pulled the tube from its spring loaded clip with a gloved hand to avoid any bloody nastiness in breaking it bare handed. I figured there really was no need to cut myself unnecessarily. (UPDATE: As my Facebook followers know, soon after I finished this project, I went ahead and cut myself,... unnecessarily,... like a moron.)

Easy,... easy...
The Warning

HEY!!!
We're getting into potentially electro-zap-worthy territory here. Make sure the power is off. Turn off the breaker and test the wiring to see if there are still any live circuits in the box before proceeding.
Check out the AZ DIY Guy - Scary Electrical Warning for more.
THE REMOVAL
The simple matter of removing two screws holding the fixture to the junction box gave me my first taste of trouble. The screws should have been fine threaded 8-32's, but I found that some beefy, coarse-threaded monster screws had been forcibly plowed into the box. One featured some delightfully stripped threads preventing me from backing it out by conventional means. Evidently this was originally intended to be a permanent installation, by the cross-eyed sot that installed it years ago.
I finally clamped a pair of vice-grip pliers on the offending screw and forcibly unscrewed it, with a good portion of my body weight pulling down and spinning like a Cirque du Soleil acrobat. It was poetry in motion, I assure you.
The Box of Trouble
Behind the fixture, I found a standard octagon box. Normally that would be good news. Most fixtures pop right on them. But in this case, I had three problems staring back down at me. Do you see them?
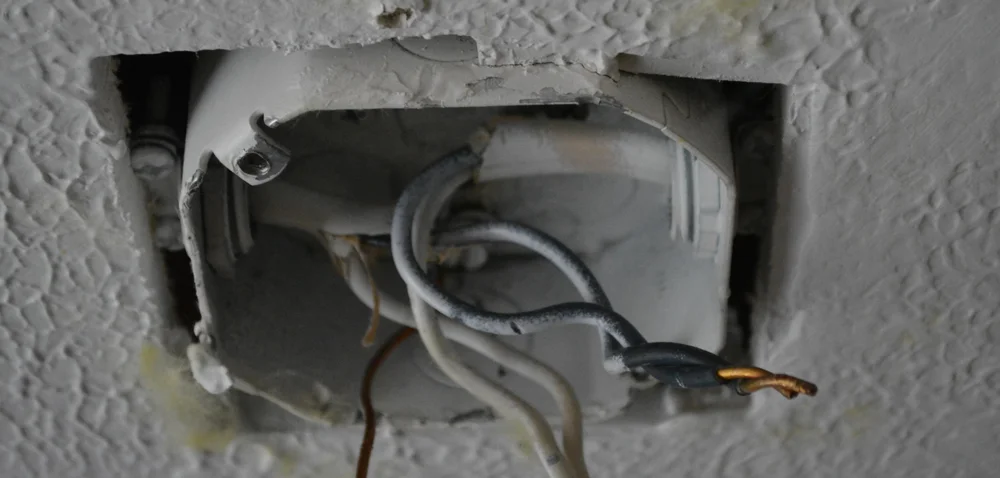
I think it's actually smirking at me.
Not counting the fact that there was a big, square hole, open to the attic space to help us enjoy higher utility bills, the box provided 3 fun challenges.
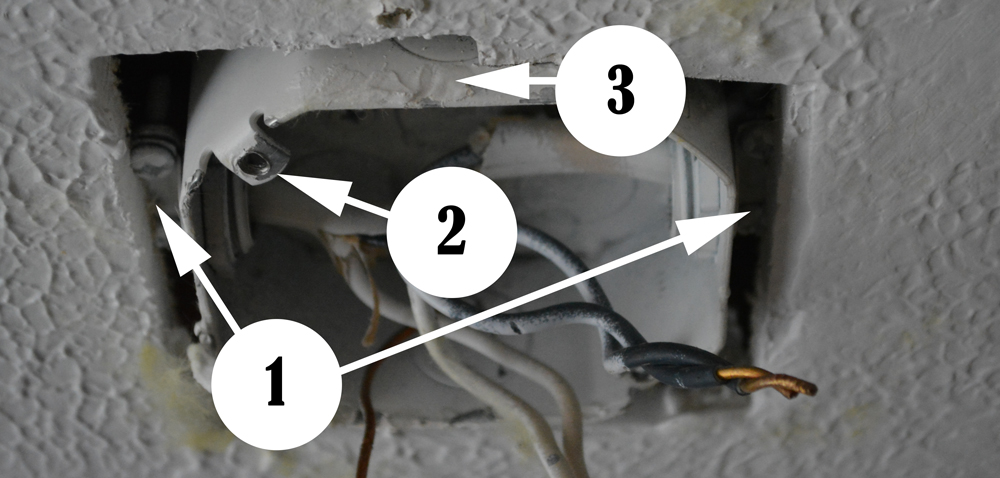
THE Problems:
- I need to replace this box. The clamps that hold he electrical cable are buried in the ceiling. One was even mudded in with drywall compound.
- The fixture mounting holes in the corner tabs were destroyed, completely stripped out by those monster coarse-thread screws.
- Most importantly, the box was protruding 1/4 inch below the face of the ceiling. The new fixture is flat backed, and needed mounting hardware into the ceiling at its corners. The corners wouldn't even touch the ceiling with this spectacular feat of engineering.
The wires came into the box in two directions. One would be incoming feed from the switch. The other headed off to a receptacle downstream. That receptacle was switched along with the light. Pretty useless in an office, but way too much work to change to full-time power.
I pulled out a couple drywall screws that held the box to framing above, removed the locknuts from the cable clamps, and started fighting the box out of the ceiling. I had to chisel out a little drywall and wrestle with the wires to avoid damaging them.


I got the octagon out of the ceiling and headed off to the hardware store for something slightly shallower.
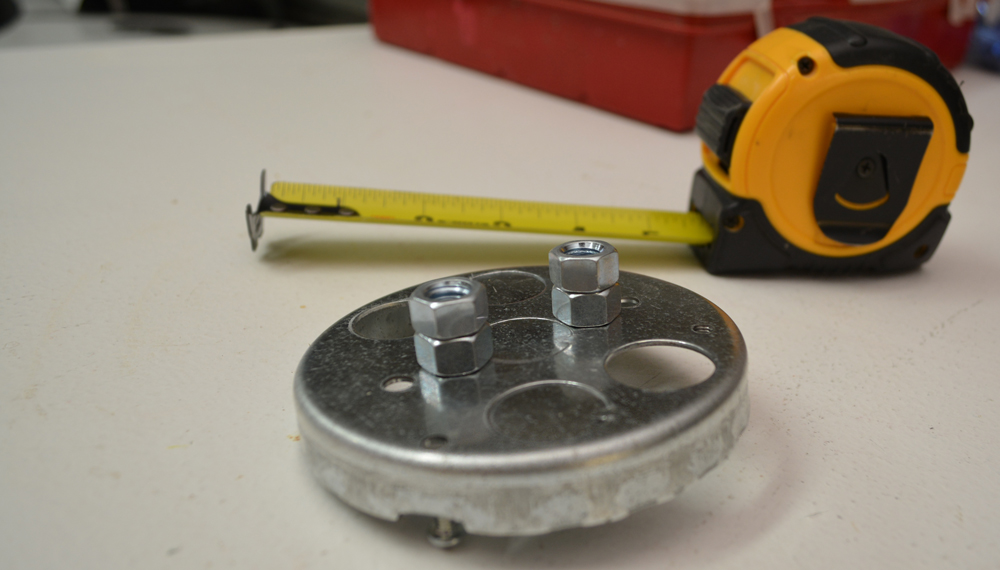
I needed a new junction box that was 1 1/4" deep, but couldn't find one locally. The only thing shallower that I could find was a "pancake box". A round, 5/8" deep rascal. I'd have to make it work. I lost the side placed knock-out holes and would have to bring the wiring in from the back, but surely I could figure something out.

I also took the liberty of grabbing a proper grounding screw. The existing installation had used another one of those coarse-thread screws and wrapped the ground around it. It's not a proper electrical grounding means at all, and it's not cool. These metal boxes all have a single, threaded hole, ready to accept a proper grounding screw. Why not use it?

From Left: A Proper Grounding Screw and an Idiot's Coarse-Threaded Grounding Screw (attempt)
There was a double 2x4 up in the ceiling cavity leaving no room for the cables and clamp. A single 2x4 could have been straddled between them. It took me a while digging through my nuts and bolts boxes stacking up washers and doodads to come up with some way to stand the slim pancake box off enough of the framing. to fit everything in place.
In the end I got lucky a couple 1/4 nuts did the trick. I'd place them over the mounting holes and run long screws through them and into the framing.
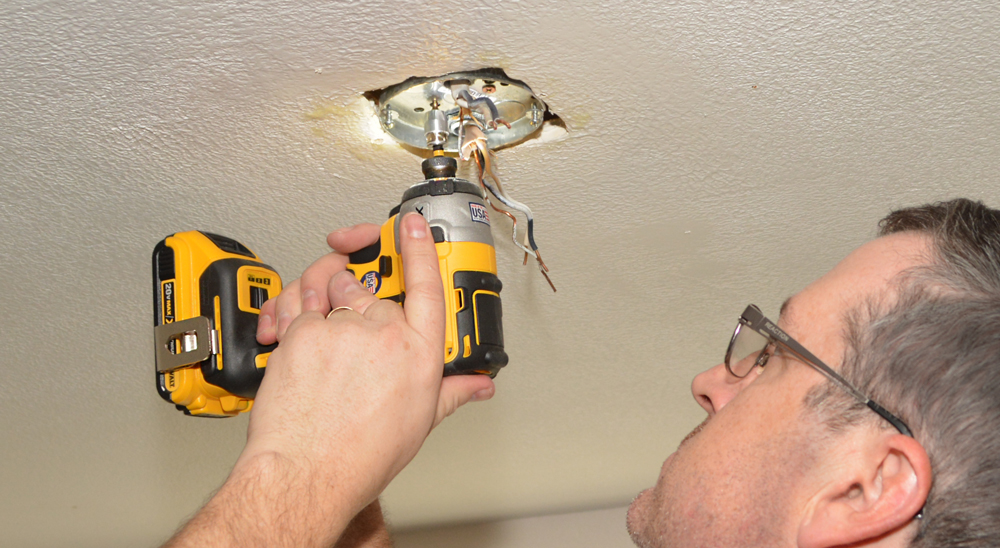
Perfection. I zapped a couple fresh 2 1/2" screws in place with my new impact driver. The edge of the pancake box lined up perfectly with the ceiling face.
I'd installed the clamps and tightened them before installing the box, making sure the cable wouldn't be pinched. I filled the square hole gap with insulation and tapped the locknuts into place with a screwdriver.

Yeah, I'm using my linesman pliers as a hammer.
THE Wiring for the new light
The new fixture included pig-tailed wires with speedy snap connectors. It was easy enough to wire them in with wire nuts, black-to-black, white-to-white, and the green to green, bare copper, and the new ground screw.
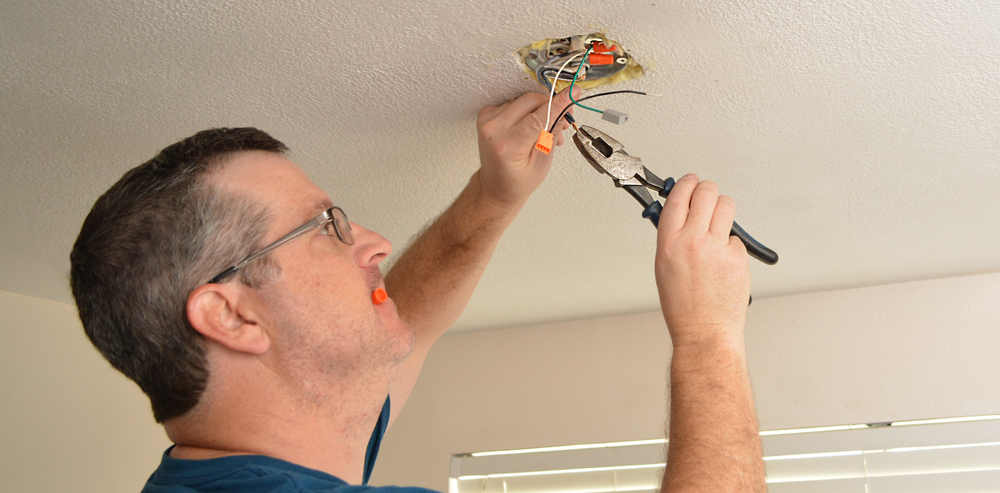
Wire Nuts. Smoke 'em if you got 'em.
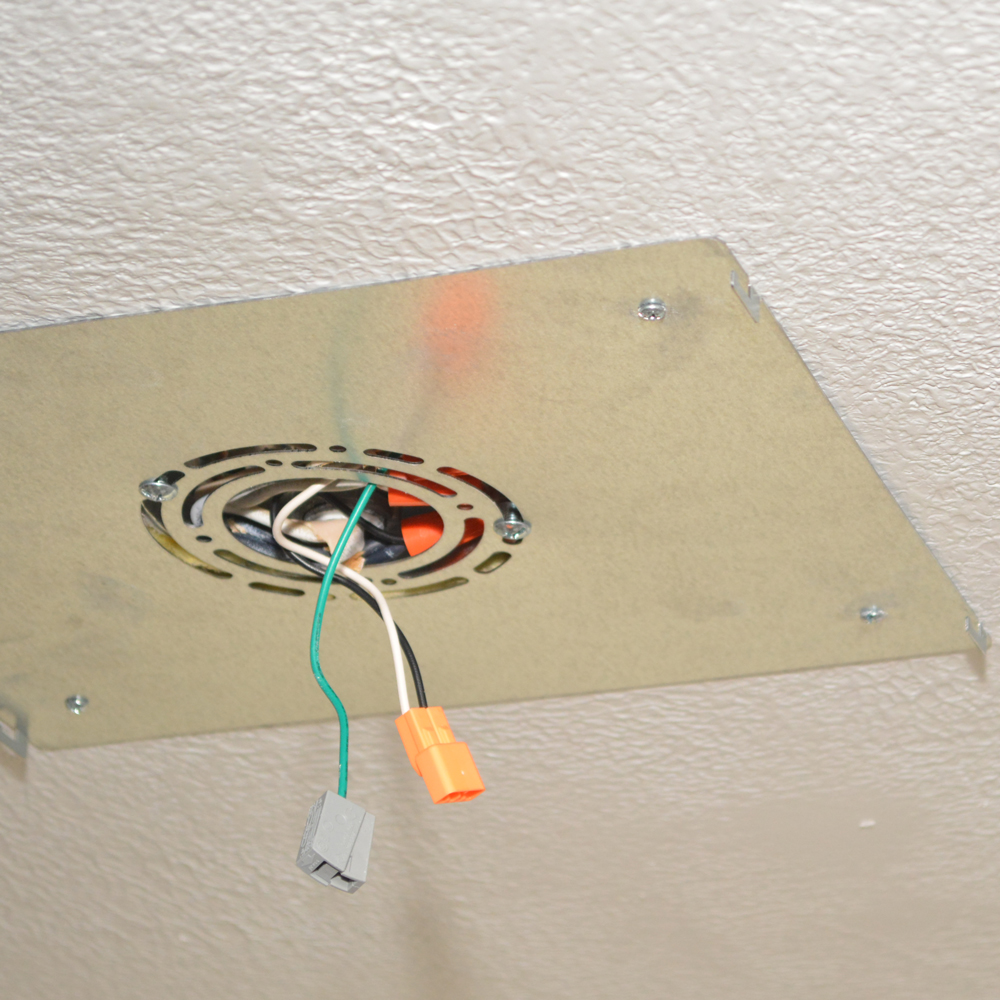
Nice and neat, everyone got tucked in and ready for bed. The clip connectors dangled down, waiting for their mates.
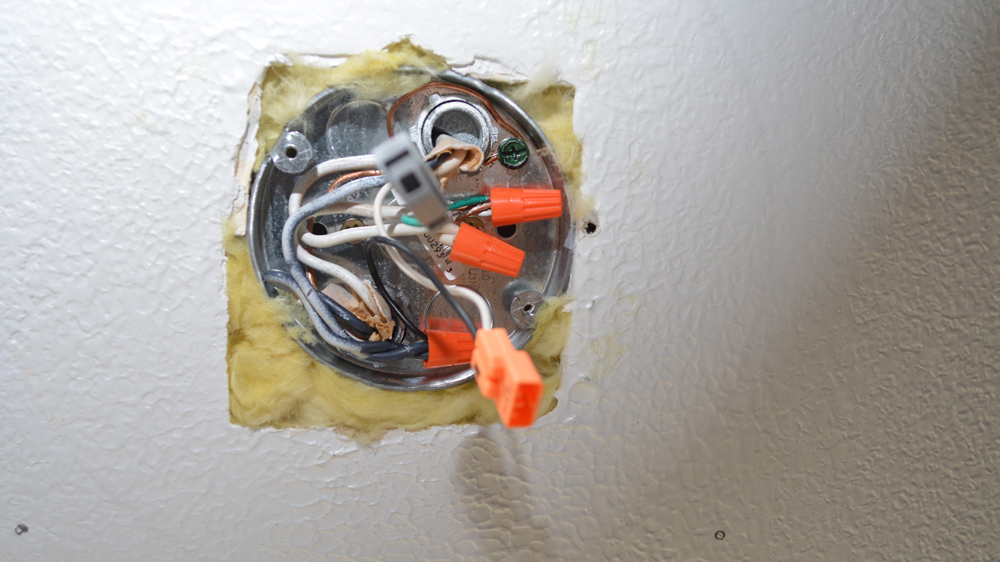
The angle of the dangle.
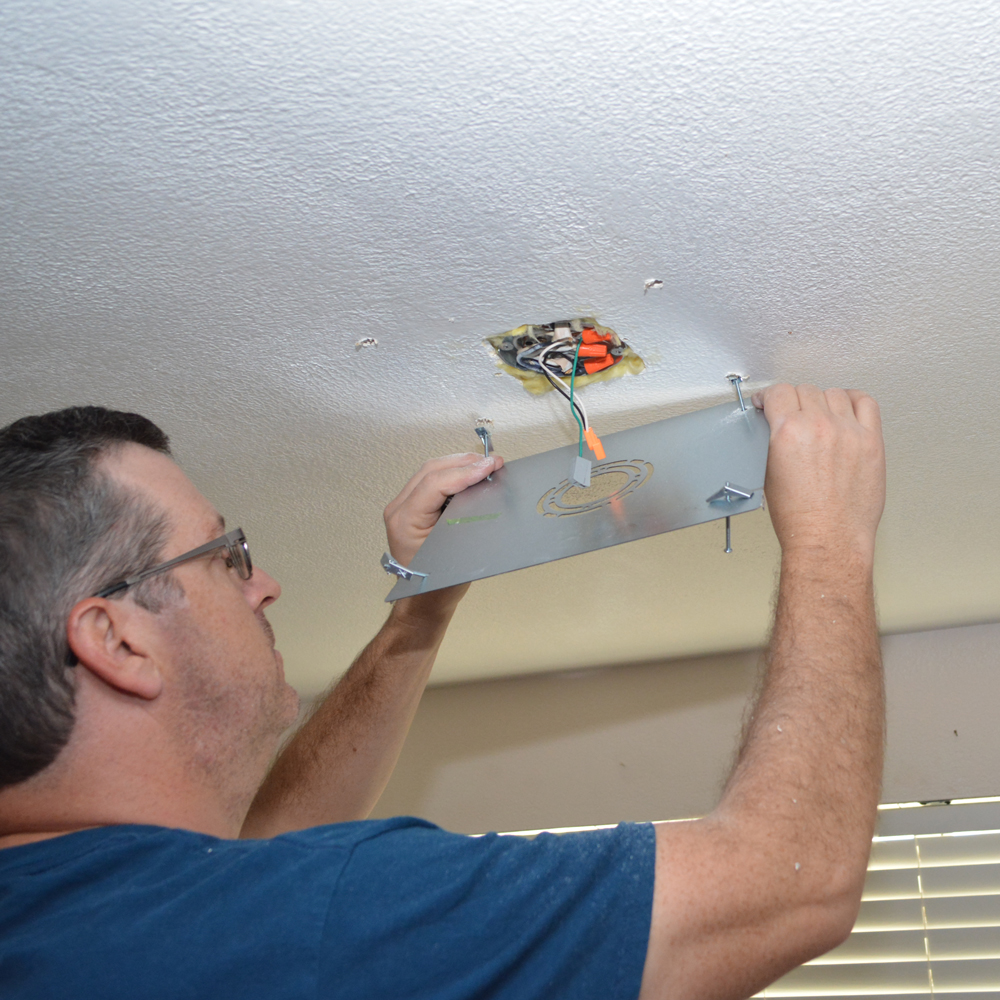
THE Install OF the LED Panel Light
The flat mounting plate needed a few connections in the corners to keep it snug on the ceiling. I marked the mounting holes with a pencil, pre-drilled though the drywall, and slipped the small toggle bolts through. When they were cinched up tight I screwed fresh 8-32 screws into the new junction box. Now it was up to code.

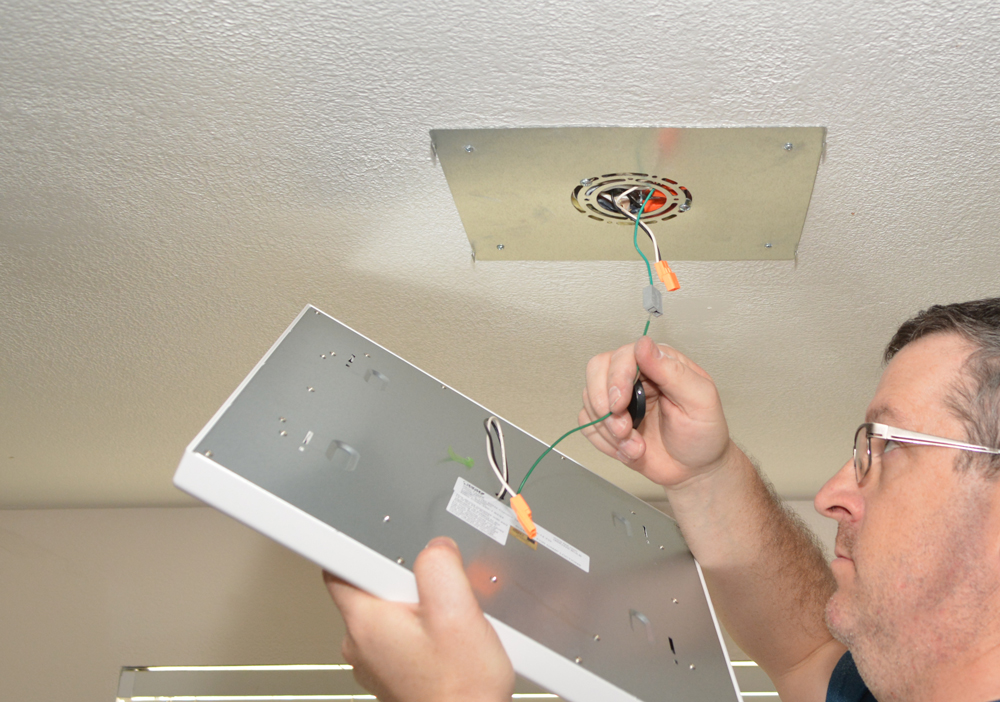
Wiring from this point was a piece of cake. I snapped the connectors together, pushed the fixture's ground wire into a pressure clamp and slid the light onto the back plate. Tabs snapped it into place. Easy.
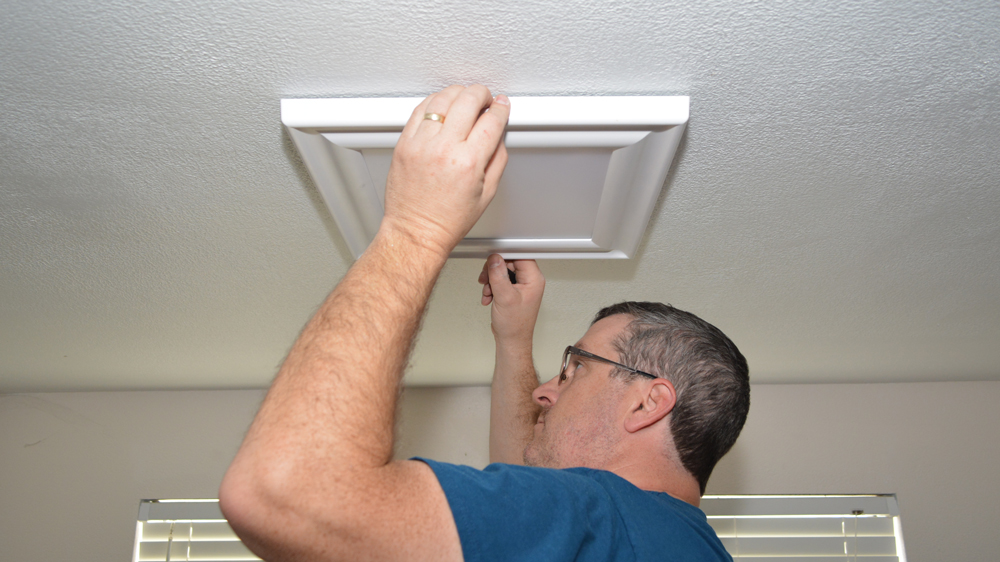
Turn on the power, flip the switch, and it's done. We like the new, flat look. It actually looks like a skylight when it's on.

The Final score:
There is a bunch more light in the room. The final score is awesome.
The Granny Fixture (original): It pulled 100 watts and put out a bunch of heat for our AC to fight against. It also was ugly as sin, deep for the low ceiling room, and didn't put out very much light, especially for that amount of power. What light did come out was orangey and mostly on the ceiling.
The Flat Panel LED Fixture (New): It's a is a warm colored 75 watt equivalent fixture that pumps out much more light than the old one at a cost of only 14.7 watts with nearly no heat. It's only an inch deep and much more attractive. It puts out a pleasingly warm light. The manufacturer claims it will get a 45 year life span based on 3 hours per day usage.
This particular unit is a Feit Electric 944464 I picked up at Costco. It's sold out on Amazon as of this writing, but they do sell a bunch of similar LED panel fixtures.
What do you think? Are you on board for the LED revolution yet?