

The kitchen is really coming together. The last major piece of the core project is the back splash. We'd decided to keep it and simple with a classic, white subway tile.
It didn't hurt that it's also super inexpensive at about $12 a box.

Although we'd need two and a half boxes, I bought four. I wanted to future proof the house for anything that come down the line, unlike our predecessors, who didn't leave a scrap of floor tile for us to make repairs with.
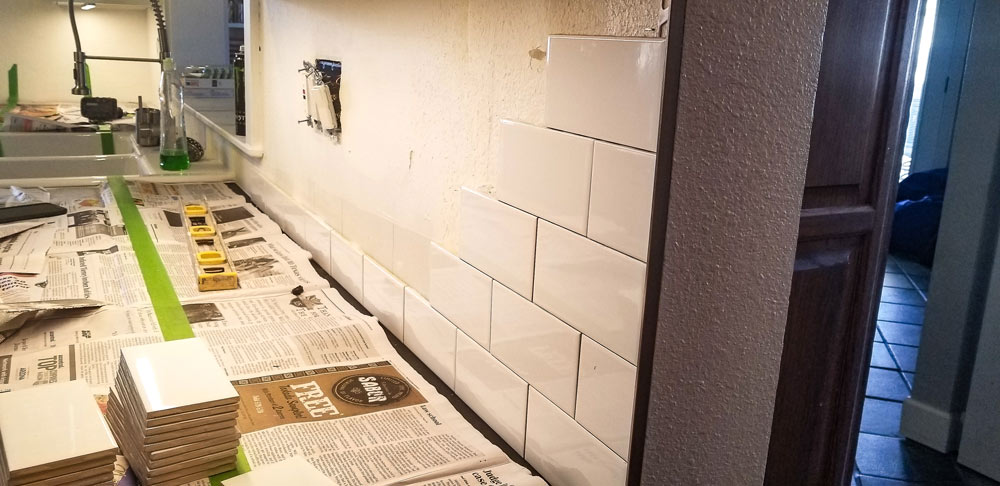
I stuck a few to the walls with double-sided tape in a couple areas to see what it would look like.

It's a winner.
I have a confession to make...
First, this big, bad beast is not my wet saw and those are not my angle grinders.

...it is our garden hose though.
It's this dude's stuff.

Note: That's not me. It's an actual skilled artisan.
Yeah. I know.
No self-respecting DIY enthusiast should pass on something as cool as tiling a back-splash. It's basically a mid skill-level project. Furthermore, no credentialed DIY blogging bad-ass would skip a chance to step-by-step tutorialize (is that a word?) such a project, especially when they'd torn a kitchen down to the studs, re-framed, plumbed, rewired, dry-walled, and installed cabinetry all by themselves.
When our counter-top fabricator installer casually asked who was doing the back-splash, I indignantly told them that I was. But what would a quote hurt?
$500 to do it in one day.
Dang. Maybe we should think about...
Do it.
So here's the step-by-step tutorial on my back-splash tiling method. Take notes friends:
Get a Quote
Accept the quote
Laborously break out a credit card for the down payment
Open the door to let the dude in.
Sit on the couch and liberally apply snacks to the hole under your nose.
Occasionally watch the back-splash get installed.
Have a frosty beverage <repeat>
Skillfully apply the credit card to pay it off.
Yes, it's exhausting.
Here's a review video of the most important step if you didn't catch it:
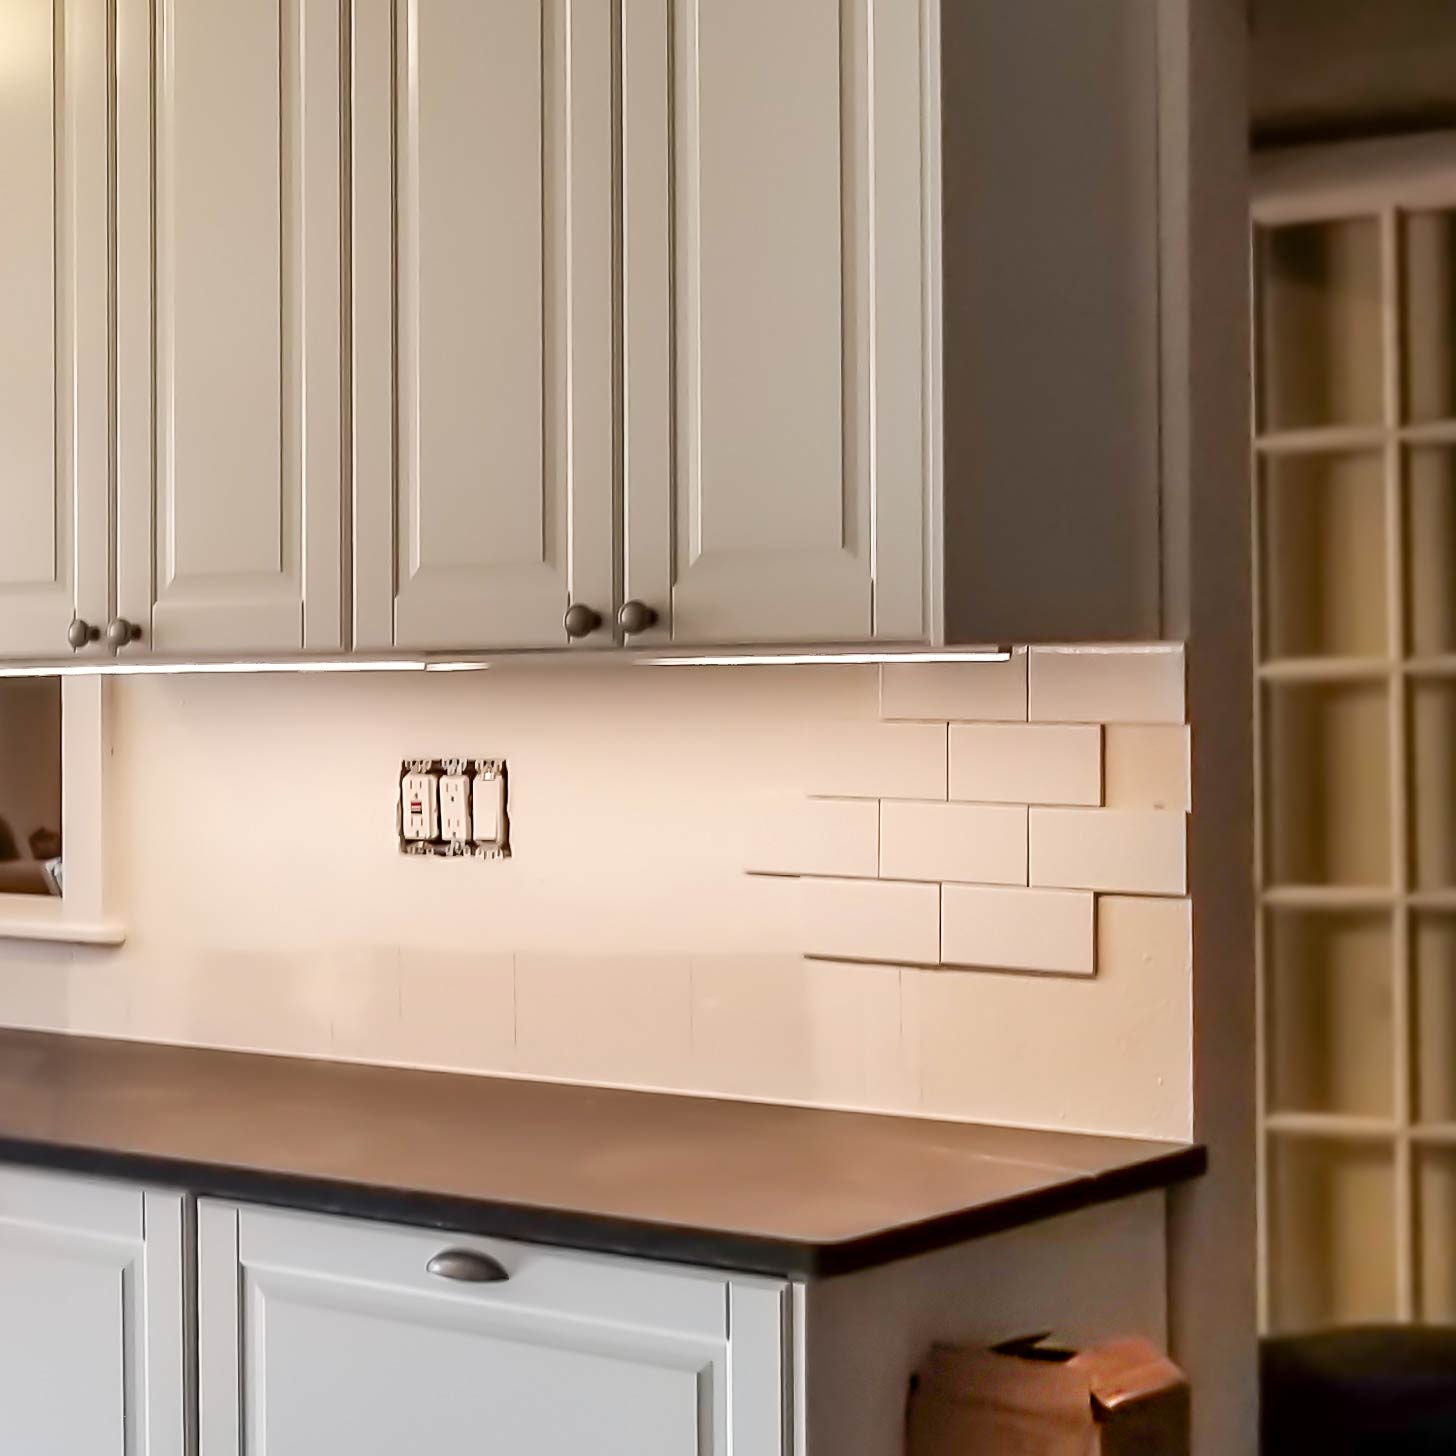
Of course it turned out awesome. He tiled the whole kitchen in one day.
We kept it a classic white grout on white tile to keep the kitchen from looking too busy. The installer did come back the following day to grout it. It was done!!!
Awesome.
You can see how the slide in range makes the area look a lot larger without the controls "back splash" at the rear.

Over the range top
The north wall is the larges expanse of unbroken counter top. Here it's featuring my camera's spare battery and charger,... right where I left it when we went on vacation.

Dig the contrast with those soapstone countertops
The far end of the north wall is the baking area.
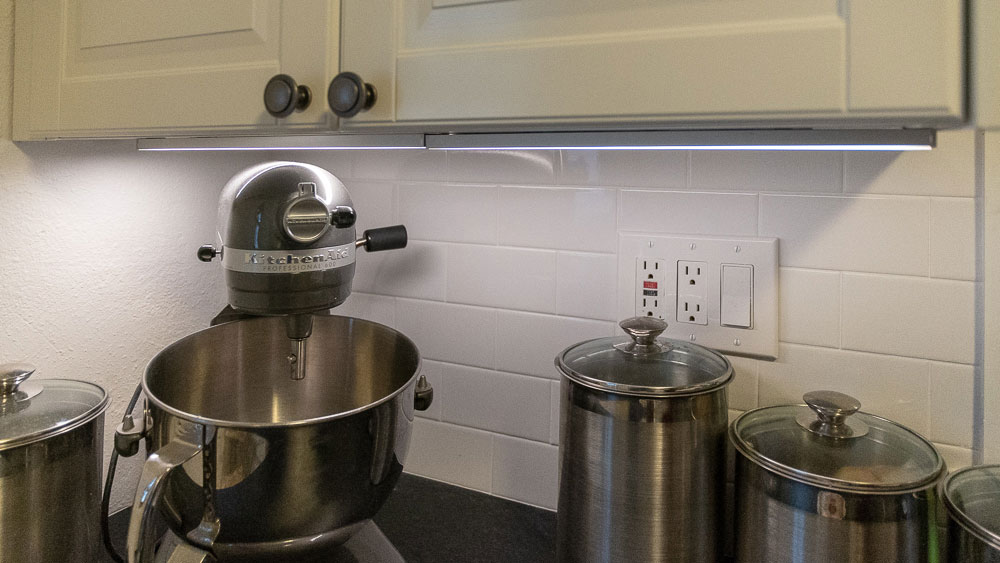
Now that the easy stuff is done. I have to seal the grout. Yes, I'm an action hero.