

The summer heat has finally moved. Temperatures are down to the double digits. Arizona is entering paradise mode.
I headed out to the workshop and to do some cleanup, enjoying a gloriously cool morning with the garage door wide open. Although I had plenty of more pressing projects to complete around the house, I just felt the need to tinker around for a bit. It was just that kind of day.

As I put my scattered cordless tools away, I looked down at the charging station I’d quickly slapped together when I’d done the diamond-plate PVC wall covering project.
It was an stupid mess. I’d been chucking batteries down like a heap of dirty clothes all summer. I decided to take a little time and come up with a better solution to keep the batteries in some semblance of order. A quick woodworking project would be fun.

So much for neat and orderly.
After all, are there many ways better to wile away a Saturday morning after a stressful work week than puttering around in the garage with no real agenda? Making sawdust with the door open and some classic rock cranking would be absolute heaven.
How I built a simple workbench shelf
I dug through my scrap wood bin and found a few pieces of 1x6 (¾” by 5½”) left over from my latest craftsman trim projects. A shelf spanning between two of the front, vertical supports of my workbench would be perfect use for them
I lopped the longest one to length with the miter saw.

Sliding compound pirate miter saw.
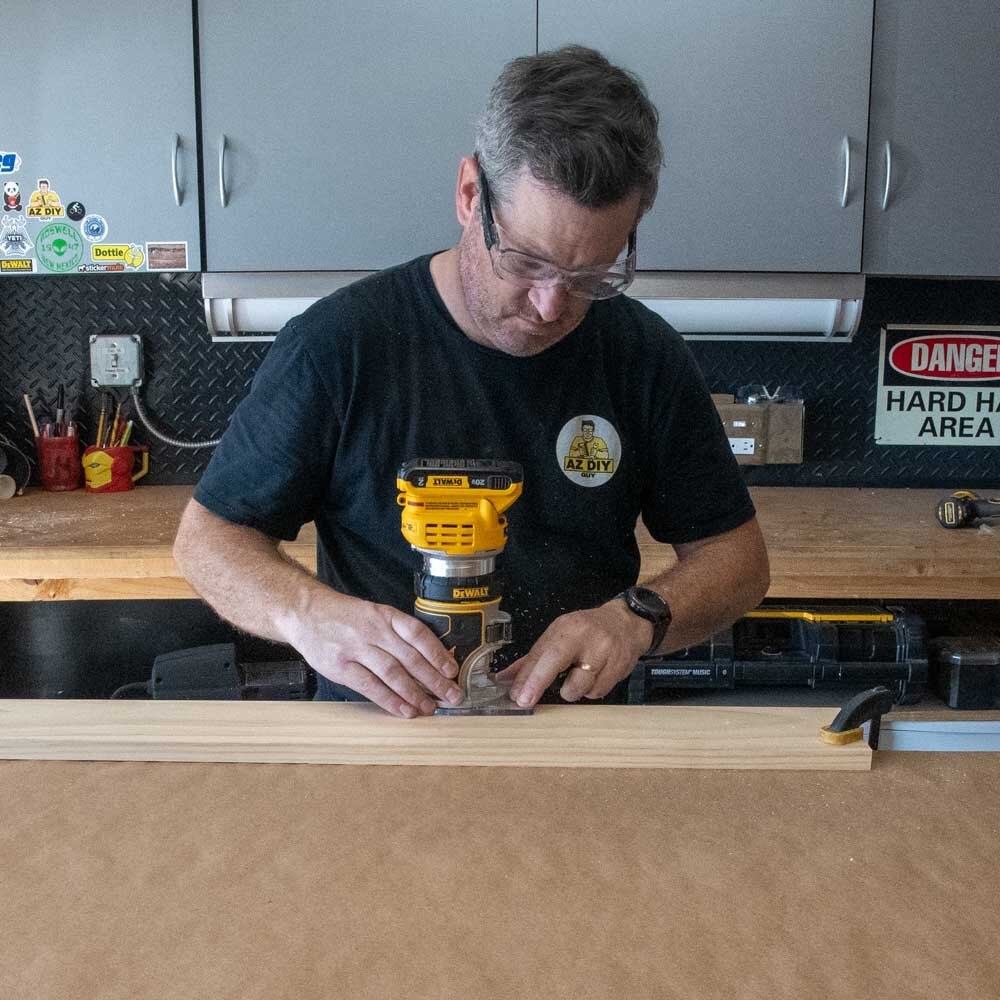
I figured it would be a matter of time before I cracked a hand against a sharp edge and split a knuckle. I’d ease the front edges with my new router. It was one of those situations where I just really wanted to use a particular tool. I suppose I could have sanded the edge but,… trim router.
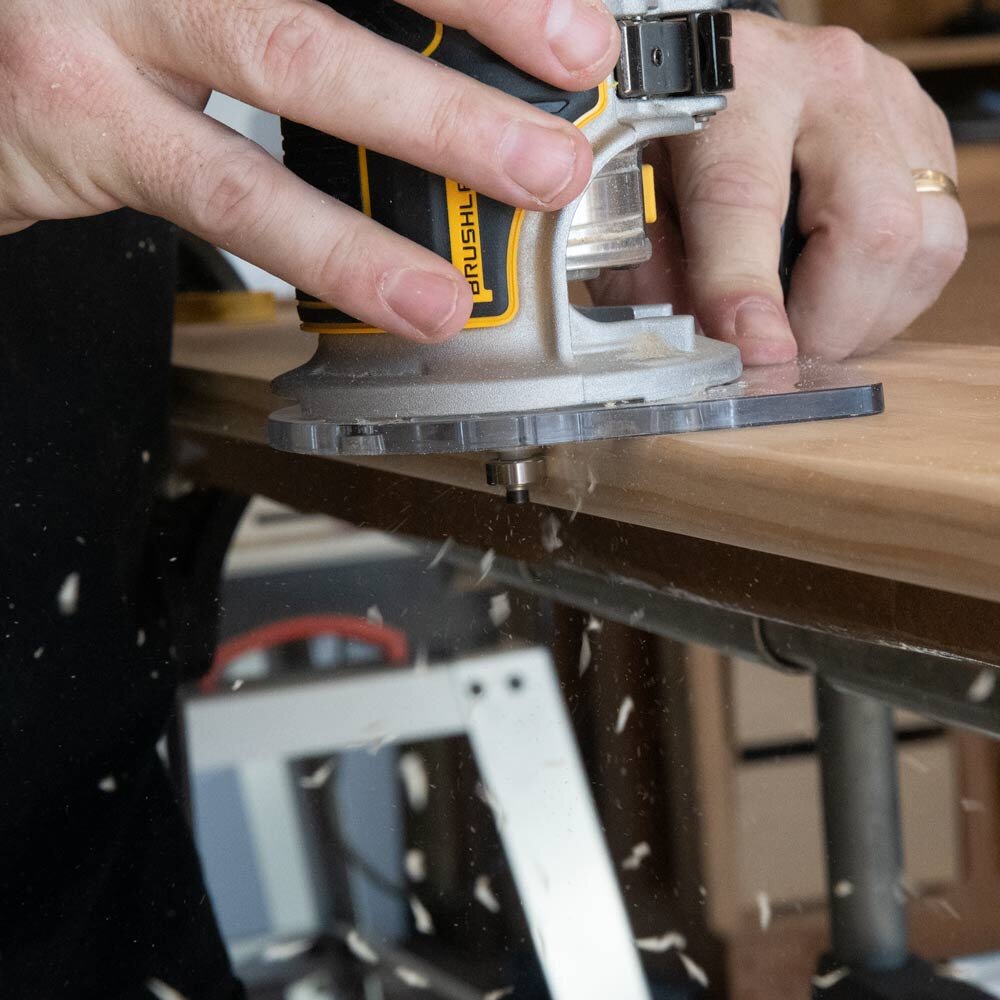
I slipped a 1/4” round-over bit into the collet.
This one has a pilot bearing. It’s a handy little wheel that rolls along the face of the edge and maintains an even cut the whole length of it.

I loved using this fun cordless router instead of breaking out one of my big, corded ones. It’s plenty powerful and easy fun to use. (affiliate links to tools- thank you for your support)
I wanted a back panel to keep stuff from falling, but didn’t have a piece of scrap board long enough. To splice a couple shorter pieces together I brought my pocket hole jig into the fight.

The Kreg K5 Pocket Hole Jig screwed to a piece of plywood
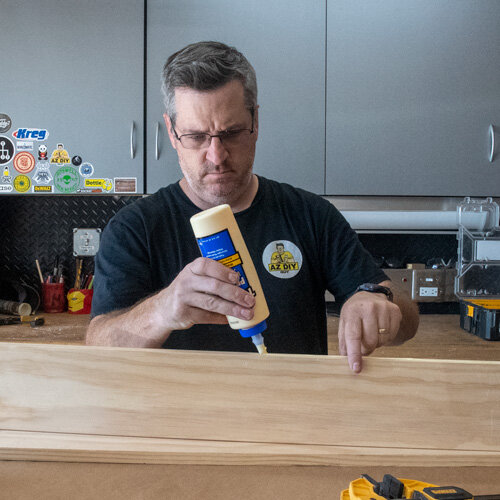
I’d create an end-to-end butt joint. It wouldn’t be noticed. With four pocket hole screws and a dose of quality wood glue, this thing would be bulletproof.

I always have Titebond 5004 II Premium Wood Glue in the cabinet

Like the Astronaut Pen, it works upside down!!!
I traced the thickness of the back panel against the underside shelf with one of the pencils I hadn’t managed to misplace yet.

Knowing the thickness of the backer board made it easy to pre-drill some holes to screw the two pieces together into an “L” shape. I also put a bead of glue down the length for good measure.
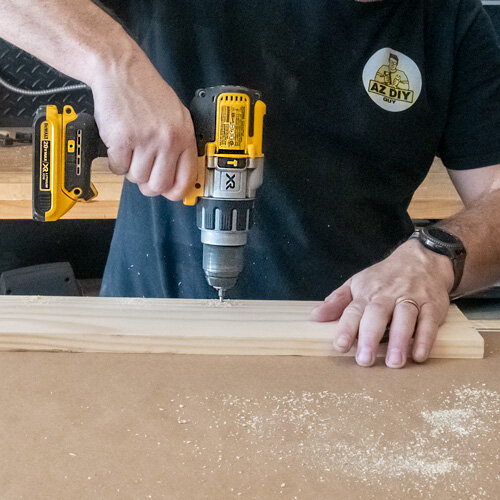
I clamped the two pieces together tightly and zapped some screws in.

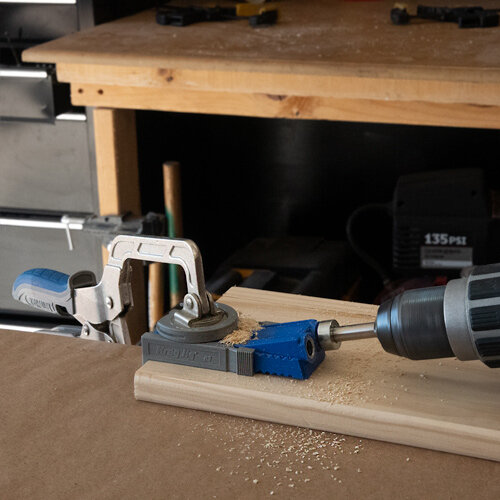
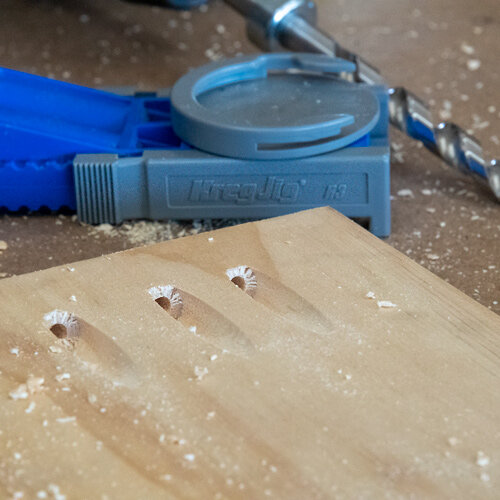
Since the shelf would sit between the legs of the workbench I drilled some more pocket holes to attach it. The board was too long to plop into the Kreg K5 without me risking breaking a ceiling light tube above my head so I retrieved my original Kreg pocket hole jig, the R3, or “Junior” from the drawer. I’d exclusively used this beauty for years for my pocket hole work.
Originally, I’d planned to tilt the shelf back at a pretty severe angle. I thought that would look cool.
Meh. I didn’t like the way it looked. There were trapezoidal gaps behind the vertical 2x4’s; it looked cheesy.

Maybe it looks good for sloppin’ hogs, but not in my workshop.
At nice, right angles, it seemed like it took up too much space; it was too tall. To raise it higher, I had to notch out the back to fit around one of the 2x4 framing members under the bench top top with a jigsaw.

I’m jig saaaaaaawing, yeah I’m jig saaaaawing…
- Tom Petty
The shelf looked a lot better plumb, level, and square.

Now that’s what I’m talking about.
Zip-zap, I screwed it into the legs. I didn’t add glue; three screws per side would be more than enough. It’s not like I’m going to step on it after all.

I dug around the shop and found all the batteries that were scattered and still connected to tools. They could hang out with each other for once, and have a nice family reunion.

I used to keep my small pump clamps attached to the left leg of the bench, I moved them to the shelf edge. There was also enough room left over for some other small, odds and ends that I seem to constantly misplace.

I didn’t realize I had quite so many batteries until I saw them all lined up at once. I’ve started buying bare tools, without batteries at this point. It looks like I have more than enough to get through long, multi tooled day’s worth of projects.
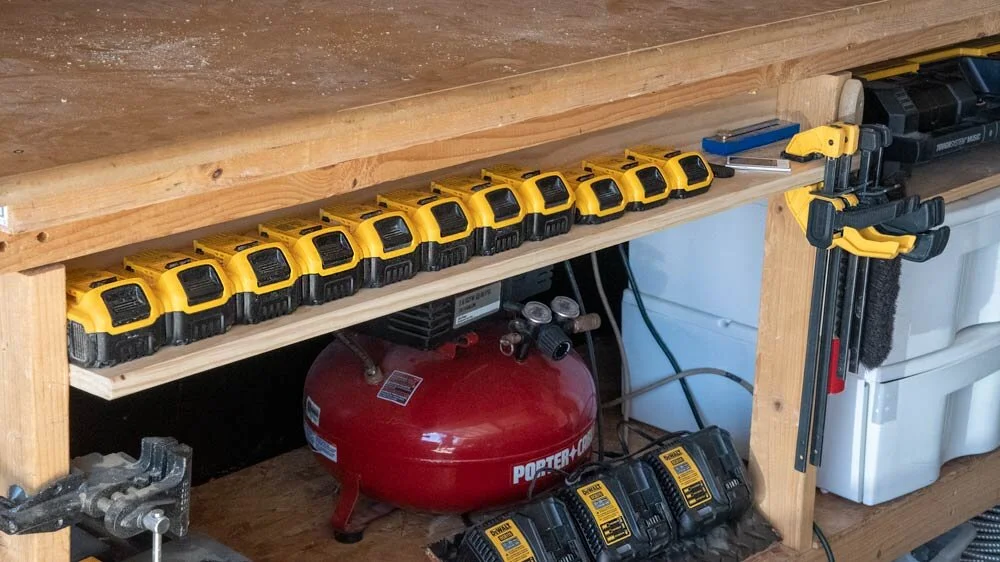
45 Amp Hours of cordless run time, all in a pretty little row!
This quick project is another little step towards my ongoing, mostly feeble attempts to stay organized.

I’ll add an update the Instagram shop tour / walk-around I did in late 2018 and add this fun little addition.
Now I’m back to the important stuff. Stay tuned!
John