

Our son Jack had just started into weightlifting when the COVID pandemic hit. As the universities shut down and sent their students home to remote classes, their facilities closed too. He was left without access to the awesome ASU gym.
He found this really good, older YouTube video by Buff Dudes, where they’d constructed a DIY “Power Rack” for weightlifting. He made a 3D model based on their beefy design and sold me on giving up part of my garage / workshop for a workout area.
And we just want to.. [ clap ] Pump.. you up!
Do-It-Yourself Power Rack / Weight-Lifting Rack
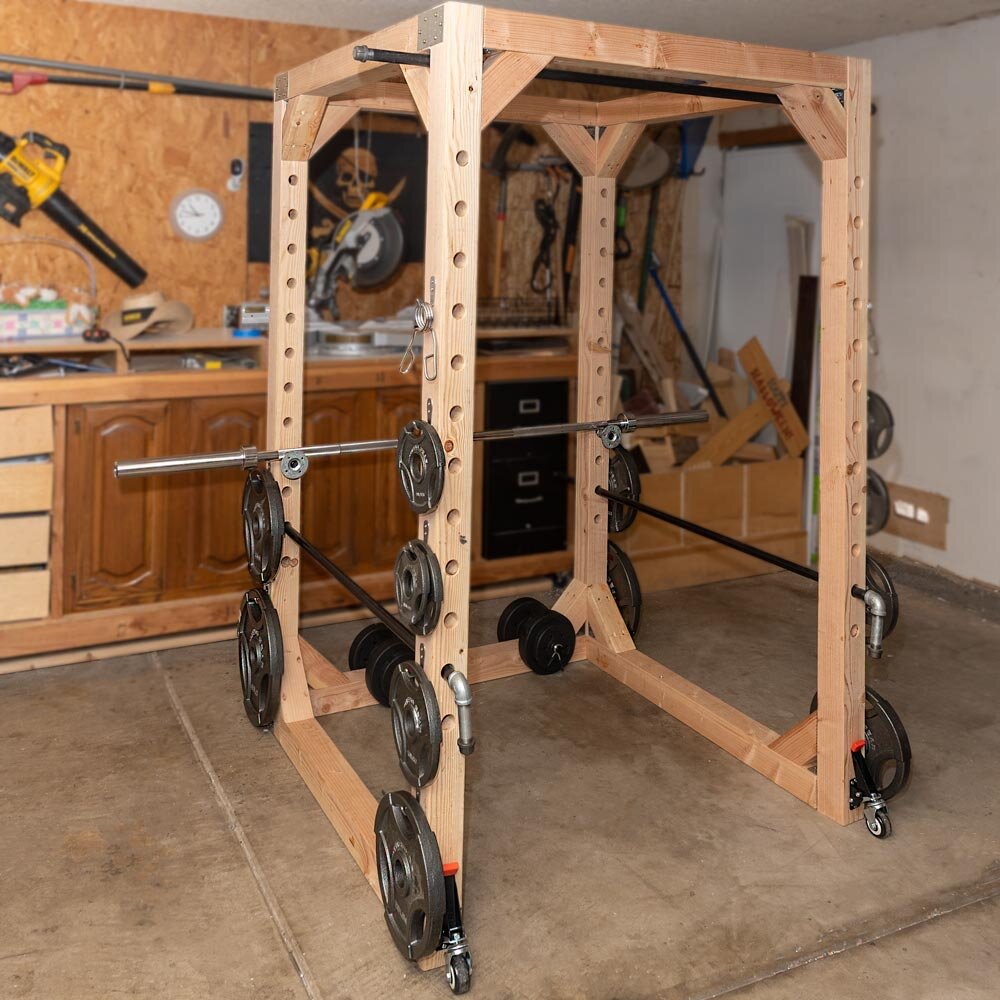
Same and similar racks are all over the internet. We’re adjusting the Buff Dude’s slightly and adding some optional steps. It’s a robust, wooden construction made from screwed-together 4x4’s, plate connectors, and steel pipe. We ordered some of the parts online and picked up the rest at our local big, orange home center.
I’ve provided a complete material shopping list at the bottom of the post
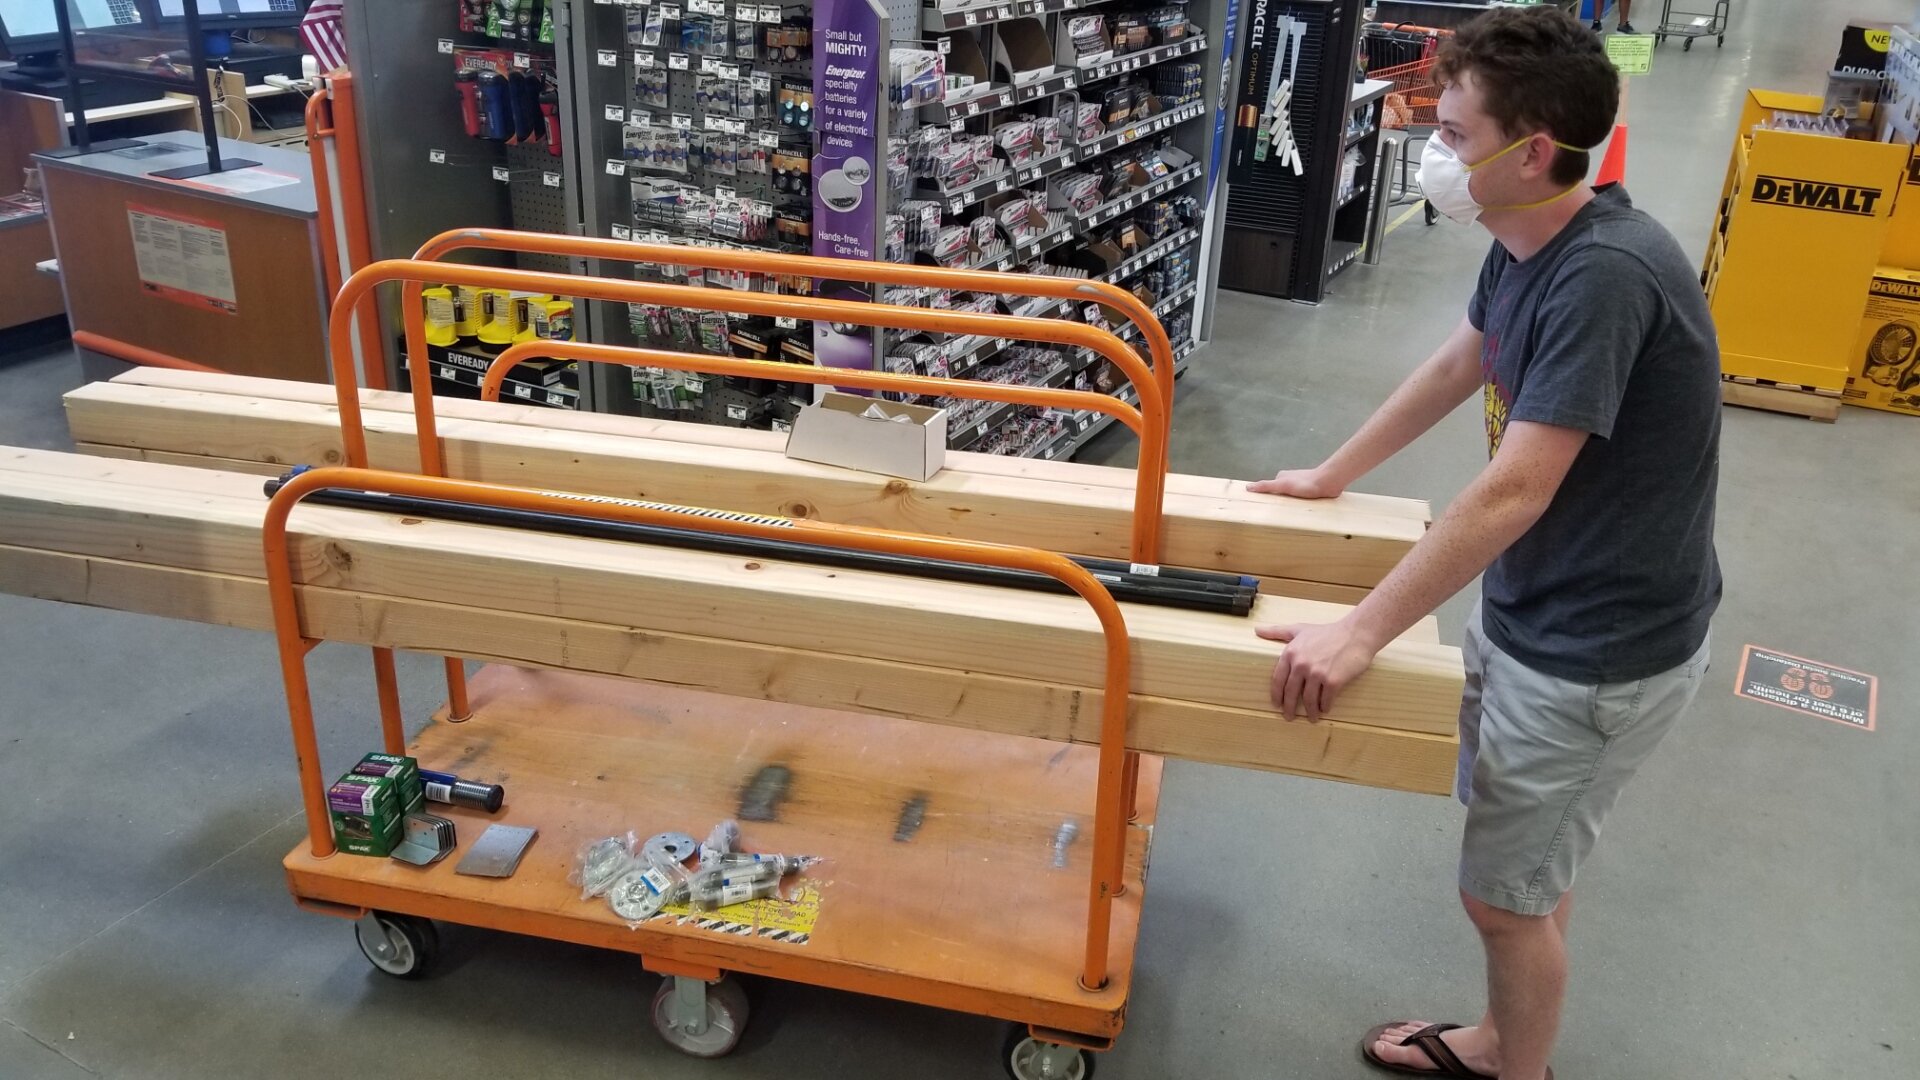
Shopping during the pandemic
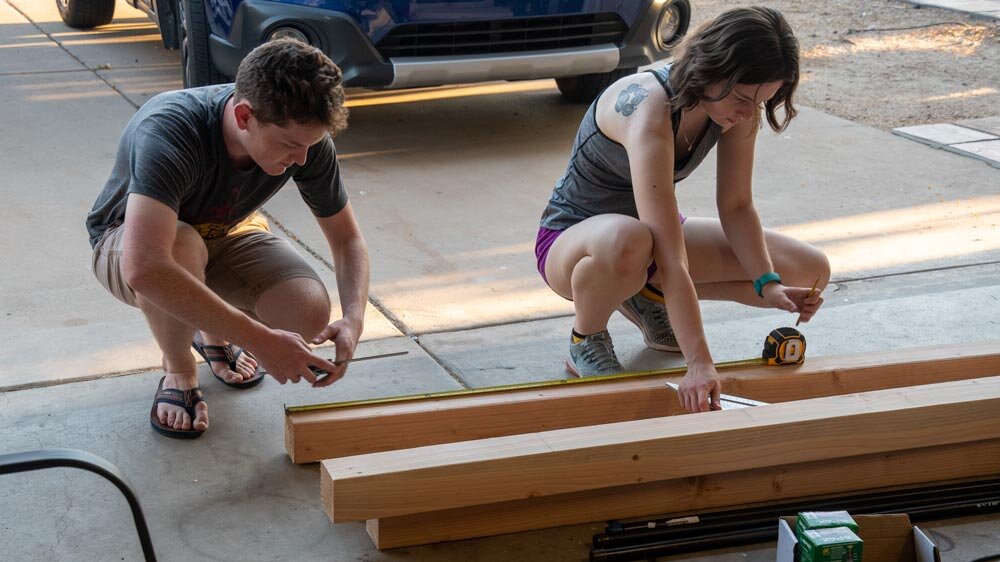
It was a fun team project. Jack’s girlfriend Vlada joined us for the build. They started picking the best pieces and marking them to length for the uprights.
Disclosure: This post contains affiliate links, meaning at no additional cost to you I will earn a small commission if you click through and make a purchase. Build and use this project at your own risk; details reflect only our own experiences.
The grand sorting
4x4’s are actually 3 1/2” square. They can be cut by a hand saw but that would be far, far too much exercise for me. I shouldn’t have to break a sweat building workout equipment should I?
My miter saw made short work of it. We cut the 4 vertical pieces at 80” and the 5 horizontals at 43”.

Merrily lopping 4x4’s
This monstrosity was going to be plenty strong, but would need corner braces to keep everything tight and square. We cut the 45 degree braces, using 10” as the long dimension.

12” Miter Saw cutting angles
We cut all the wood at once. Here’s the cut list and a diagram of how it all goes together.

We the biggest pieces from each board first; the corner braces came from the small cut-off ends.

A whole lot of holes
Both the adjustable safety rails and the weight bar brackets used a series of 1 ¼” holes along the vertical framing members. My cordless drill could have done the trick, but why wouldn’t I use a drill-press if I had one, right? I flipped my 5-in-1 Shop-smith from table saw mode to drill press mode and we laid out the center marks.

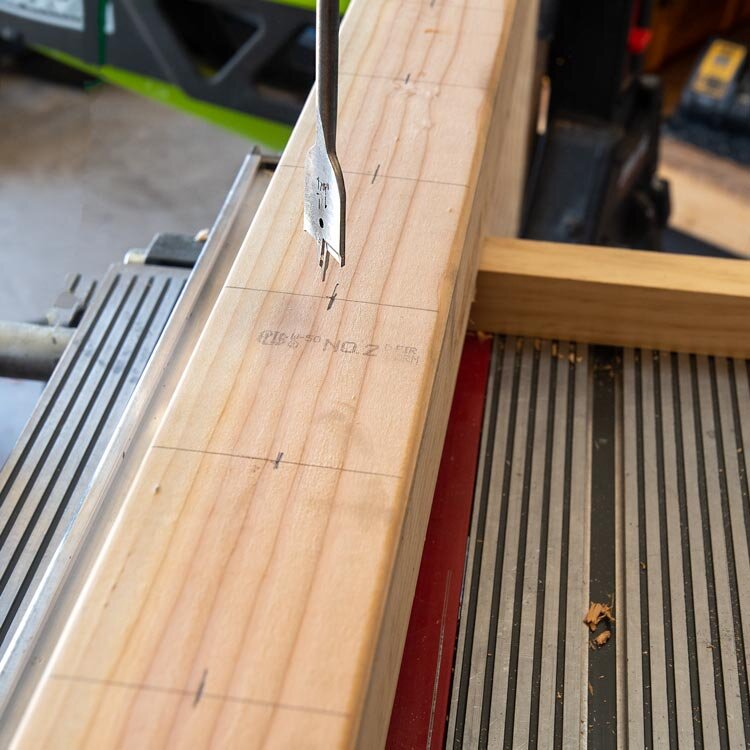
We started 13” down from the top and spaced the marks 4 ½” apart down the center, for a total of 12 holes in each of the verticals. We used a basic 1 ¼" spade bit.
That’s 48 big ol’ holes kids. The drill press was a great way to go. It easily kept things straight too. We clamped the board down down tight for each hole, with a sacrificial scrap board beneath it.

A pressing subject.
The sacrificial scrap board on the drill press table stopped too much blow-out in the exit side of the holes. We could sand it a bit and it would look OK once we got the splintery bits off.

But why go for OK, when it could be cleaned up nicely and avoid future chip outs?
Upgrade Option 1: Round-Over Holes
I chucked a piloted round-over bit into my sweet, little detail router.

There’s a wheel-like bearing on a piloted bit that rides along the inside of the hole while the spinning blade chews a nice, rounded edge. It eats away that blown-out, ragged edge left by the drill.
Jack had all the fun.

Routing 48 times
It left a nice, smooth finished edge that wouldn’t get banged up when metal pieces get pushed in and out during adjustments.

Well rounded
I turned up the tunes and fired up my random orbital sander for a good, long time to smooth all the boards out. Who knows, we might even paint this thing at some point. At least we wouldn’t get splinters. It took some time.
I would have rather gotten router duty.

Slowly. Randomly. Orbitally.
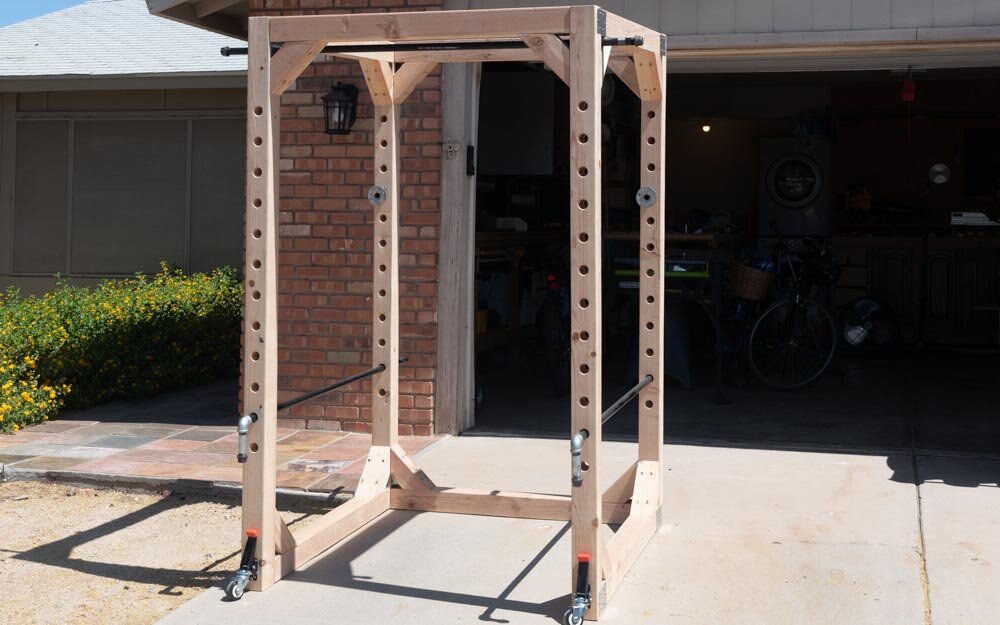
Finally, ASSEMBLING THE POWER RACK!
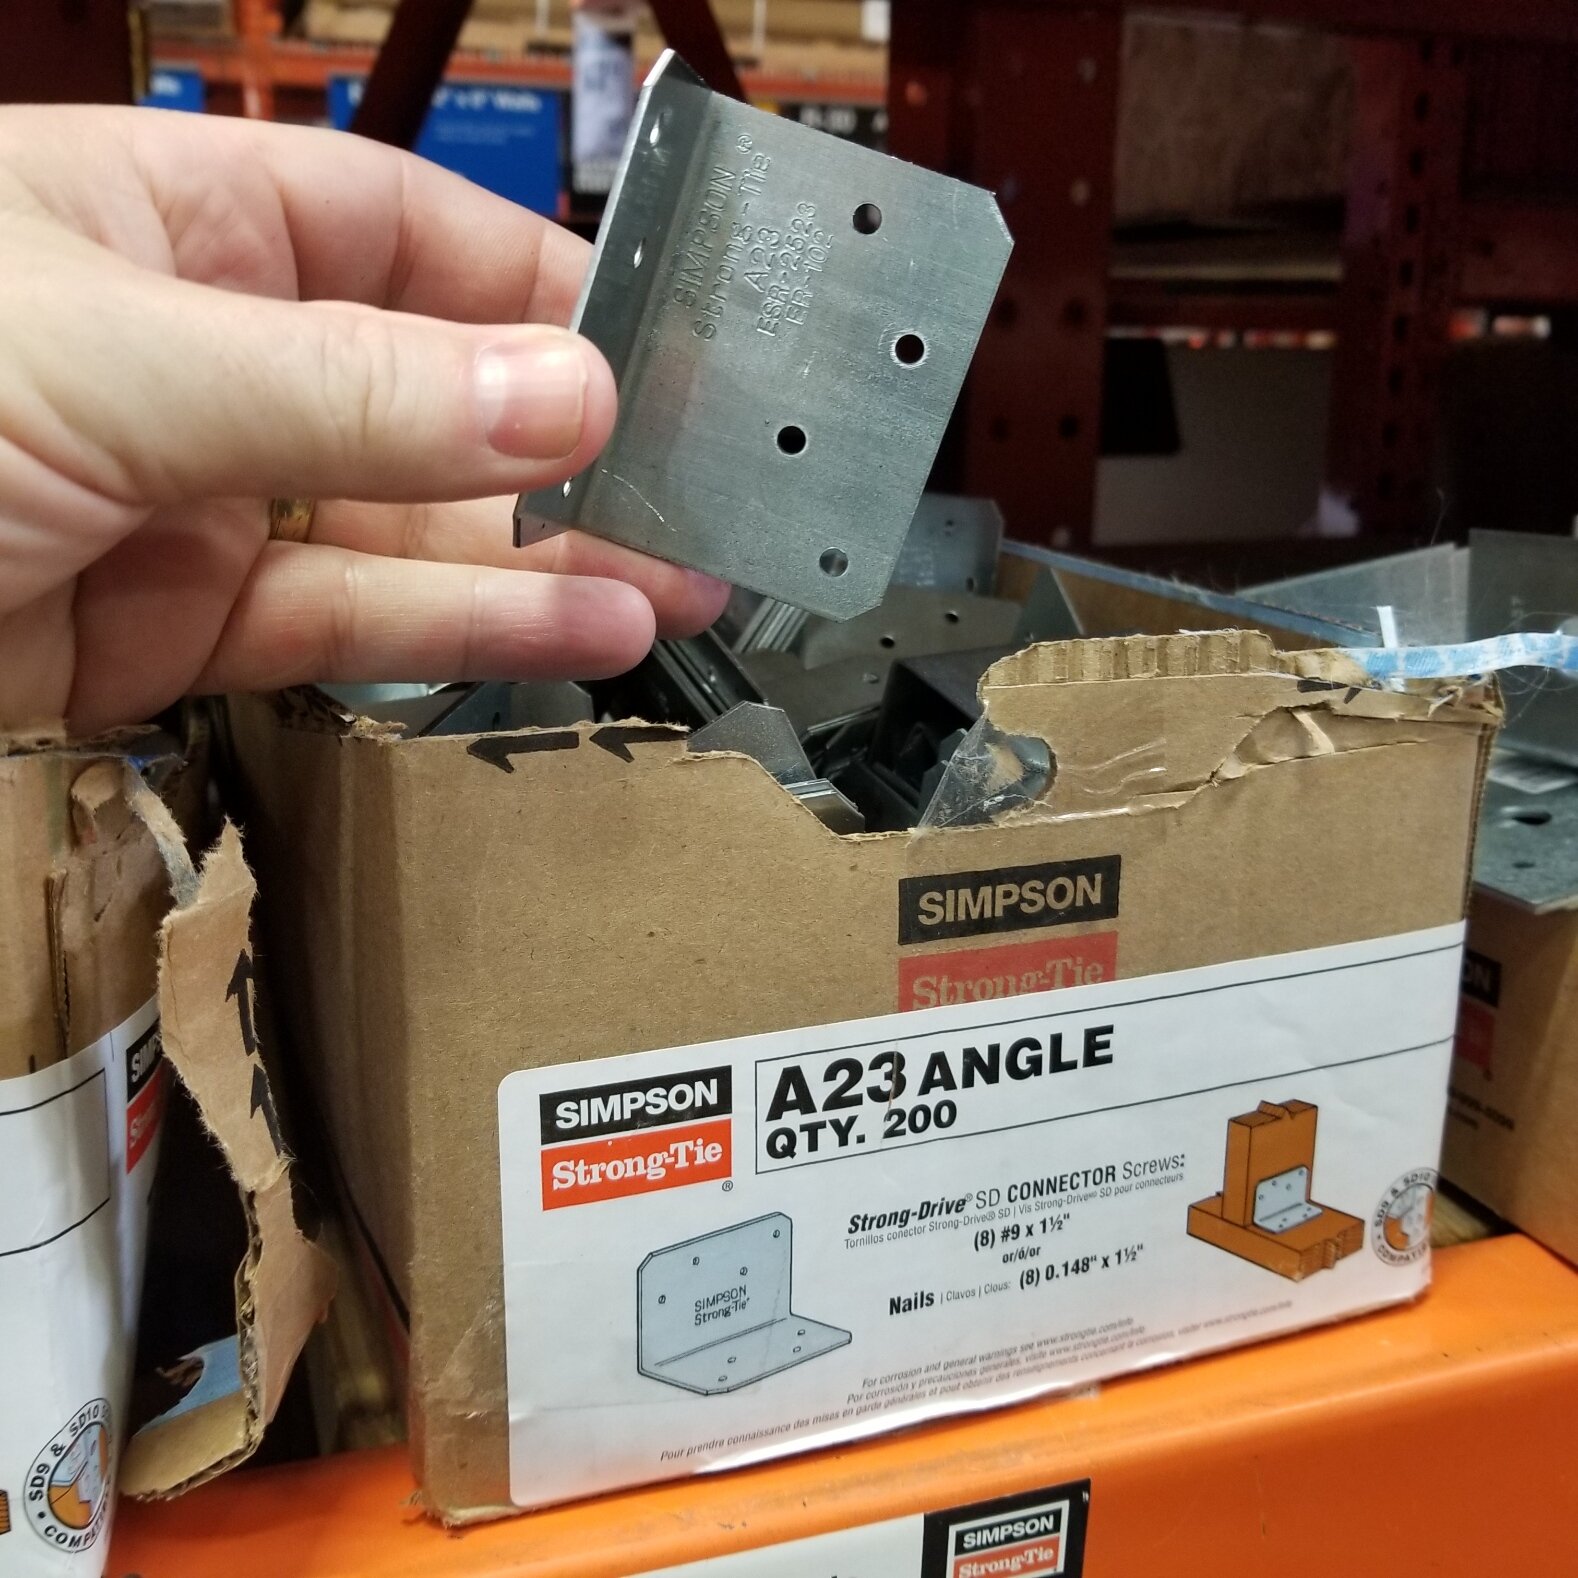
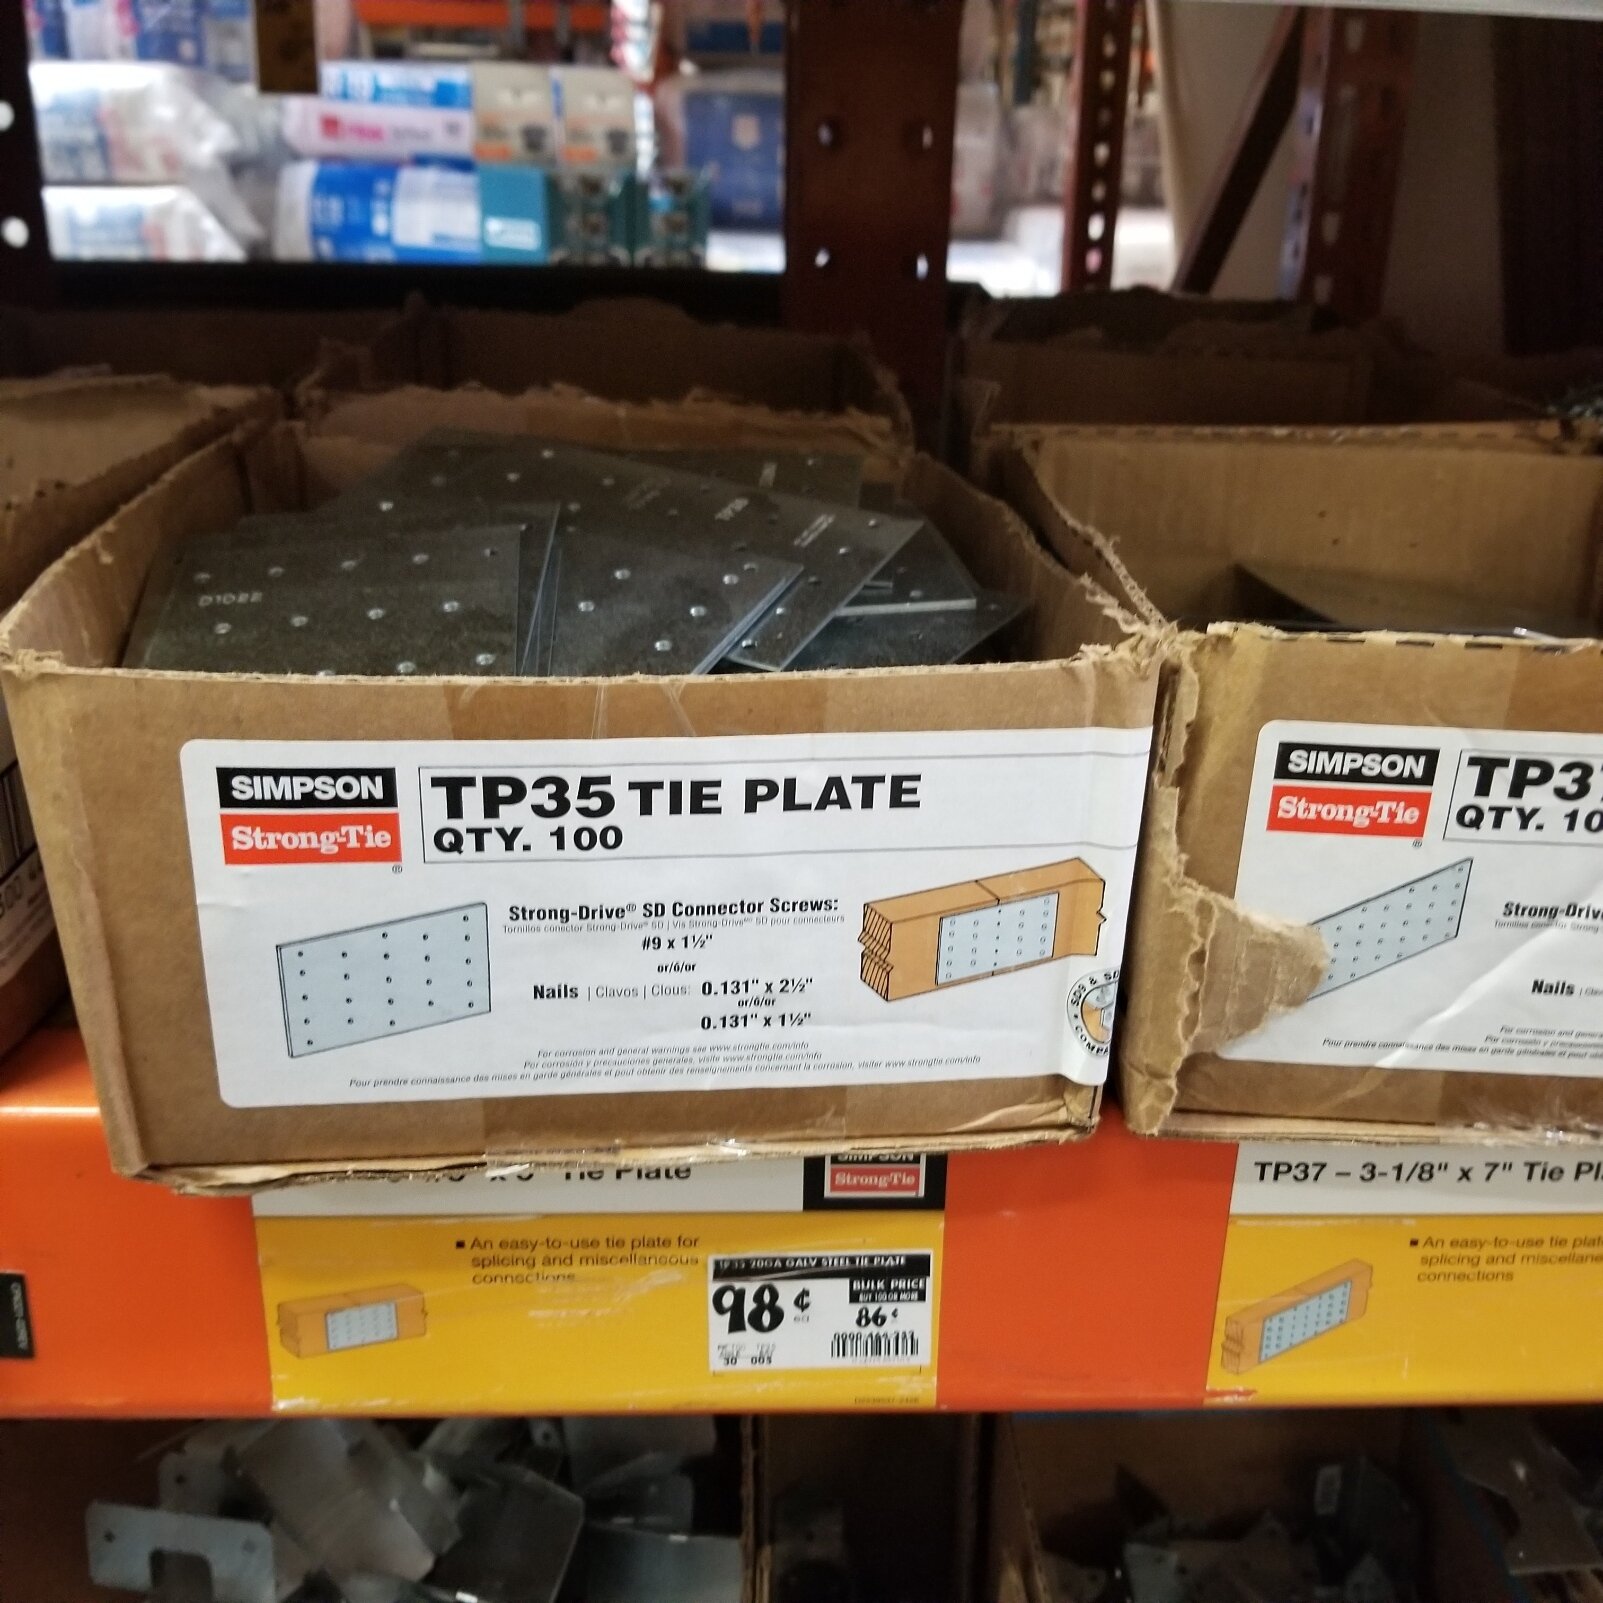
We’d picked up some Simpson Strong Tie framing plates. The A23 angle plates would attach the corners and the TP35 Plates would reinforce across the joints.
For the assembly we used 2 1/2” self-drilling screws We squared everything up by using a framing square and then made minor adjustments after measuring diagonally from corner to corner across the entire side to make sure both measurements were equal.

Torx-head, self-drilling screws blasted in quickly using an impact driver, without splitting the wood. This is not a job for drywall screws; we used Spax brand cabinet grade screws, for extra toughness.

With the corners nice and square the Tie Plates would keep everything from flexing.

We installed the wooden, corner braces with 3” self-drilling screws to add that extra structural beefy-ness before we stood up the sides. We did pre-drill for those screws and kept on the trigger of the impact driver just long enough to sink the heads below the surface.
The back received its upper and lower crosspieces attached by the 90 degree plates while the front only got a board across the top.

Corner braces were installed on both sides of each corner. This thing was going to be abused.
*Update - we left Tie Plates off the front, just as the Buff Dudes did, for aesthetic purposes. Looking at it again, since we are moving this thing around, we’re going to go back and add them to the front and back and really toughen this thing up.

It’s starting to look like a pole barn in our garage
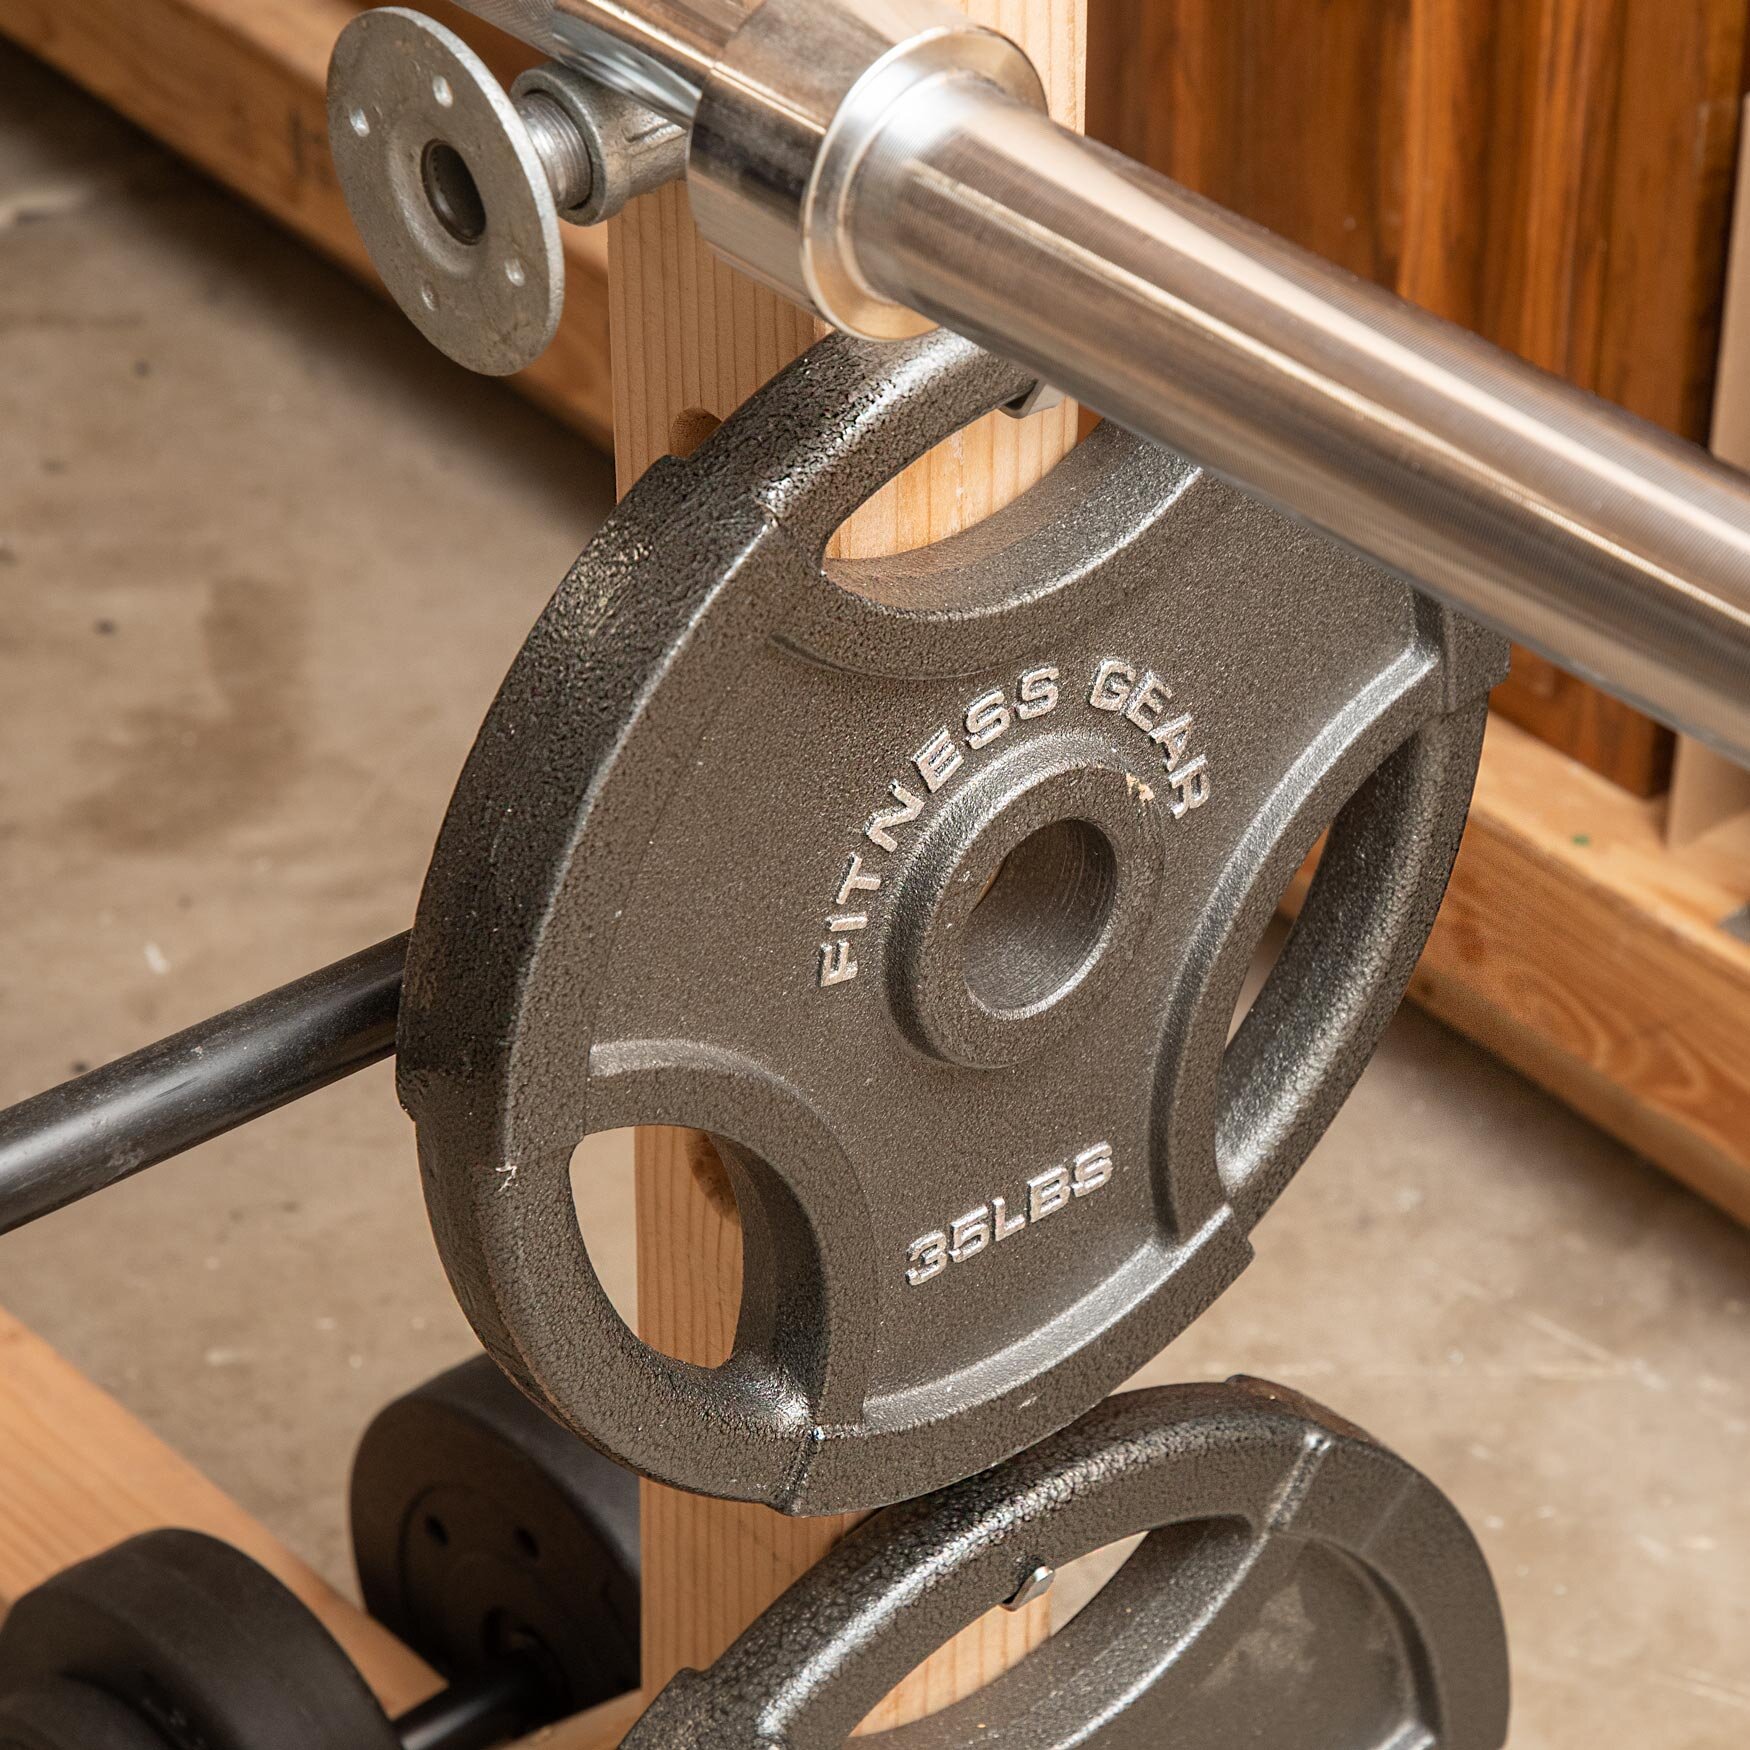
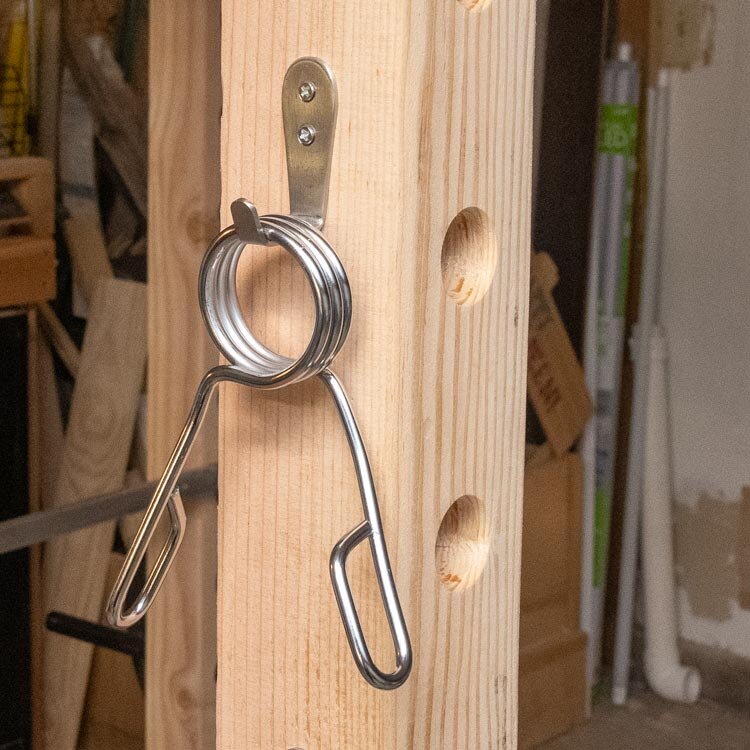
Weight Bar Pins and Safety Rails
This beast is not all of wood, screws and pates, my friends. It also uses common-size, 3/4” threaded pipe and fittings found in the plumbing section.
The adjustable pins for the weight bar are made from all ¾” size pipe parts, including: ( 1 ) chair flange, ( 1 ) 1 ½” pipe, ( 1 ) coupling, ( 1 ) 4 ½” inch pipe, and ( 1 ) end cap. We tightened everything except the cap with a couple pair of Channel Lock Pliers.

Make two of these assemblies.
The pins slide through one of the holes on the vertical posts.
The end cap can then be threaded on by hand so the height can be changed without tools as you are working out.

The weight bar sits right up on these rascals.
Next up were the height-adjustable safety rails.
These sit below the workout area on both sides. They are there, just in case one lets their inner machismo bite off a little more weight than their weary arms handle at the moment. They could also catch a falling bar if there was a trip, twist, or stumble.
The rails were a 60” pipe with a pistol grip stopper made from a 90 degree elbow, a 4” pipe, and an end cap.

Two of these too
Upgrade Option 2: Make It Mobile!
Lest you not forget, this garage is my workshop. It simply cannot be a dedicated workout gym all the time. On weekends, I might need to move it out of the way.
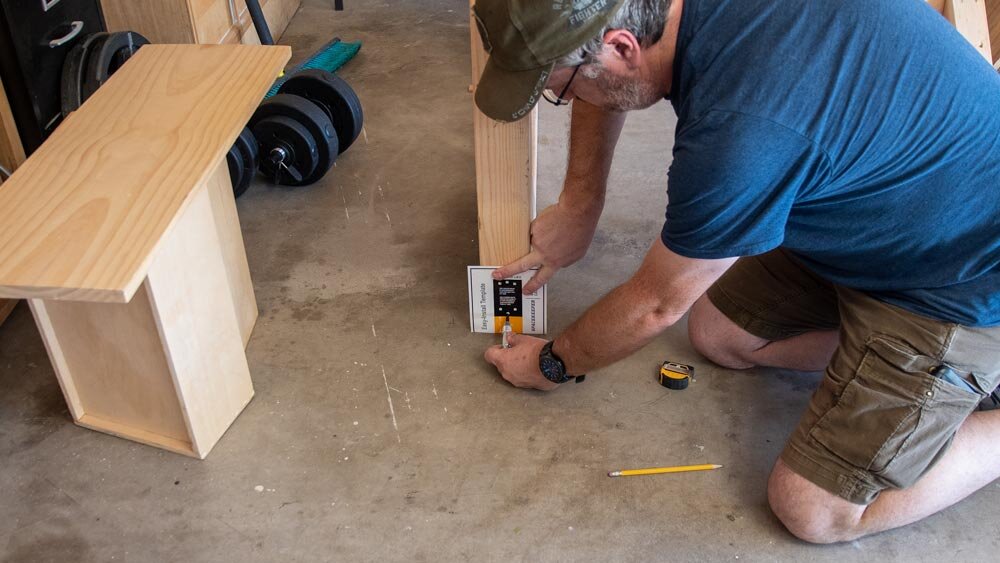
I ordered a set of casters rated at 660 lbs. That should hold the whole rack as well as a weight set. They came with a template to locate the perfect placement.
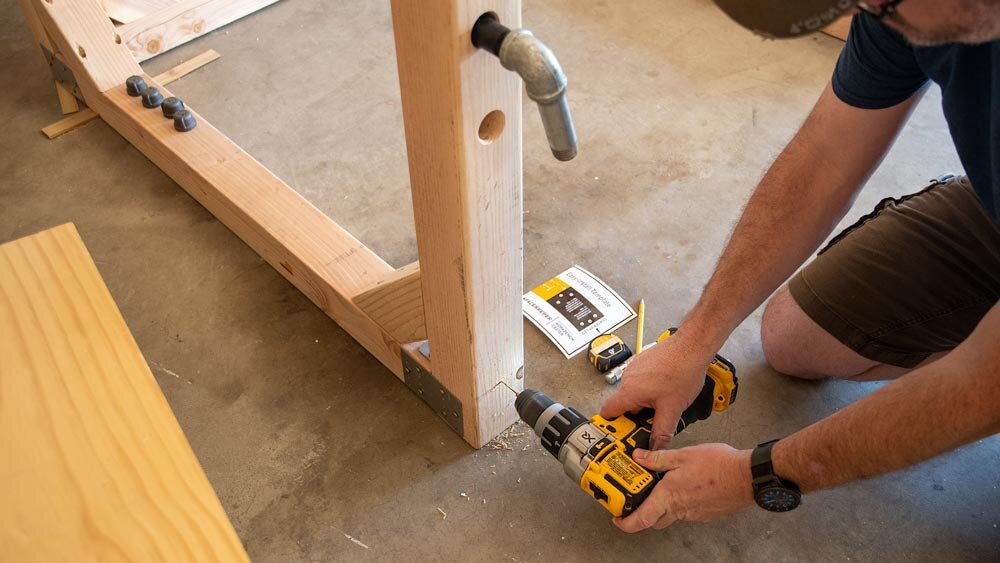
I powered the screws in tight with an impact driver. The brackets got installed before the wheels went in so all those screws could be reached behind the caster.

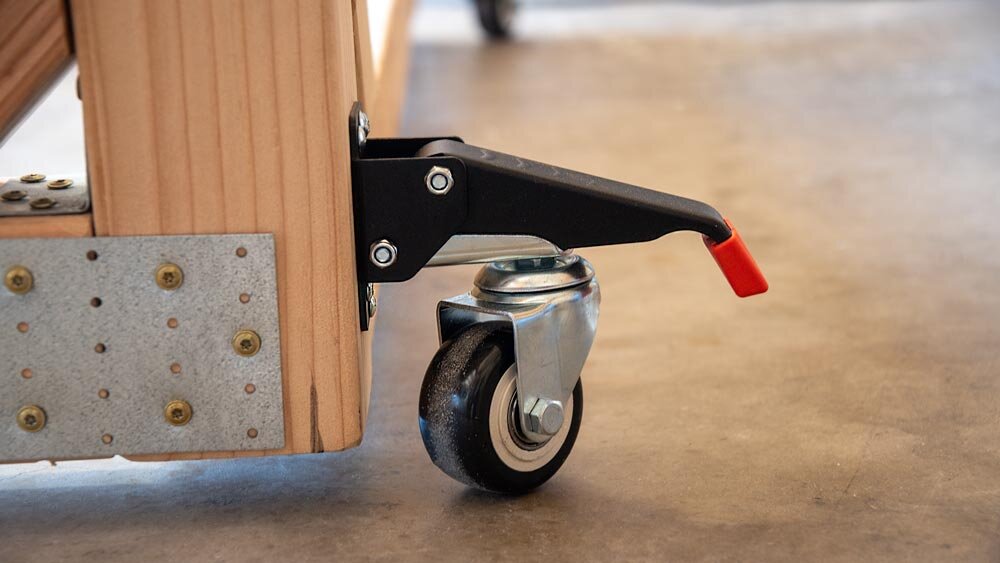
They are outrigger type casters, meant for workbench. They don’t need a wheel locking mechanism since they barely rest on the floor and don’t hold any weight.
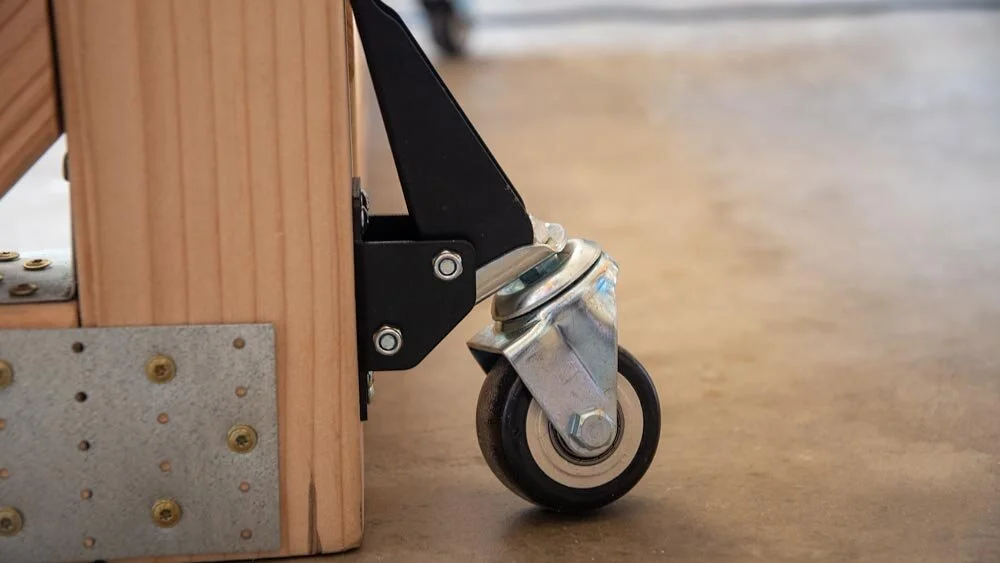
Touchdown
With the lever pushed down they lift just enough to raise the entire rack and contents off the floor.
This step is what is making us consider adding more of the reinforcing plates. The process of popping one wheel down at a time seems to put a little flex on the frame. Once it’s up, everything stays square and tight.
We have liftoff!
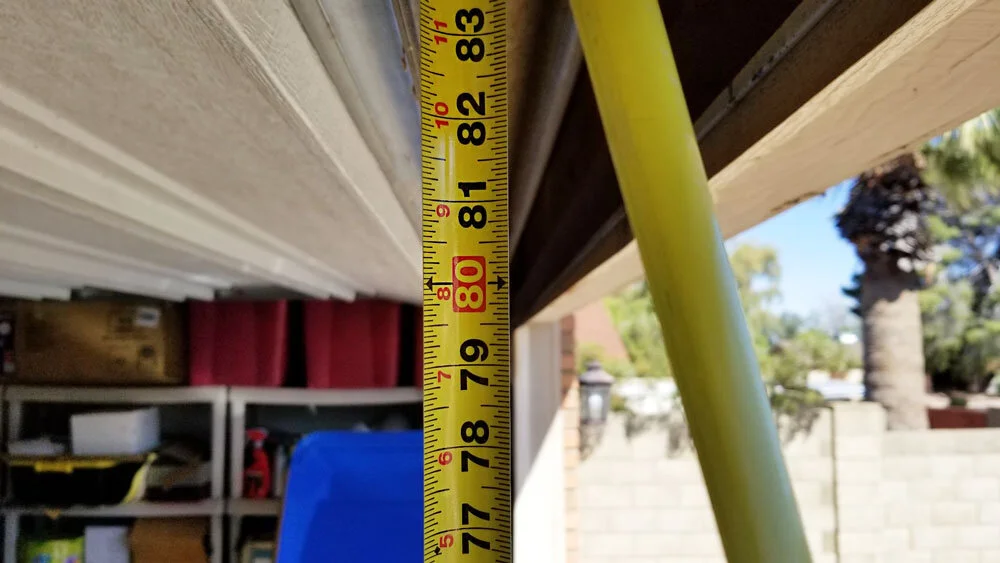
Herein lies the reason we made the height 80” tall. If we were building this for use in a basement, maybe it would be taller, but I wanted it to just squeak out under an open garage door.
Indeed, we could wheel the whole rack outside.
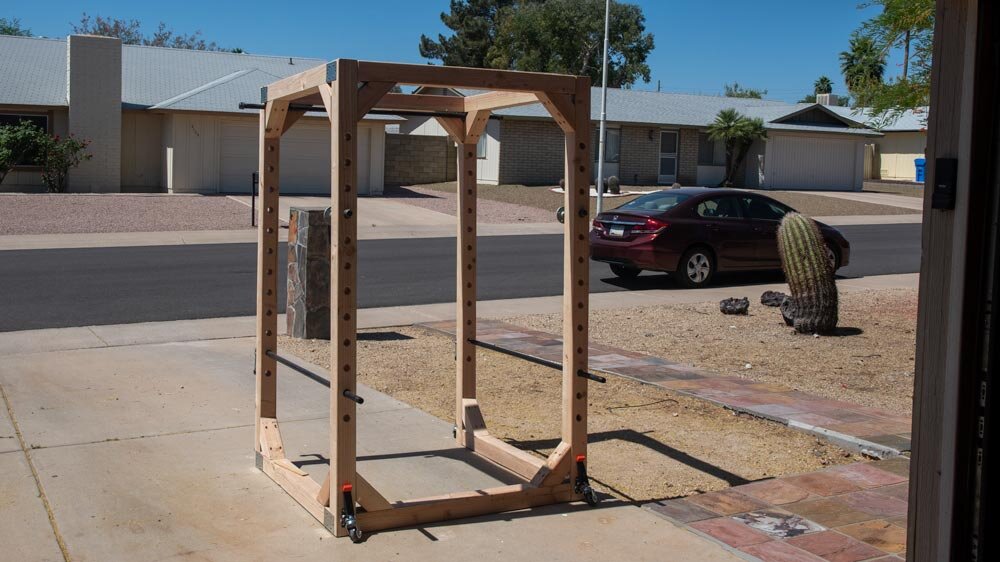
Now Mobile Power Rack
We’re not exactly going to do any weightlifting out in front of the house like a bunch of bumpkins, especially in Phoenix, where we’re routinely cracking 100 degrees in the flesh-cutting sunshine during the summer. Also, I have been pulling the truck inside to do my vehicle repainting project. I couldn’t exactly wheel it in there with a massive power rack in the way could I?
The beast
Still not done yet.
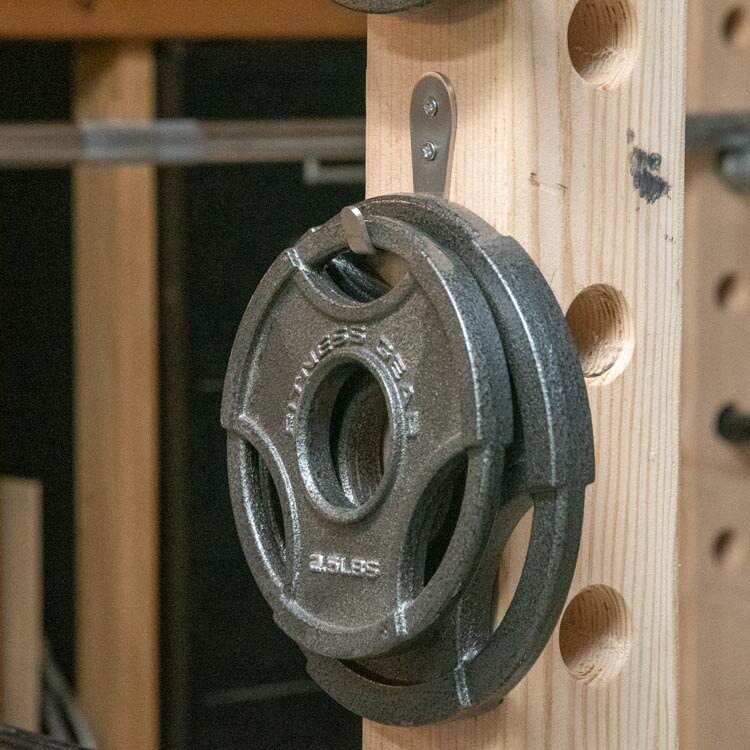
Upgrade Option 3: Weight it down
We found some heavy-duty, stainless steel robe hooks. They’d be perfect to hang the weights around the exterior of the rack. We pre-drilled and attached them with the included screws.

The bench he ordered is lost in the swirling mystery of the American delivery system during a pandemic, but it’s set up to do squats so far. I’ll update the post when it comes in.
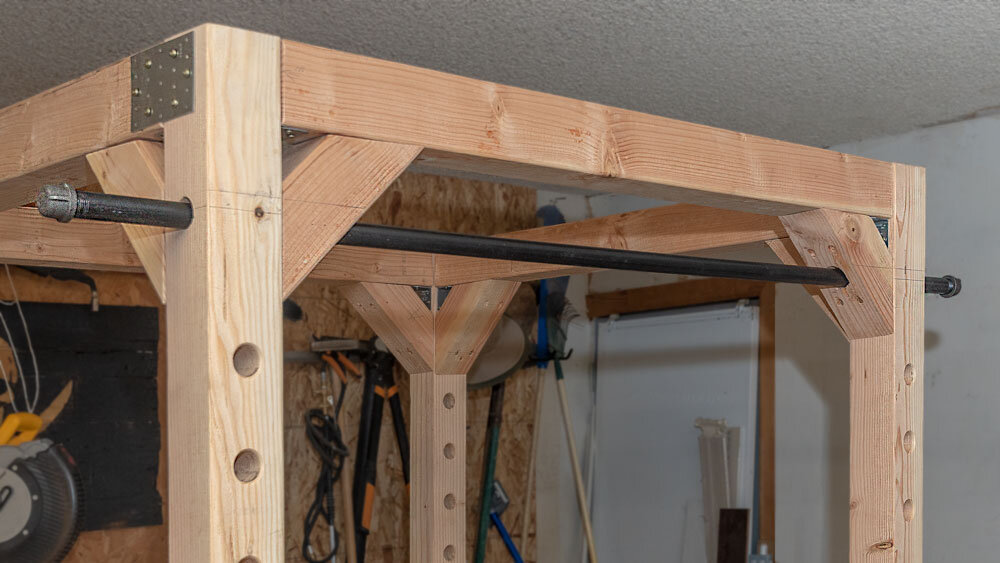
Adding The Pull UP Bar
Pull ups? Chin ups? I don’t know the right word.
Since we’d want the pull-up bar up high through the angled reinforcements, I ran my longest drill bit through as a guide. It was an 1/4 inch bit, about 18” long. I’d planned to drill through from both sides with the larger diameter bit.

I added the side handle to my drill and chucked in the 1 1/4” spade bit.
I prefer two hands firmly on the drill when going deep, especially when I’m on a stepladder. Otherwise, if that bit seizes up, it could cause a sprained wrist or worse, leading to yet another visit to my friendly neighborhood urgent care.

THAT is some sawdust!
My spade bit wasn’t long enough to go all the way through. I went in from the other direction with a wood boring bit since I couldn’t start the spade very accurately on the angled board.

Chewing through.
We slipped the third 60” pipe through the holes and threaded on the caps. Without the caps, a rather tall-headed fellow, like yours truly, could easily walk into the sharp, threaded edge while taking the trash out one evening and suffer yet another opportunity for a trip to the urgent care.
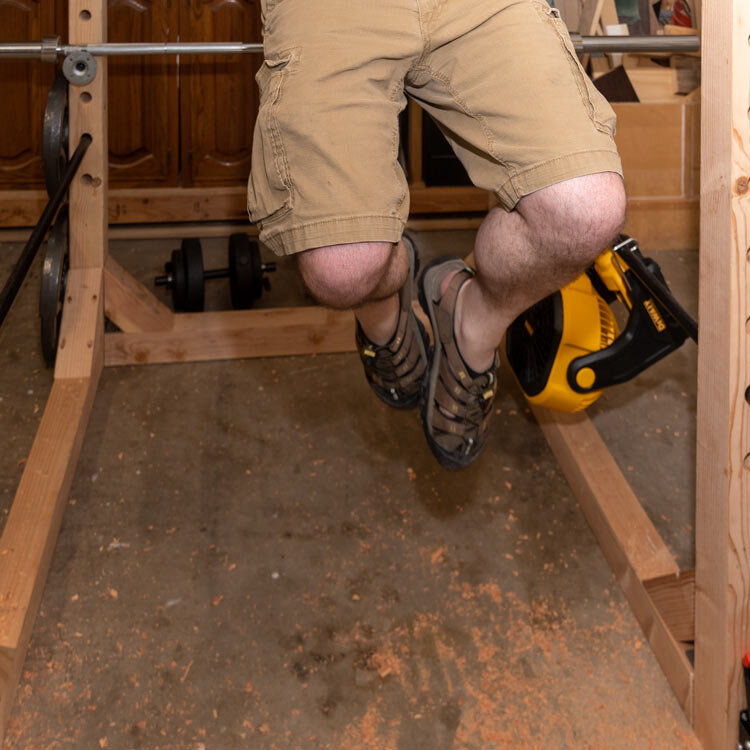
Jack popped up there and pumped out some rapid chin-ups with his unnecessarily lean frame…
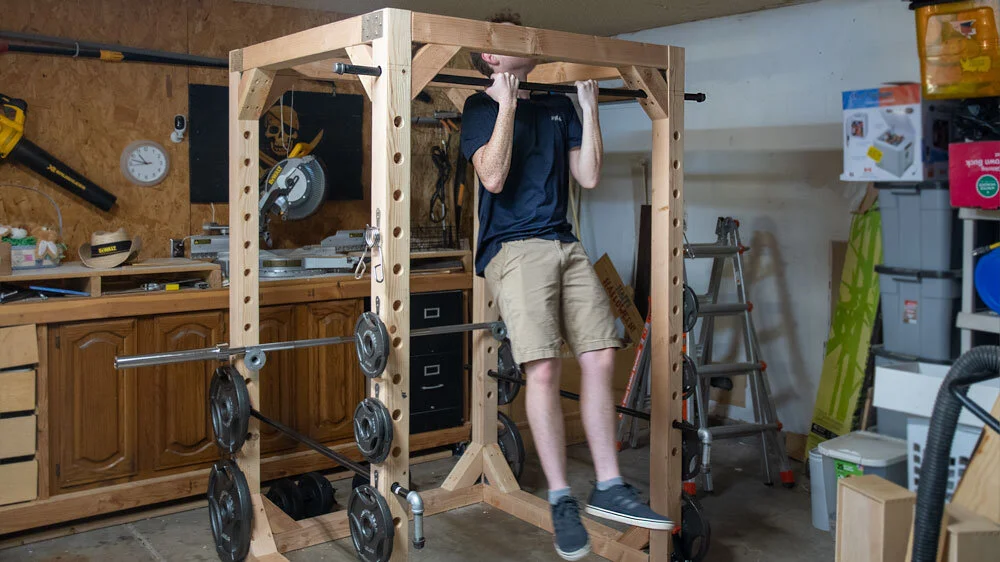
…and a firm, two-handed grip.
How cute.
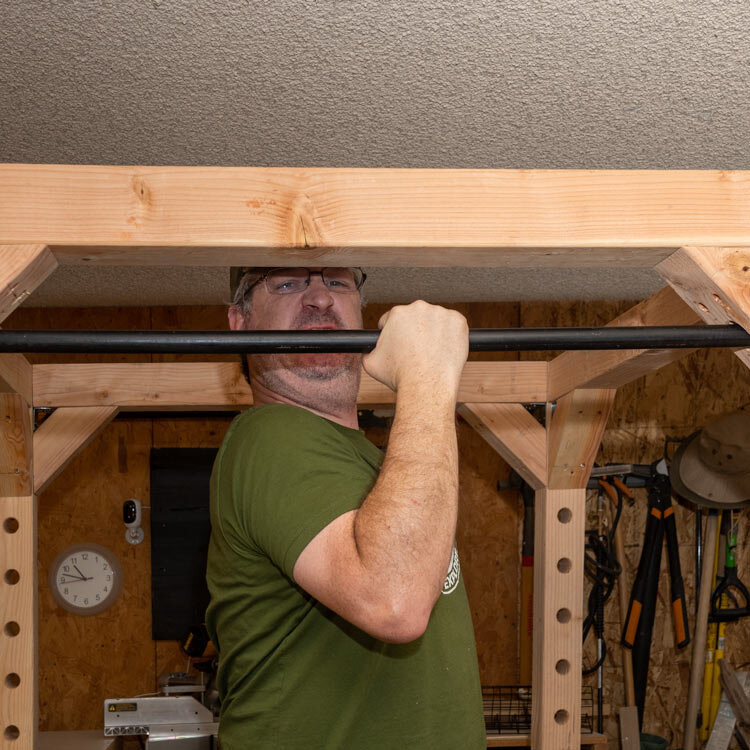
A dude with darn near 5 decades of raw, sinewy power and pure iron muscle bulk, does not need two hands. Just to make it a little challenging, I planned ahead and let the COVID crisis load all the weight I’d lost over the last year back on my Norse God-like Frame. Just for the challenge.
….and to wrap this up, how could I not:
