

Our kitchen remodel has reached a good pace. Stuff is getting the heck done!
I'd already installed the tall pantry boxes and, as a result, gained a pretty good feel for how these IKEA Sektion cabinets go together. For the most part, it doesn't matter what size and shape they are; the cabinet boxes assemble the same way each time.
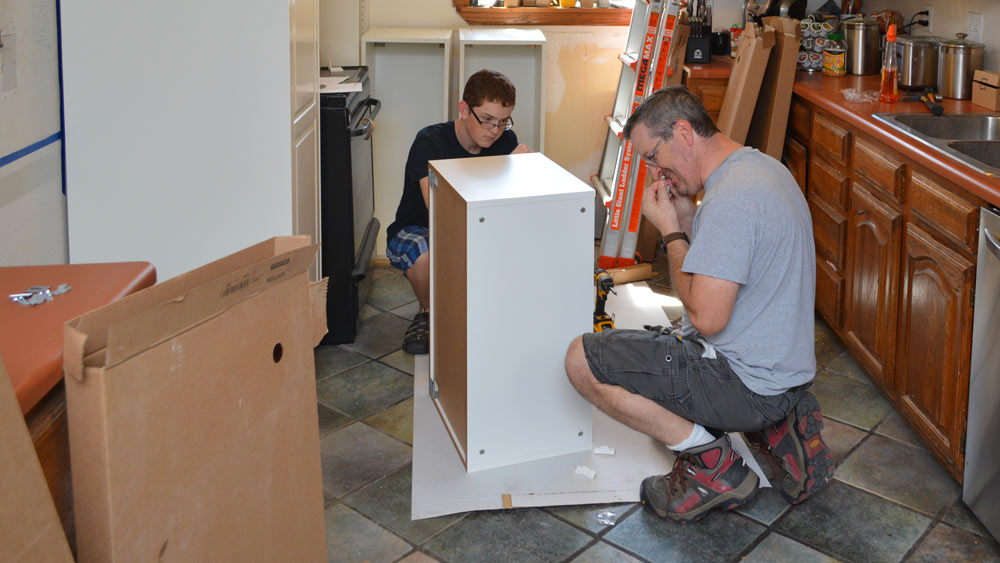
Jack and I spent a few minutes building the rest of the uppers for the south wall. We got to building them at an average of about 10 minutes each, including unpacking, building, and cleaning up the packaging. It was fun having help.
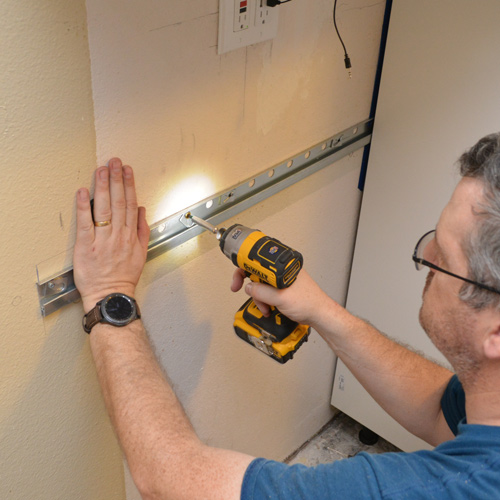
We needed to install another section of Sektion hanging rail. The instructions call for a hacksaw, but...
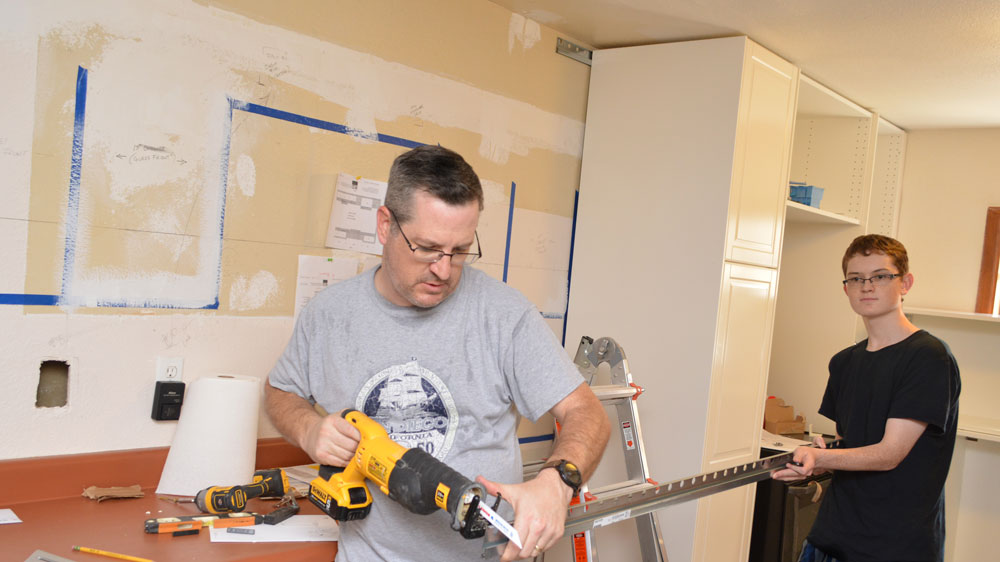
Probably not my safest manuver here.
We mounted the rail, level with the first one. Again, there was solid framing behind the whole length to blast some Spax cabinet screws into.

I loosely hung the upper cabinets to lock down the locations before doing some electrical maneuvering. I shifted outlet locations and replaced the receptacles and switches. The kitchen was getting proper GFCI receptacles for the first time since its birth in the olden days of 1979. I also removed some odd receptacle locations where someone had tagged into the lighting circuit. The refrigerator was even running on one of those.

What's known in the trades as a "rat's nest"
With those electrical locations decently wrapped up, I popped the last cabinet in place and stood back to get a sense of the new space.
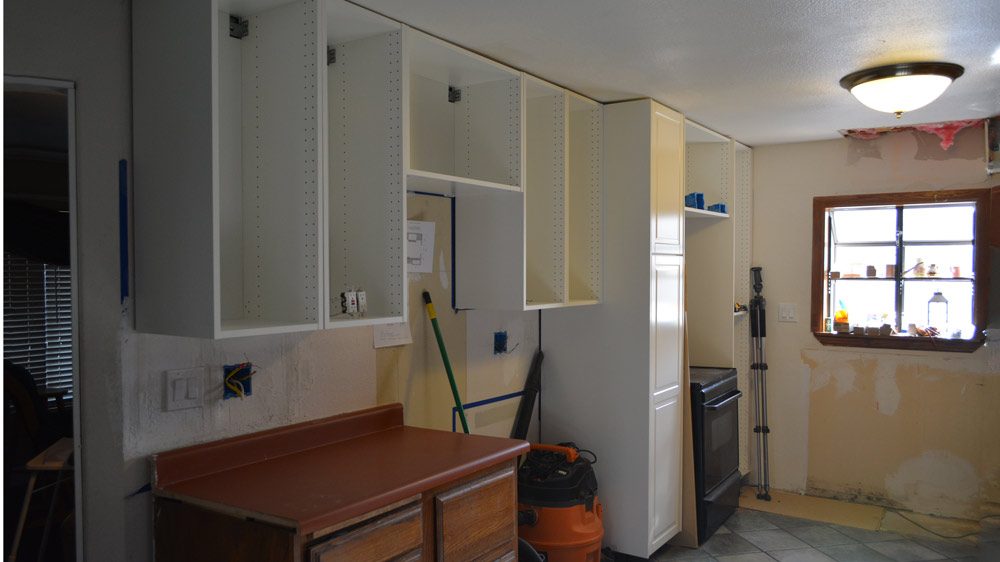
I'm not going to miss those old soffits, but I am going to need a step stool.
Everything fit nicely, but it needed to be squared up and fastened together into one cohesive unit. I slipped some cabinet pieces off the rail to give me some maneuvering room and stated pre-drilling and screwing the pieces together.
How to Do it!
Pre-drilling is the safest way to avoid damage. I ran the IKEA included the screw in with my impact driver, set at the middle speed setting. I'm sure it would blast the screws completely through on high speed.


I'd read somewhere that installing the cabinet lighting is an absolute horror show if done after everything is installed. I started installing it, the first chance I got.
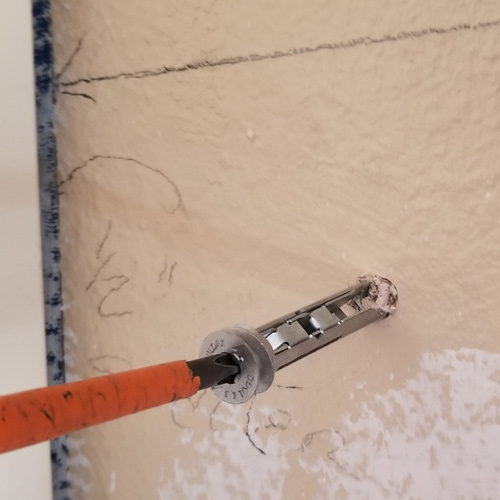
I'll do a full cabinet lighting project post when I get it all done, but savvy readers will see it in various stages of completion as I go, so here's some hard-core, hole-saw action to tide you over. I installed all the components as I moved along the wall, screwing the pieces together.

A whole, hole saw in action.
I wrapped the upper cabinets up and even installed most of the doors, before moving along to the ...
Lower Cabinets!
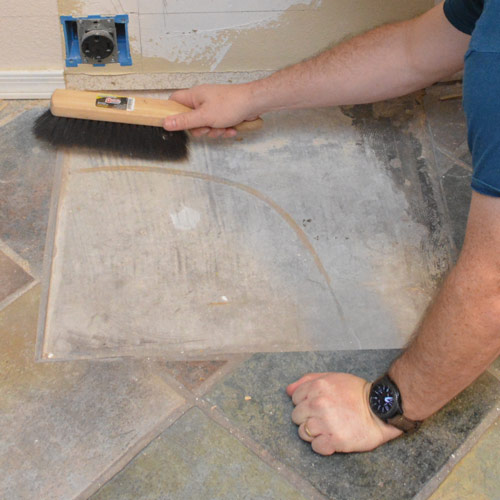
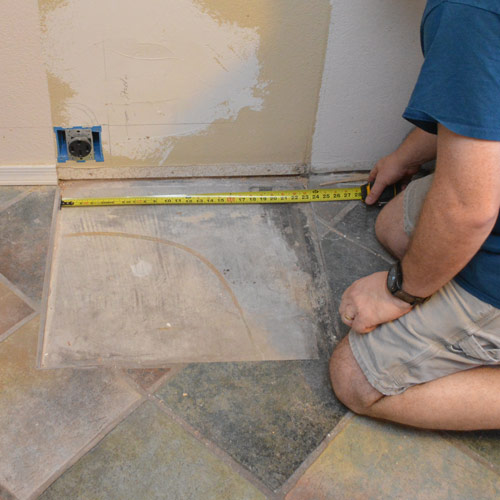
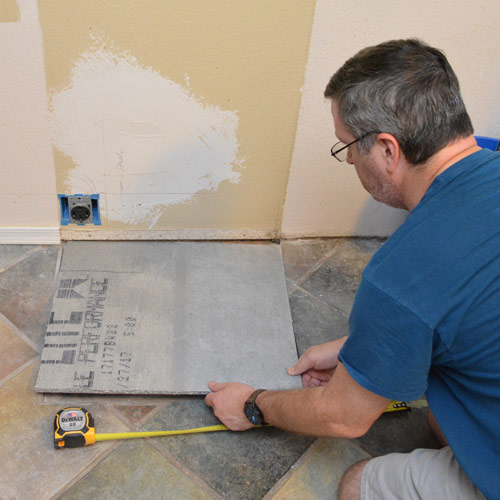
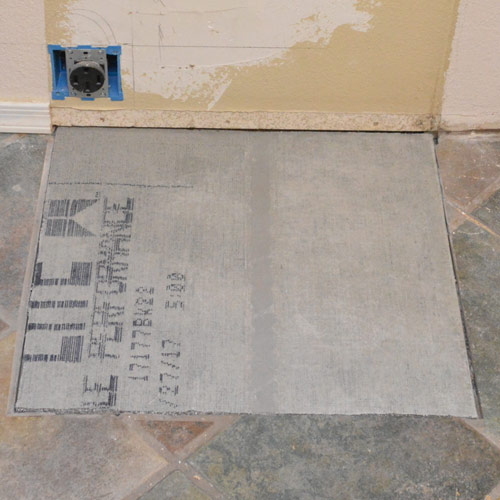
There were some voids in the floor tile where it had been wrapped around some of the previous pieces. Since I'm not exactly sure what we're going to do about our flooring issues quite yet, I came up with a hack solution. I'm sure the purists will scoff at it, but ehhhh. Let's just get this thing done.
I popped a meticulousluy crafted piece of 1/2" thick cement board in the hole and called it good. I did the same where the new fridge would roll into place.
Pause for a moment of reality
You ever notice how quick those reality DIY shows get this stuff done? That's exactly how it goes down. A colossal project in just one day, including shenanigans like throwing sledgehammers through plate glass windows, mugging for the camera, smashing perfectly-good, donatable cabinets into dumpsters and posing with an empty tool belt. It's only a weird coincidence that my shirt keeps changing throughout this post. It's almost like it's taking multiple days to get stuff done. Wierd huh? Tricks of lighting, I assure you.
I quickly whittled a couple 36" wide base cabinets out of an obliging tree stump with a pen-knife and popped them in position to check the fit.

IKEA Section 36" Base Cabinet carcass
IKEA base cabinets use cheapie plastic legs. They're really not meant to take much weight; they just stabilize and help level the units. The real work gets done by that ingenious hanger rail.
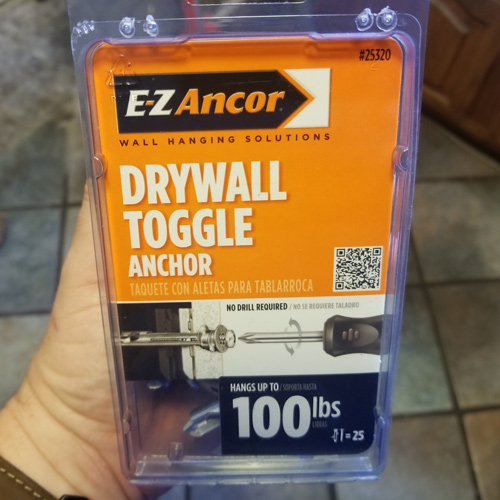
This time, unfortunately, I didn't get much in the way of friendly wood stud framing to hit with the meaty Spax screws. Our studs are a miserly 24" apart. Two feet. Sheesh. I was only to hit one per cabinet. I'd need a beefy drywall hanger.
For drywall mounted hanging duty, I used some cool EZ Ancor - Drywall Toggle Anchors. They're obviously the bastard love-child of an auger anchor and a toggle bolt. I loved them! They gave the easy installation (no drill / no oversized hole) of a screwdriver-driven auger, and the mechanical holding force of a toggle bolt, 100 lbs. each.
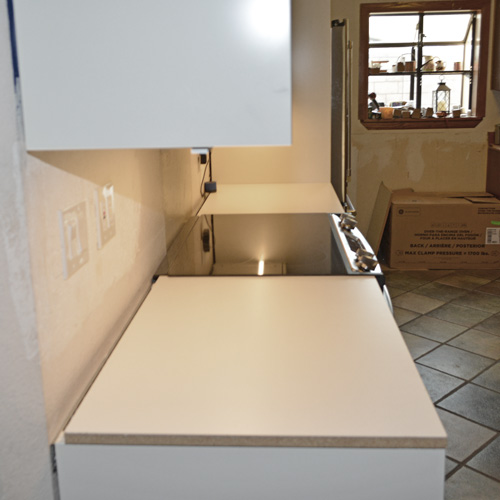
The New Countertops - Revealed!!!
Well,... new temporary countertops anyway. We're not even giving real, grownup countertops a serious thought until we are much further along with this kitchen. White, melamine-coated particleboard would have to do for now. It's not very durable, but it's water-resistant on top and will look reasonably ok-ish for a while.
It chips like crazy, just bumbling it in from the truck. You gotta be careful cutting it. A line of masking tape helps.

Cutting in the Dining Room. (Spoiler alert - that's the new fridge!)
The IKEA Sektion lowers have a nice, steel crosspiece with pree-punched holes for fasteners. I tacked our new, deeee-luxe, luxury-grade countertops in place with some 1/2" screws from below.

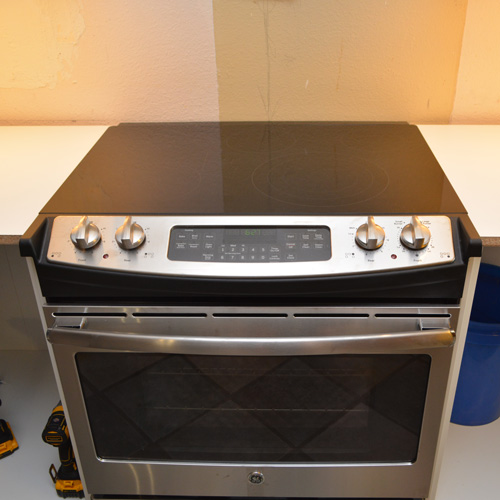
Now We're Cooking - The new stove
We'd picked up this beauty along with a microwave during the month-long Black-Friday sales last November. We took advantage of the 6 months, same as cash financing and had them paid off before I even took them out of the box.
I finally uncrated the new stove that has been sitting, buried under boxes of flat packed cabinetry in the dining room for many months and wired it with its 4-prong cord, just in time to plug it into the new, upgraded circuit.

It was awesome to finally cart the old, battle scarred beast of a stove that came with the house out to the garage. I slipped the new unit into place and adjusted the legs down, just enough to lay the overhanging glass atop the "countertops".
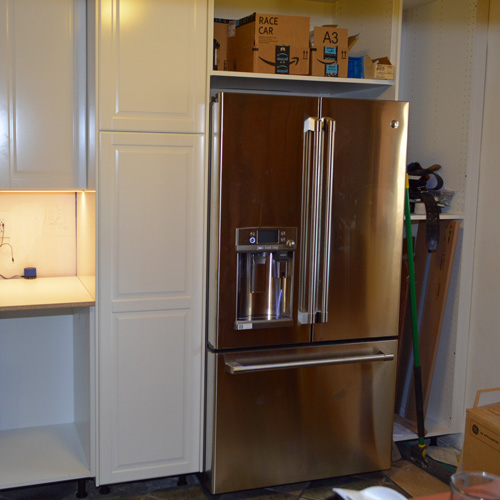
Chilling with,... The new Refrigerator
The shallower, counter-depth approach saved the fridge from protruding too deeply beyond the cabinet face. We figured the loss of cold space would be manageable, with the smarter, full-width French door upper section. We also snagged the model with hot water capability and an integral Keurig, K-cup coffee maker. If it works well, we'll be able to save more counter-space by reoving our current countertop Keurig.
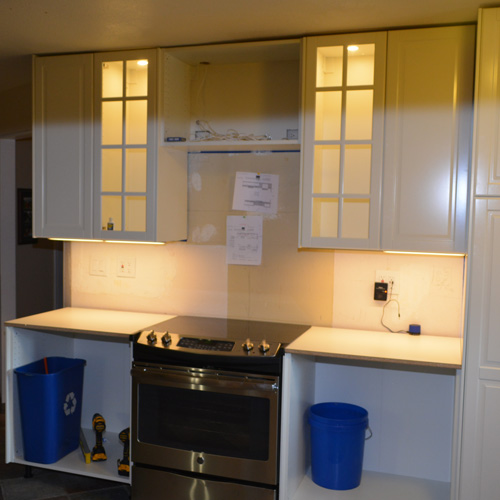
The south wall of the kitchen remodel is cruising along nicely. I have most of the doors mounted and cabinet lighting installed. I realized, too late, that I needed a special, bump-out bracket to mount the new microwave over the stove. These IKEA Sektion uppers are 3 inches deeper than standard. I begrudgingly placed a $120 order for the bracket.

Here's another flashback pick of the same south wall from the age of the dinosaurs. It's like a different house already. Those ugly wallpapered soffits are gone, and refilled with usable cabinetry. It's taller and brighter with clean lines and a refrigerator installed at the far end, instead of blocking the entrance to the cave.

Next time, I'll get the rest of the drawers built, shelves installed and hopefully tackle that microwave install. Knobs and pulls are coming soon.
But now,... we can actually cook again.
What do you think so far?