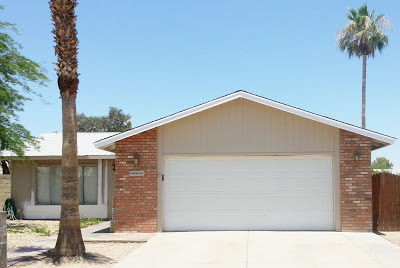
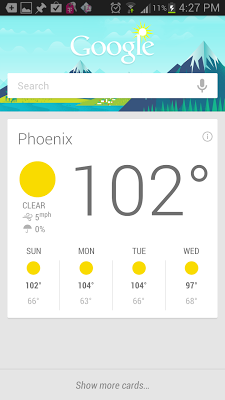
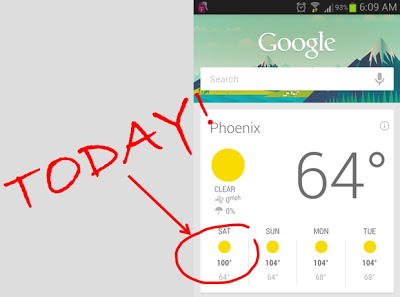
Most of the year, it's simply a paradise here in the desert southwest. However, in the apocalyptic heat of a Phoenix summer, we find ourselves dashing from air conditioned office, to air conditioned car, to air conditioned home. We do it quickly here, so we can get to our Popsicle stashes before we go into heatstroke. During these oppressive summer months in the desert, the temp rarely dips below 100°. One of the things we miss, huddled in our icy, electricity guzzling castles, is our outdoor living.
Luckily, our super-dry climate lends itself very nicely to evaporative cooling (and swimming pools!). Most restaurants with outdoor patios and amusement park lines employ a misting system to keep folks cool in the summer. Water flows through tubing and is forced through very small nozzles, vaporizing and cooling the area as much as 20 -35° F (11 - 20° C) in seconds.

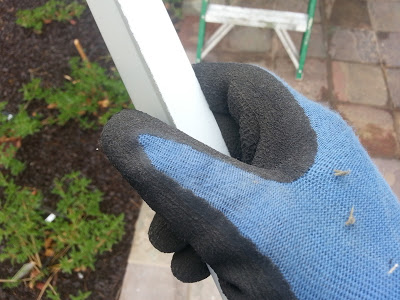
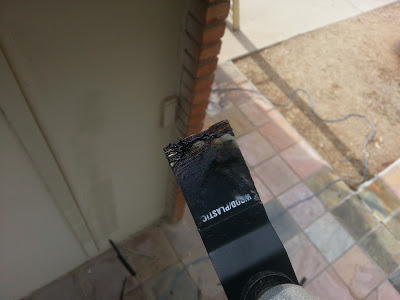
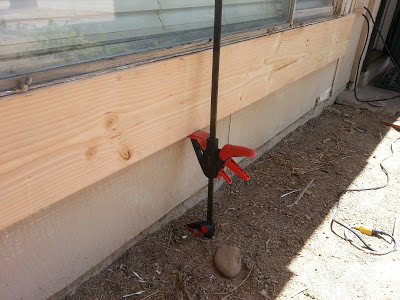
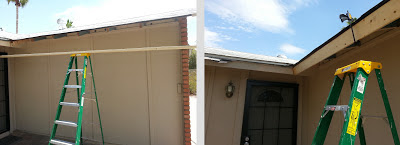
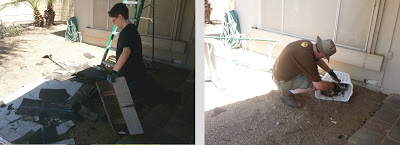
We decided to install a low cost plastic tube misting system on the back patio. Perhaps if we like it, I'll upgrade to a sturdier PVC or copper tubing system in the future. Right out of the box, it was an easy install. I just uncoiled the tubing with the nozzle receivers already factory installed at regular intervals.

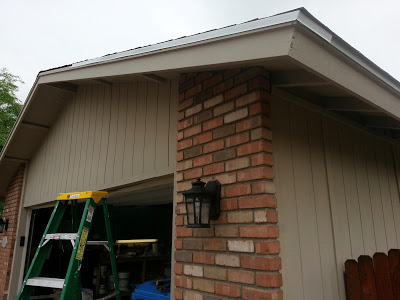
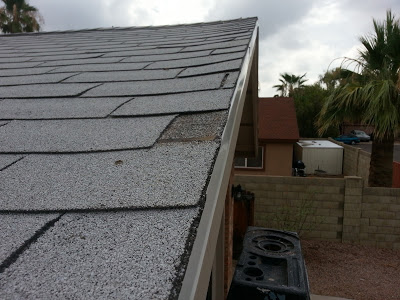
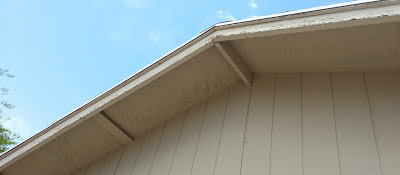
I screwed it to the hose and squirted the lines clean before installing the brass and steel nozzles. I installed some blank plugs in the end close to the house to keep the mist off the structure. One nozzle was an "auto drain valve" that was installed in the lowest point so that the water drains from the lines when the pressure is off.


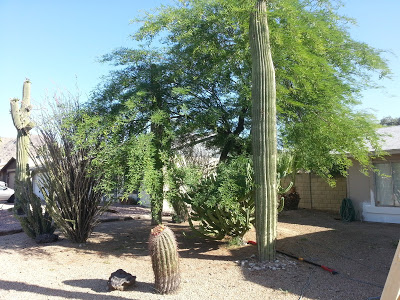
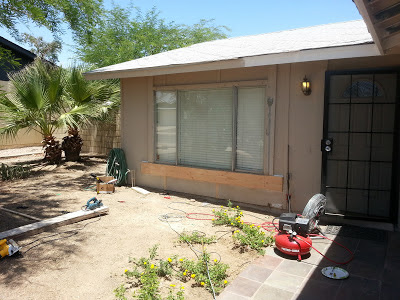
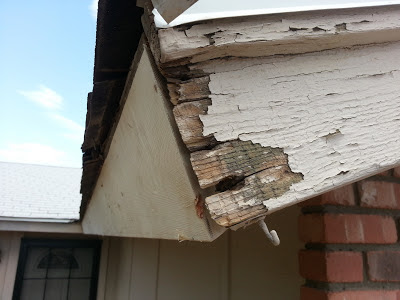
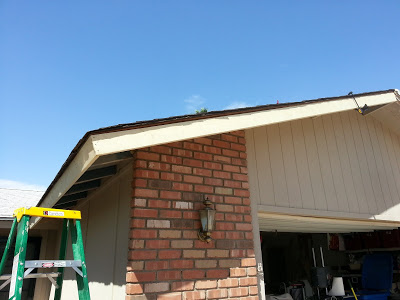
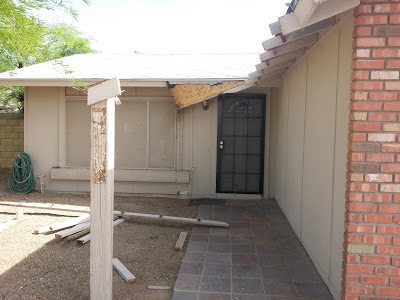
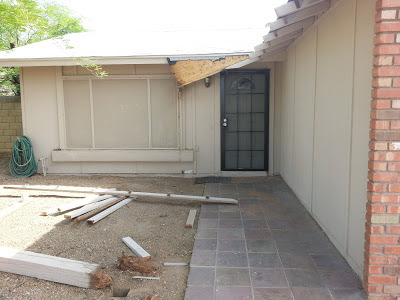
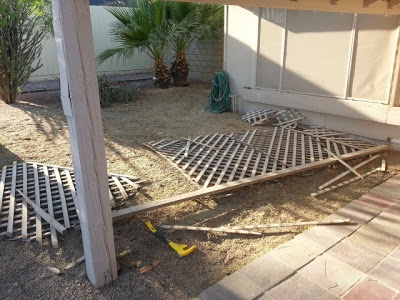
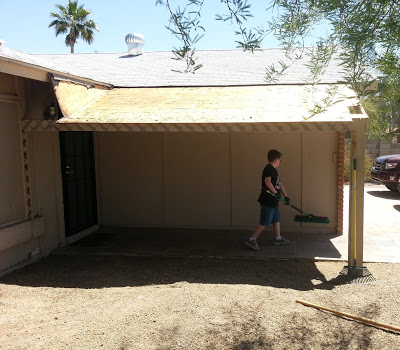
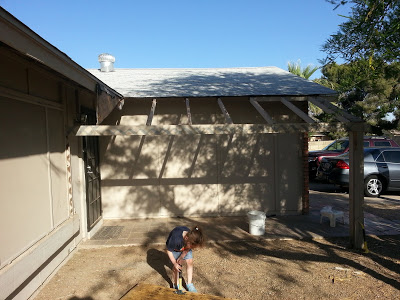
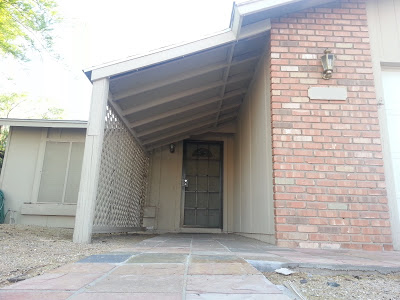
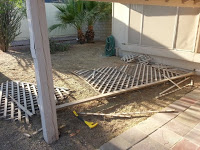
It really worked well. On a 109° day, the temperature dropped dramatically, or at least it sure felt like it did. Even though our patio living area is out of shape, desperately needing renovation, it's an enjoyable space in the heat of the afternoon. There's nothing like burning some meat on the grill, with a frosty beverage in hand, in the comfort of your own back yard (...in the shadow of a pointy-spiked, 20 foot tall saguaro cactus (?))

Luckily, our super-dry climate lends itself very nicely to evaporative cooling (and swimming pools!). Most restaurants with outdoor patios and amusement park lines employ a misting system to keep folks cool in the summer. Water flows through tubing and is forced through very small nozzles, vaporizing and cooling the area as much as 20 -35° F (11 - 20° C) in seconds.
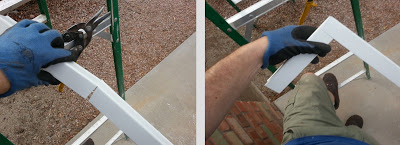
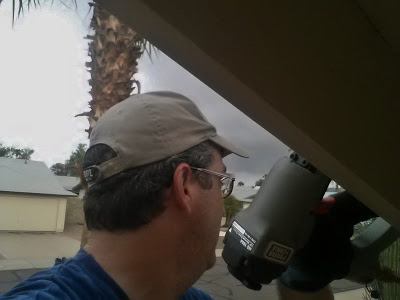
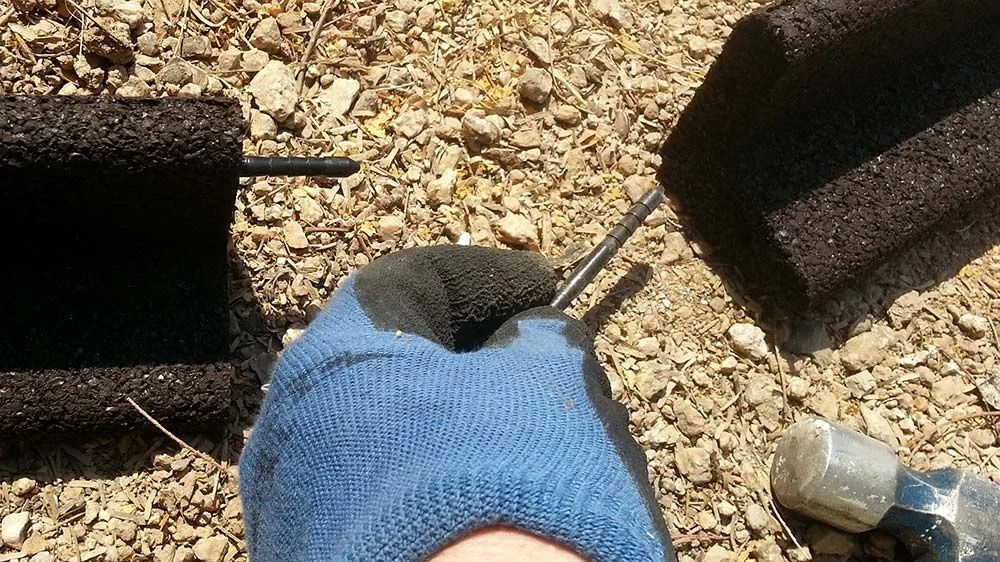
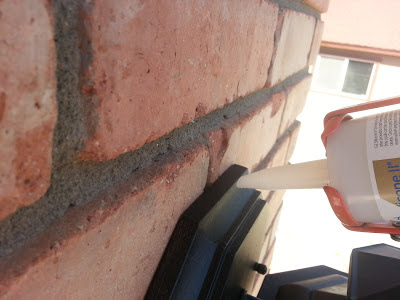
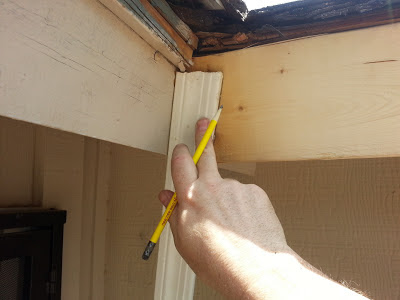
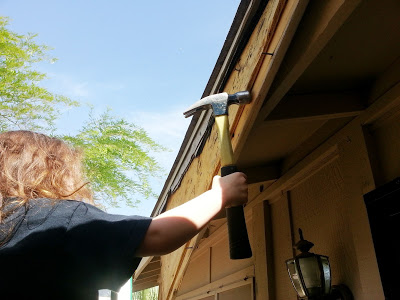
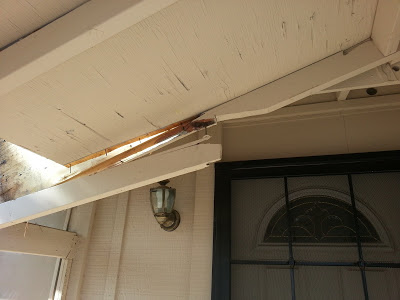
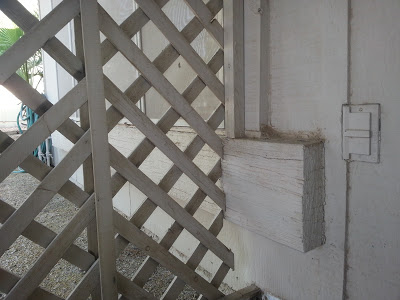
I attached it with the included nail-in clips. They were similar to the little white clips you normally see cable-tv wiring, only in a delightful, tube-matching tan.
 |
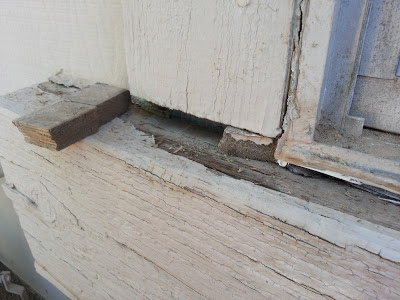
| Sweetness |
 |
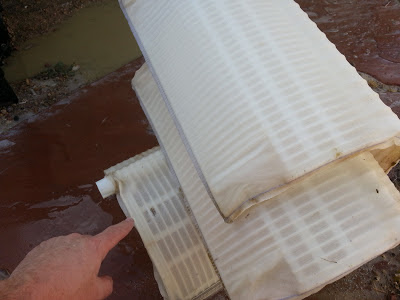
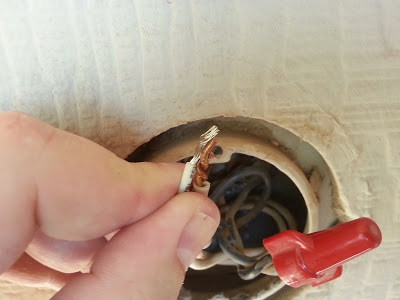
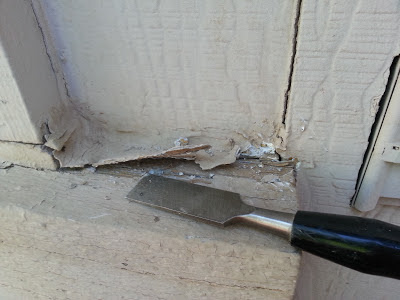
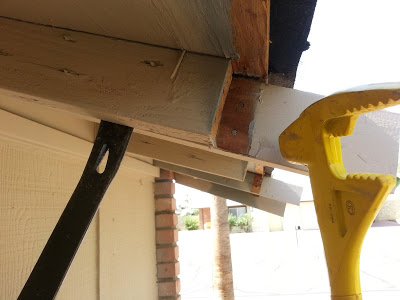
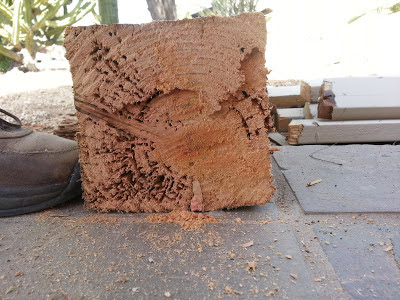
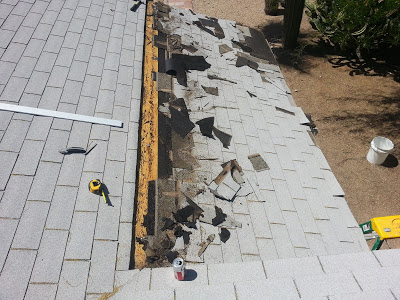
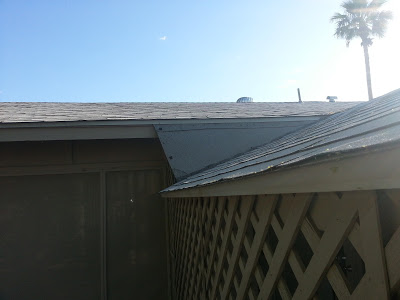
| Yep, that's some nasty corrugated fiberglass stuff. |
I installed a handy 4 way metal hose connector w/ shut off valves at the rear faucet (one for pool filling, one for the garden hose, one for the mister system, and one for filling squirt-guns etc for pool-related combat).
I threaded the calcium filter in line with a new 6' garden hose and connected it to the system. A quick flip of the valve and sweet cooling water blasted out of the nozzles, curtaining the entire porch in a very-fine mist. It dissipated well before reaching the ground.
I know,... I know... I often take the extra, sometimes necessary step in my projects. I admit, you don't actually have to fire up a Weber Charcoal Grill when you test your own misting system. It's just how I roll folks, no shortcuts here.
 |
| I've seen fire and I've seen rain... |
Just so I can avoid the inevitable requests,... and the begging,...and the whining,... here's the money shot. I know it's the key project detail you really stayed to see.
 |
| They like their 'dogs blackened. Don't blame the grill master! |
We've been enjoying the cooling mist into the evening, several nights a week, reclaiming the night from the heat.
I don't know if this system will work where you live. I suspect that in the humidity of a Houston, Atlanta, or Orlando climate, it would not feel quite as refreshing to add more moisture to your air. I'd bet nice Popsicle will do the trick though.
What do you think? Will a misting system make summers more enjoyable at your house?